We all need a makeover from time to time and what fun it is to head out for a haircut, facial, and a new outfit! Well, why does it surprise you that hanging baskets need a refresh too? The baskets that looked fresh, vibrant, and gorgeous in spring will be showing their age by early August.
But don’t think of tossing out your hanging baskets! It’s a normal progression for a basket to go from picture-perfect to overgrown and tired as summer peaks and then wanes. All it needs is a mid-season refresh to wake it up and make it the star of the patio through fall.
Follow these simple tips to refresh your hanging baskets in August and get them looking perky and pretty again for fall.
How to Refresh Hanging Baskets in August
Be kind to your hanging basket in August. It has worked hard in spring and early summer, leafing, flowering, and growing that cascading foliage. By this point in the year, it’s ready to do the plant equivalent of heading to the spa.
Since it’s your job to manage your hanging basket’s mid-season makeover, it’s important to understand how to transform it from tired to admired. Below are a few simple steps for you to take to make the magic happen.
1. Snip Off Faded Flowers
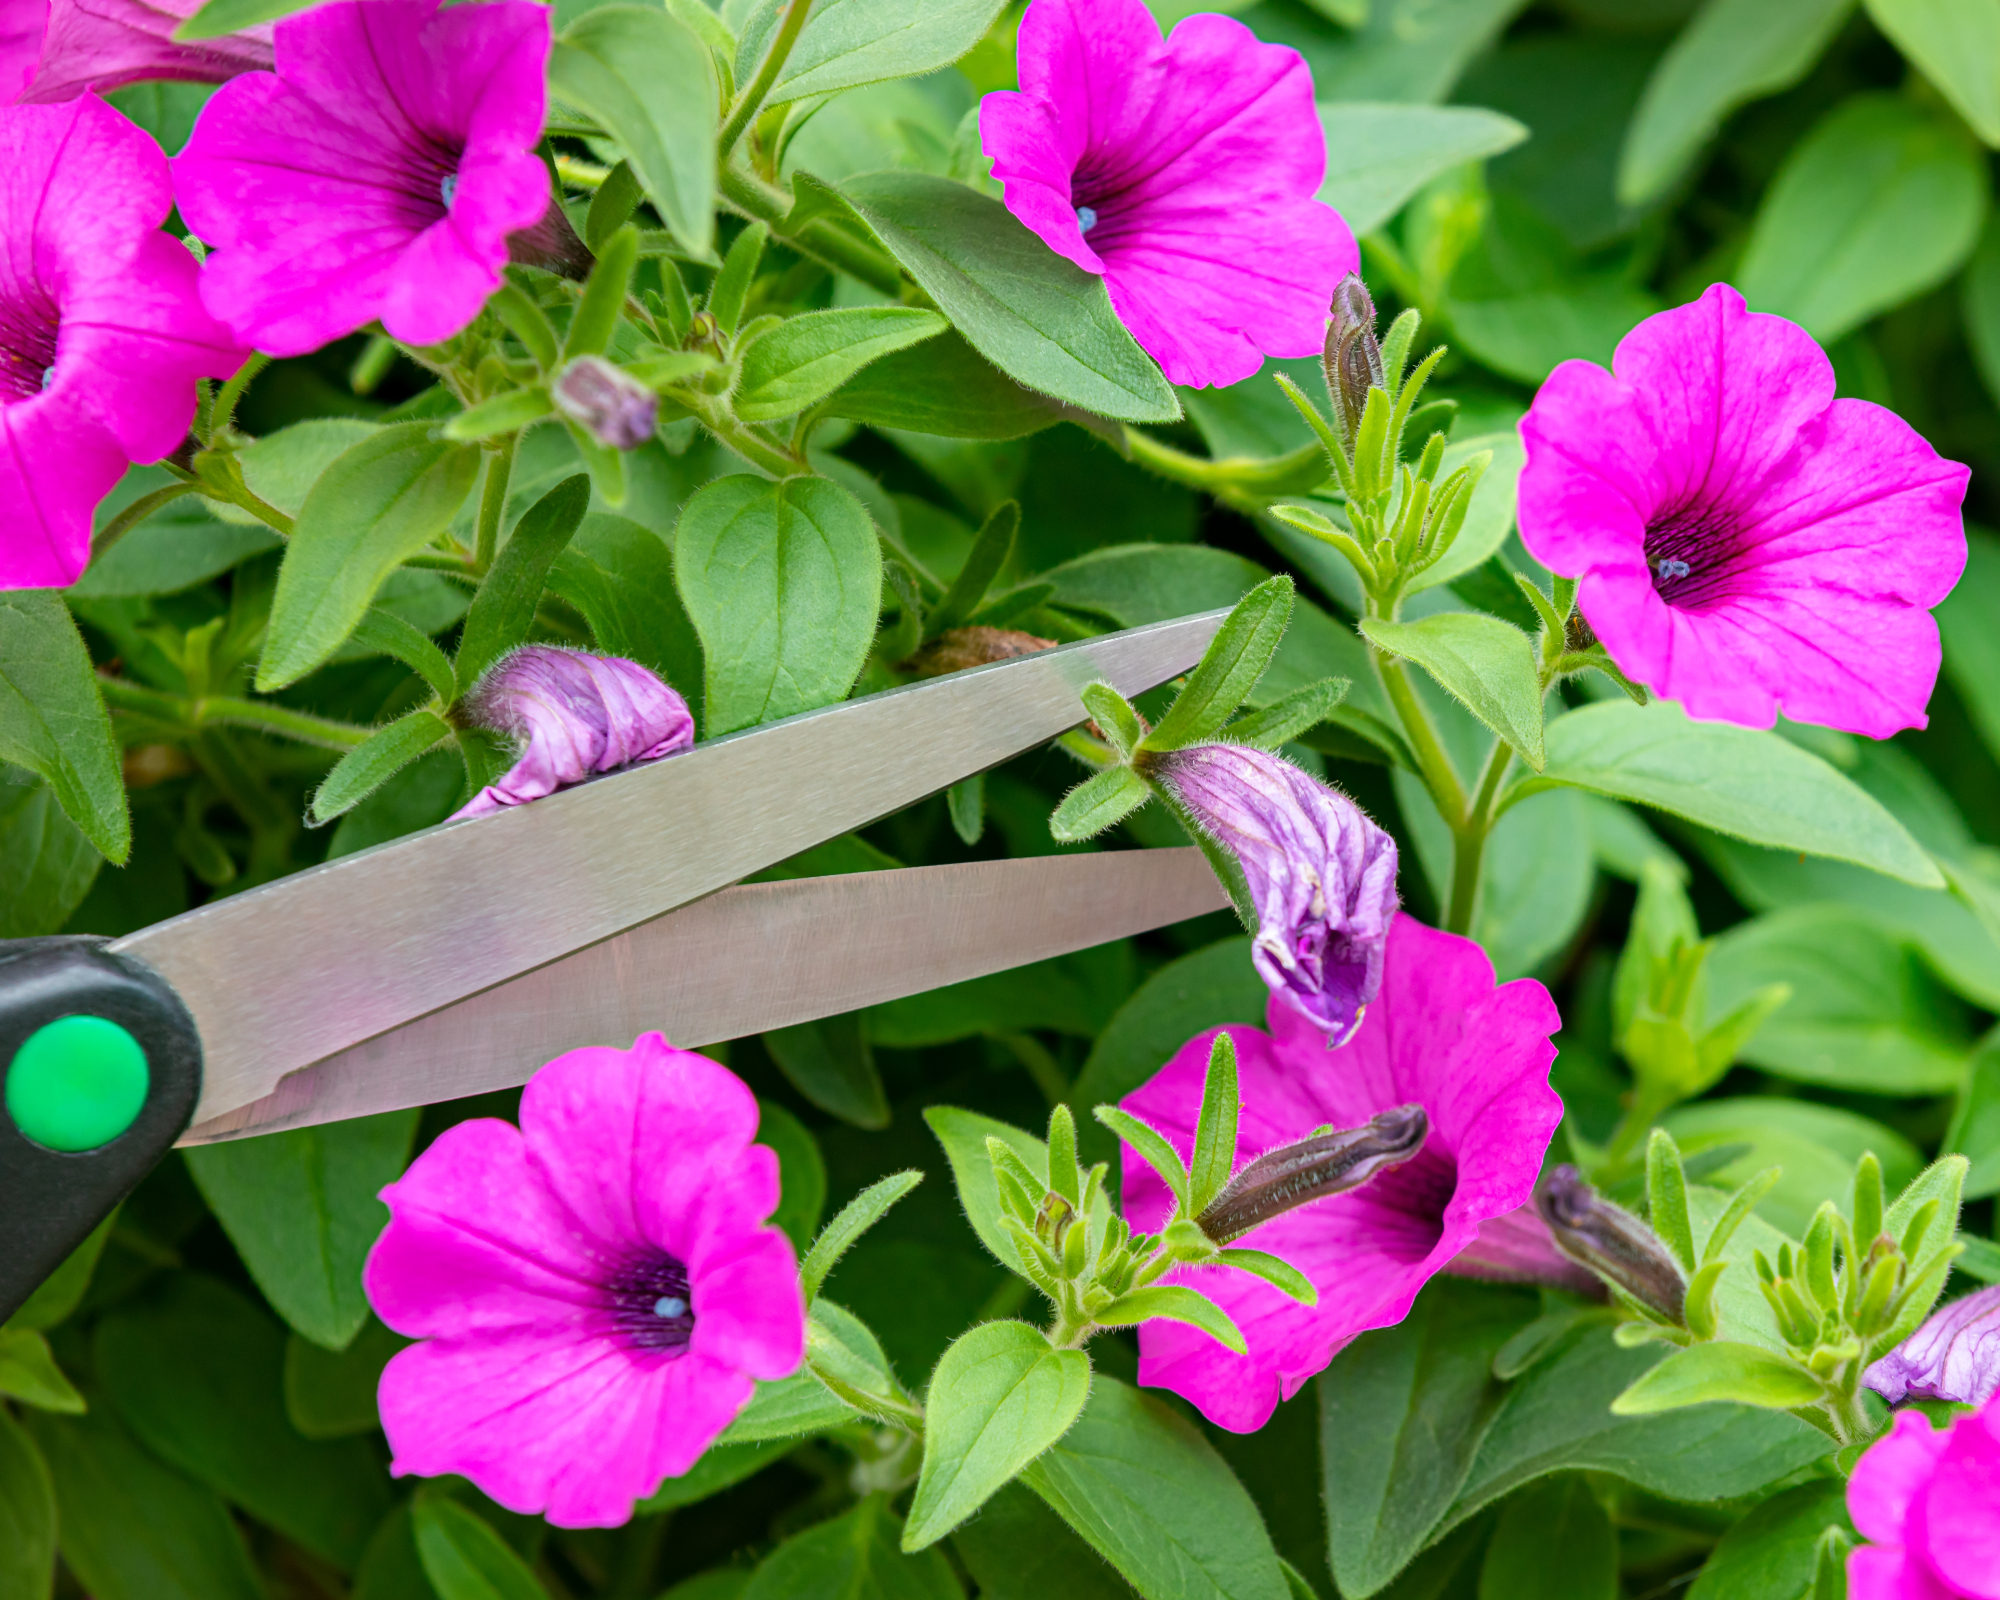
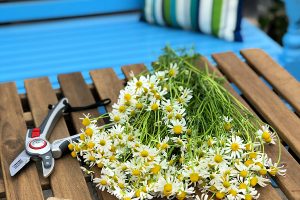
Almost everyone knows the practice known as deadheading. When flowers are blazing, they wake up the entire hanging basket and change it from just a few plants in a pot to a work of art. But as blooms fade and wilt, everything looks tired, like someone who pulled an all-nighter at the office.
Deadheading takes only a couple minutes, but it moves mountains in terms of making a difference in the look of your basket. Just by taking out the dying flowers, the basket looks younger and fresher – and it actually is. The practice not only promotes new growth, but also puts the brakes on diseases, fungus, and insects that dead blossoms can attract.
2. Remove Anything Dead or Dying
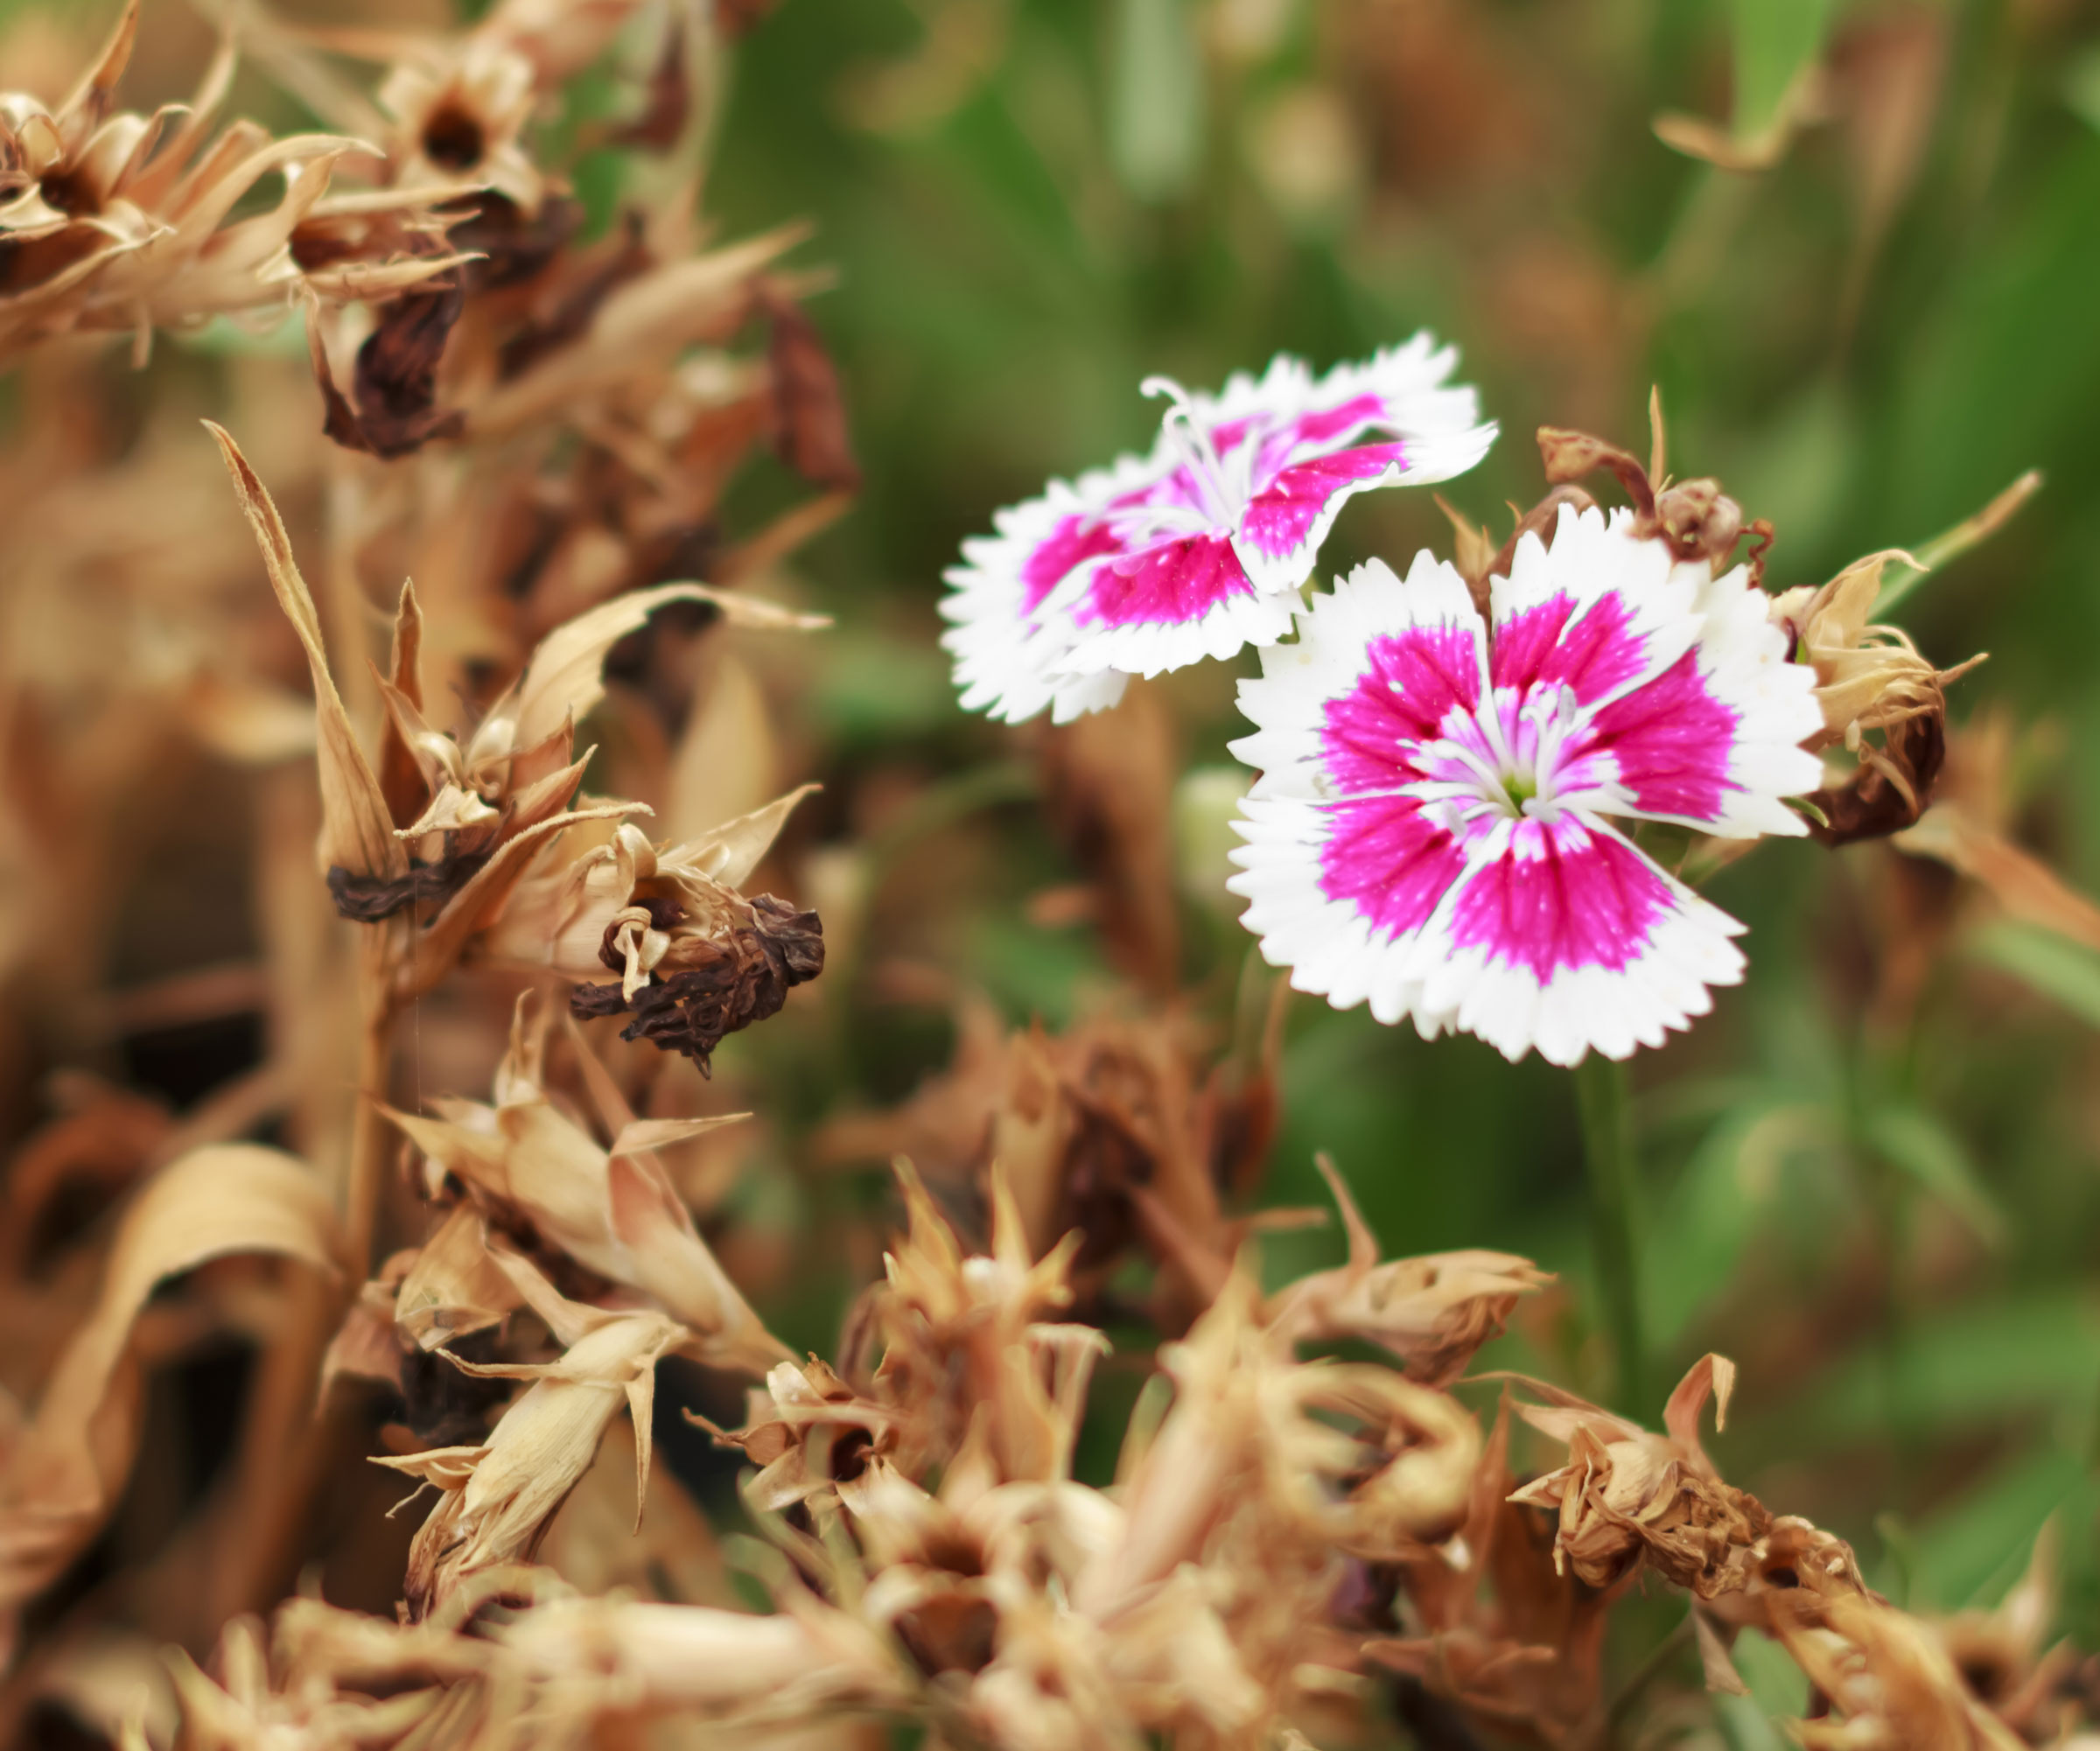
Now that the dead blooms are gone, look carefully at the foliage that remains. By this time in the growing season, some stems and leaves are on their way out, too.
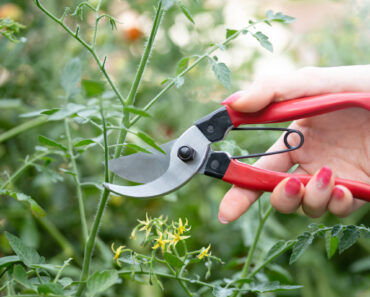
Use a sharp, sterilized pair of pruners – our experts tested and reviewed the best ones here – to snip off sections of plants that are finished. If an entire plant is done or the roots are rotting, take out the entire thing, roots and all. Removing some plants makes room for fresh new ones that will wake up the look as well.
3. Trim Leggy Stems
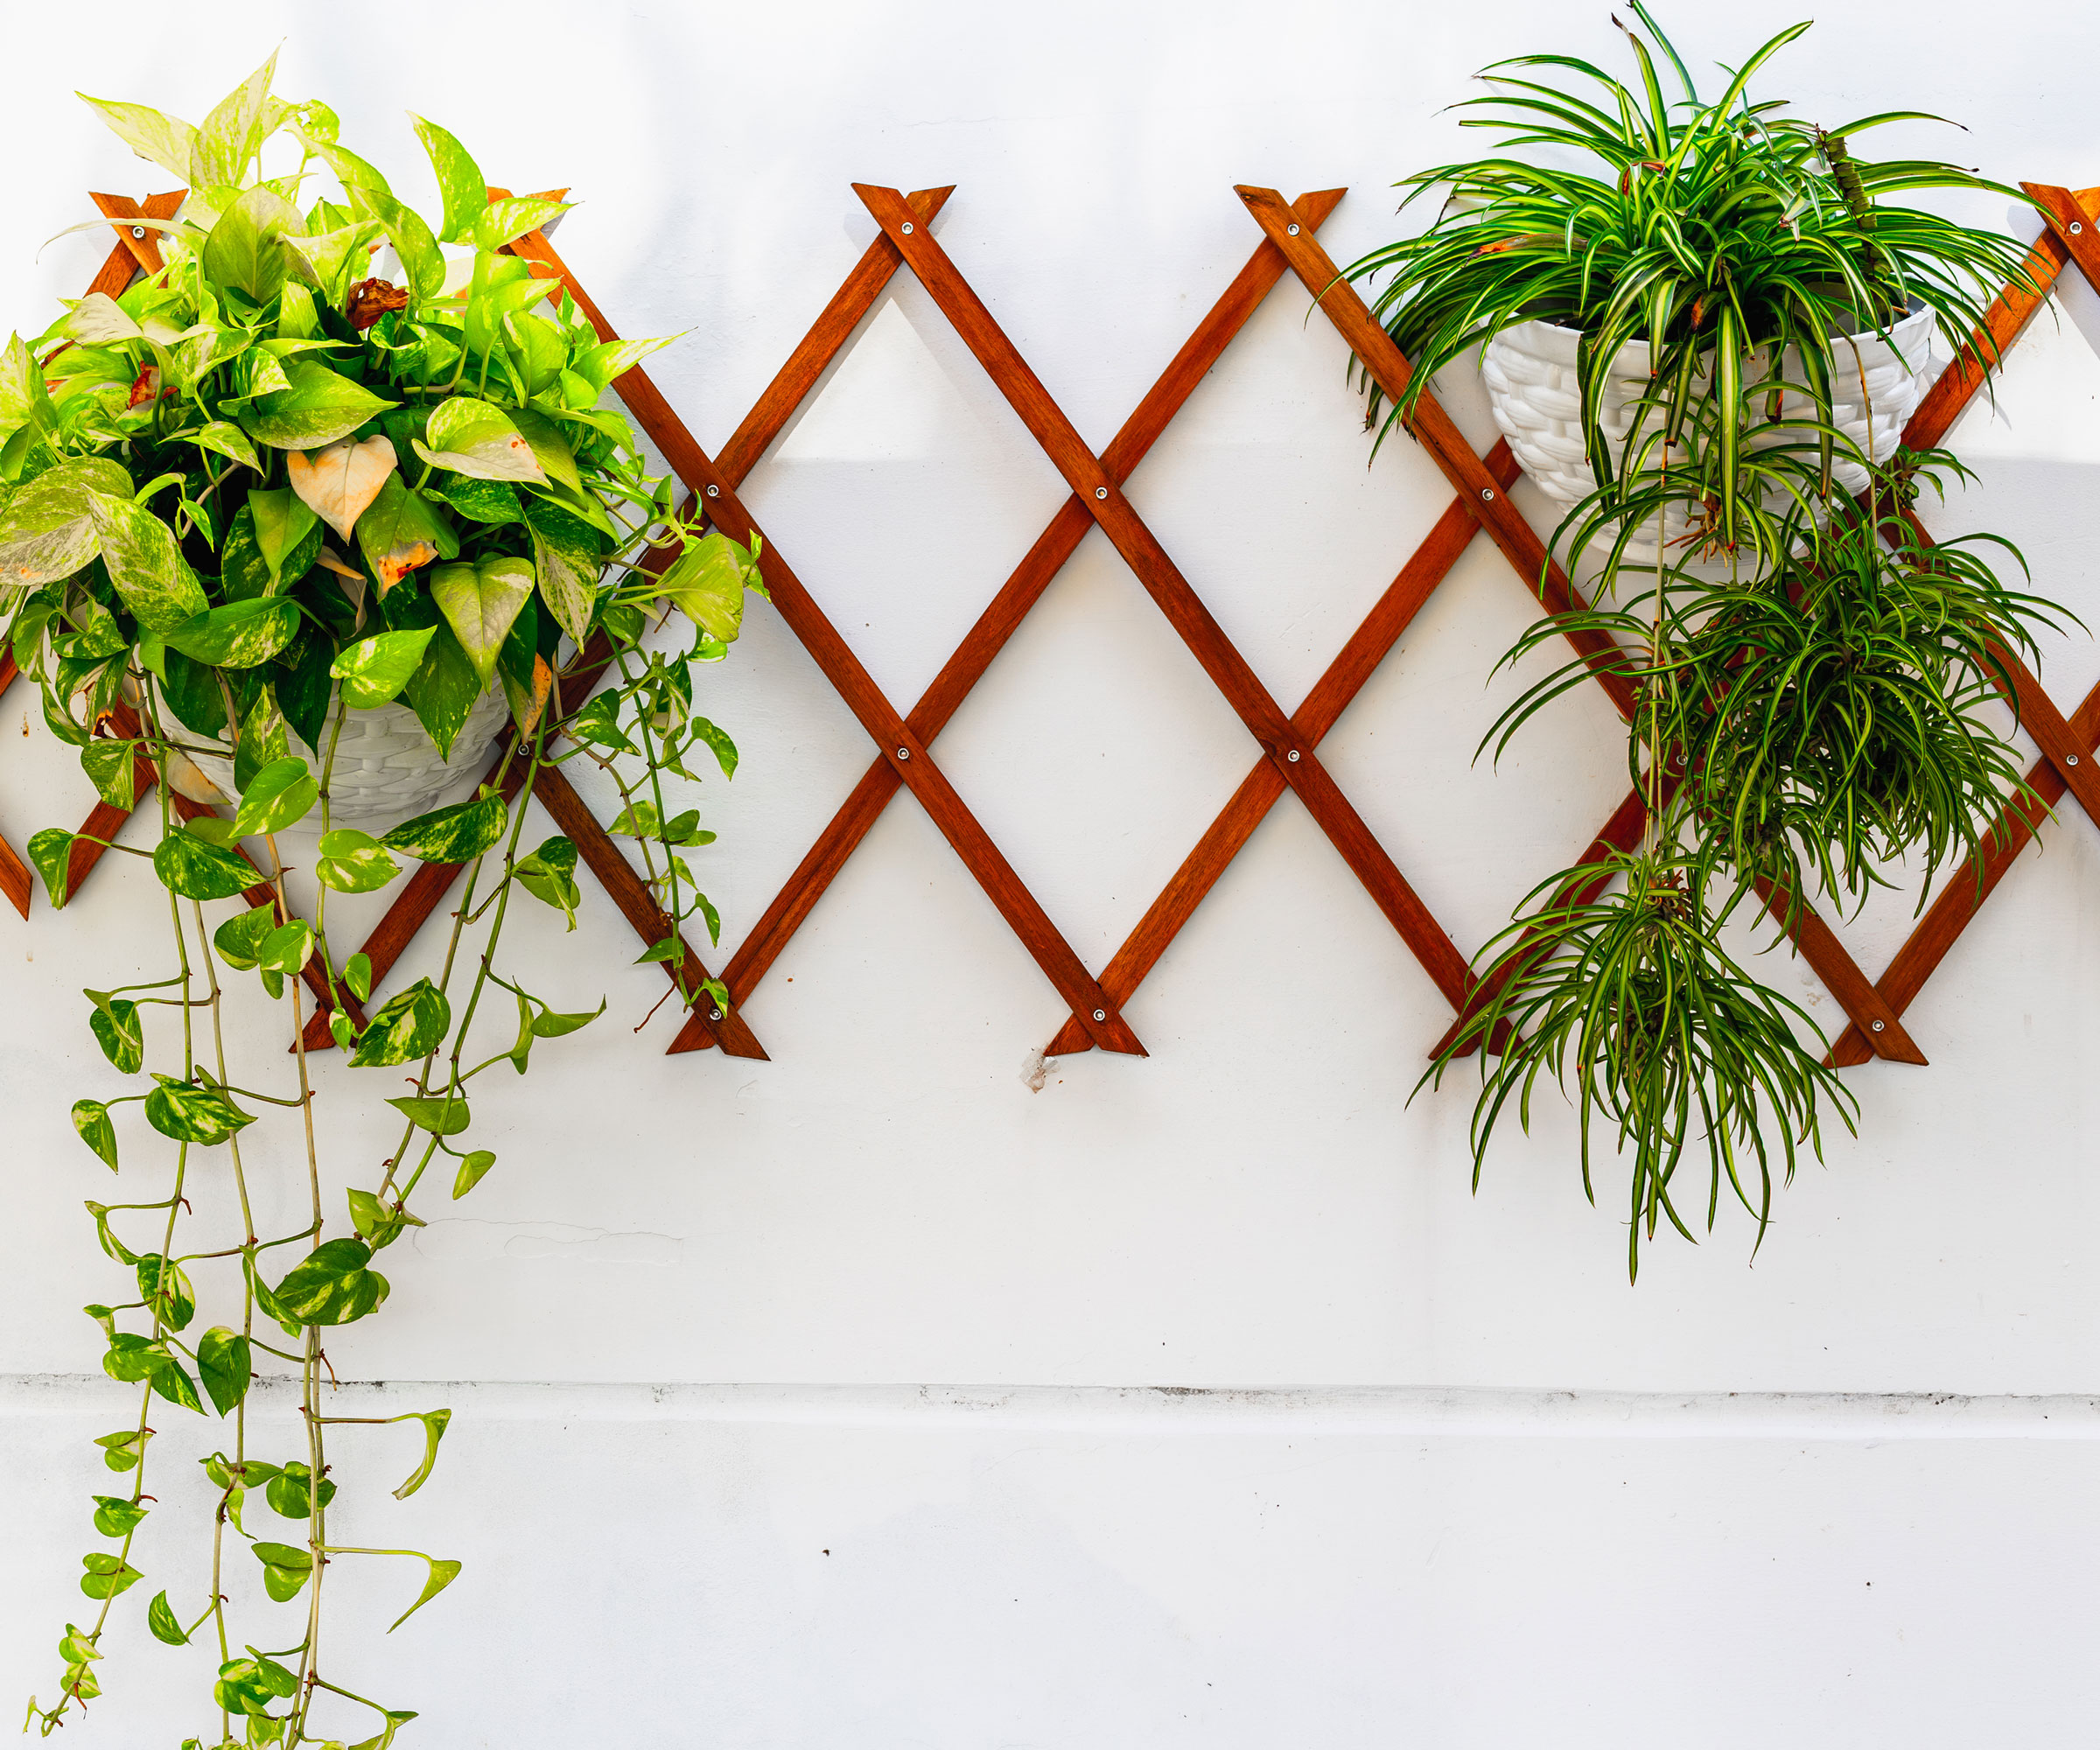
Some stems in your hanging basket have neither died nor rotted. Instead, they have thrived. But they have grown to such an extent that their length has thrown the basket out of balance. They might be stringy at the ends or bare at the bottom.
These stems should be cut back with a bold hand. Try to take off about a third of the leggy stems. It’s hard to do but lots of these are vining plants that will produce dense new shoots quickly once the haircut happens.
4. Check the Soil and Water Accordingly
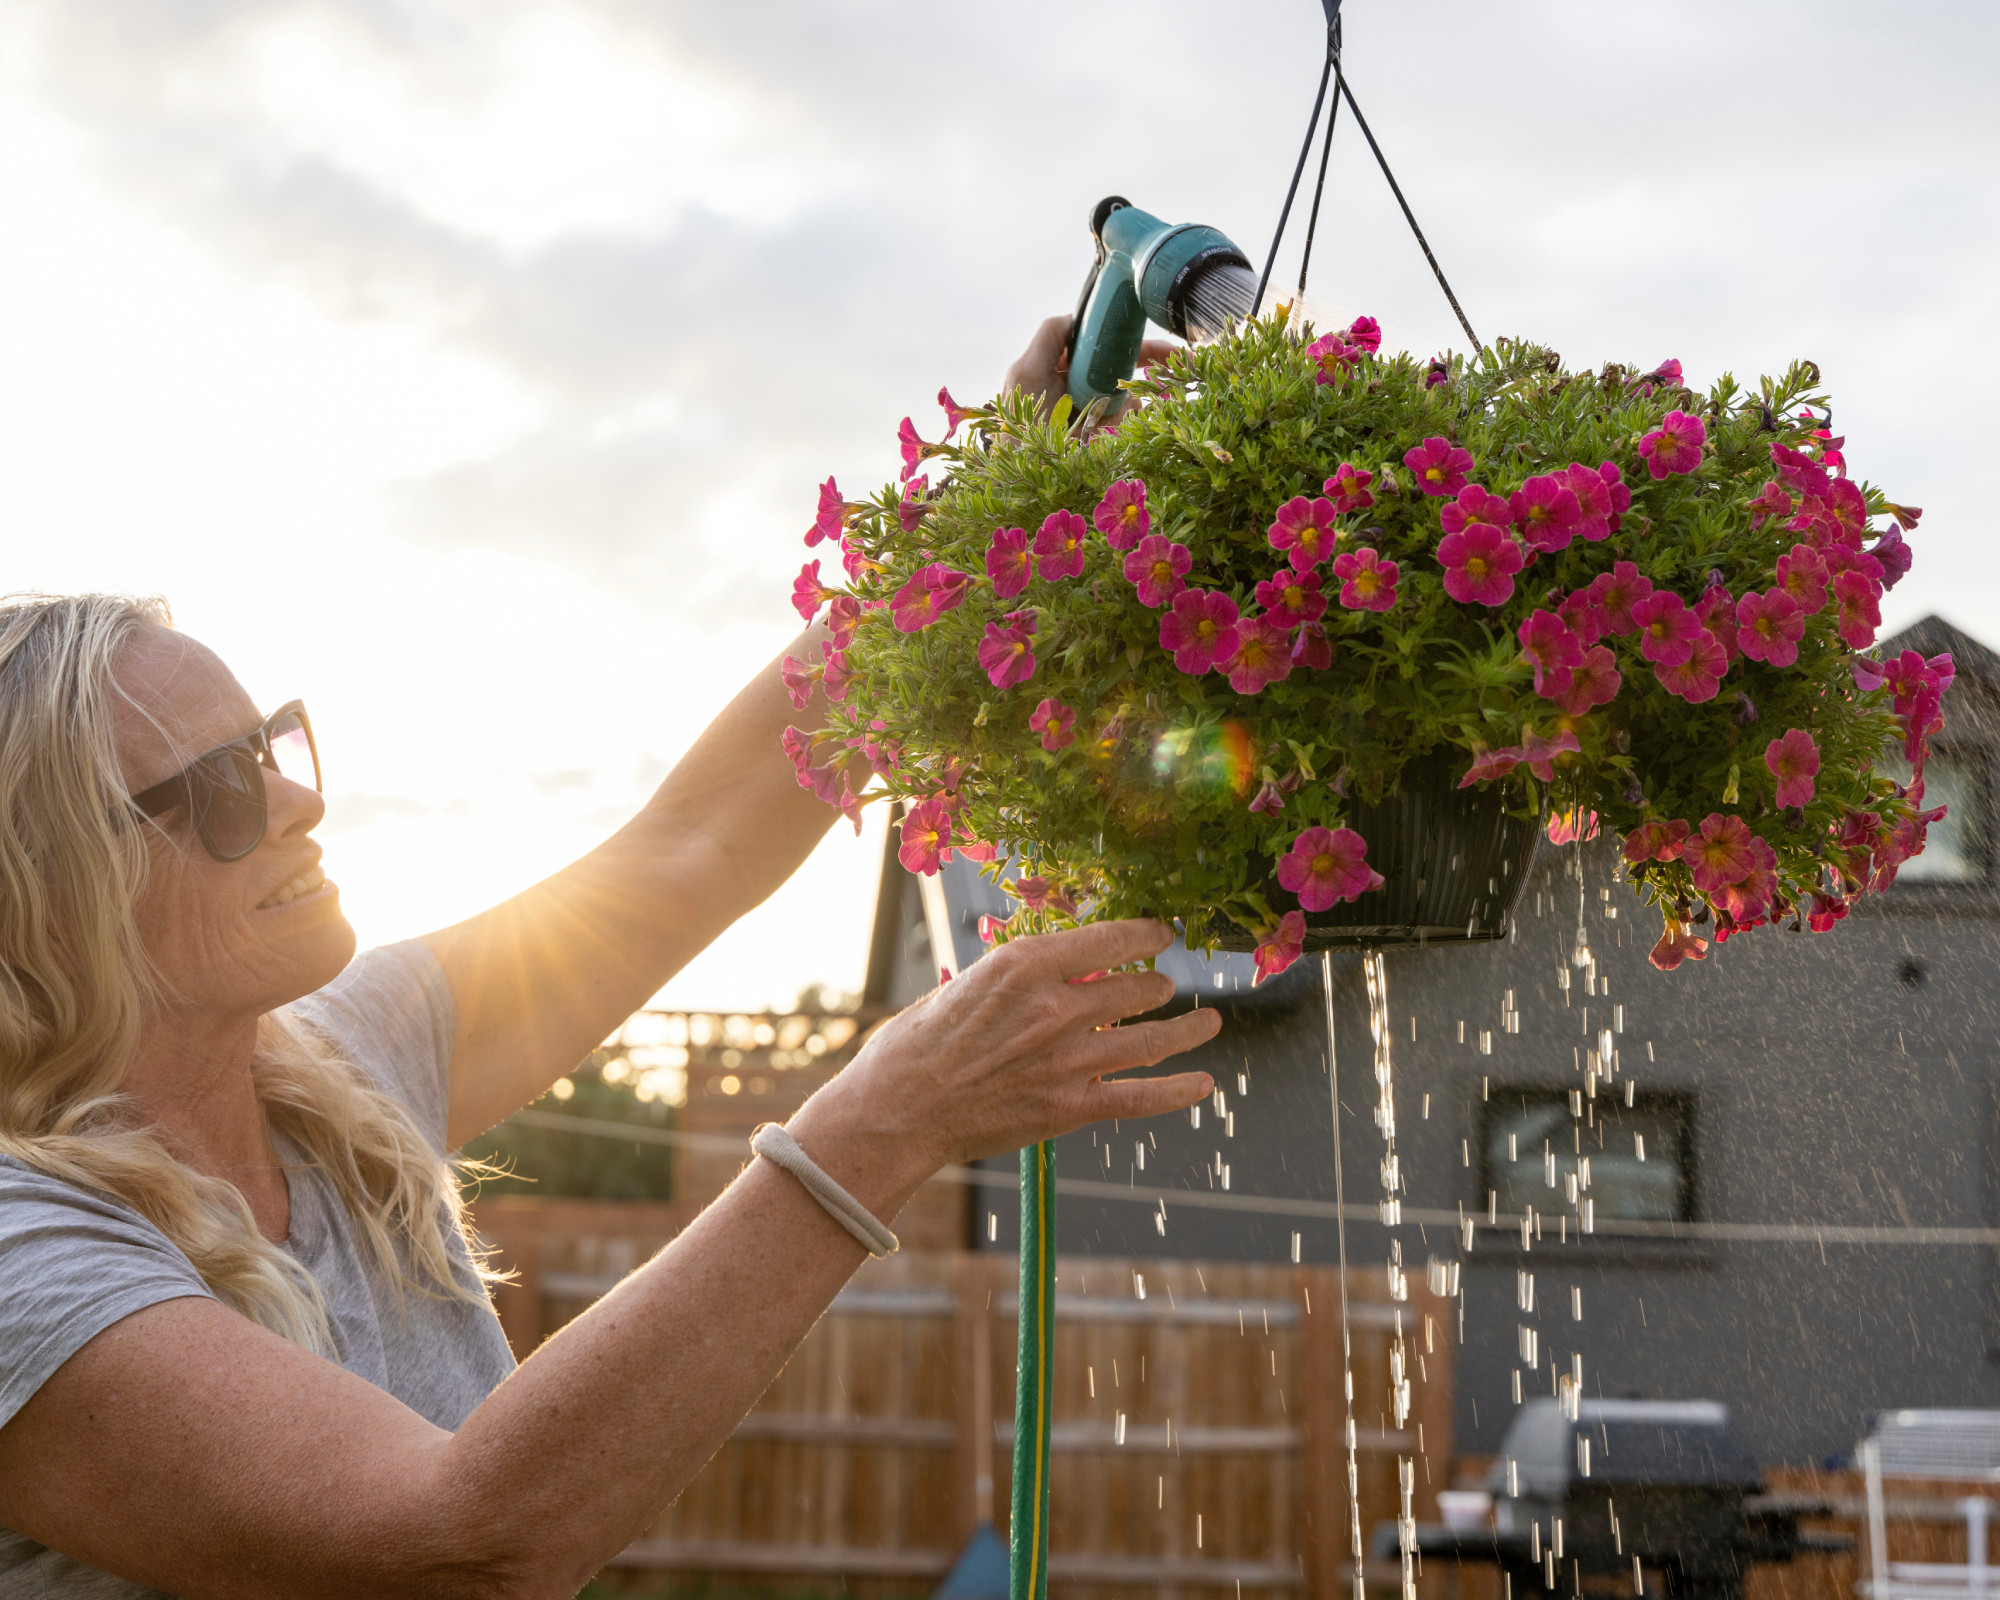
All the flowers and foliage in your aging hanging basket share the same container of soil and get the water they need from that soil. One important step in the refresh is checking whether the soil is watered well.
Start by lifting up the basket and checking the weight of it. If the basket seems heavy, the soil is probably well watered. A bone dry basket will feel very light. To confirm, poke a finger into the soil as far as you can. If it’s dry, it is watering time. If you’re unsure about the moisture levels, then a simple soil moisture meter like this one from Amazon is a great way to gain clarity and avoid either overwatering or underwatering.
If the soil is completely dry, water will run straight through it. In that case, fill up a bucket of water and put the entire inner basket into it, leaving it there for 15 minutes. Otherwise, get a watering schedule for the rest of the summer and fall. The best time to water container plants is in the morning, providing moisture to the plants well before the heat of the day while letting leaves dry fully before nightfall.
5. Fill in Spaces With Fresh Flowers
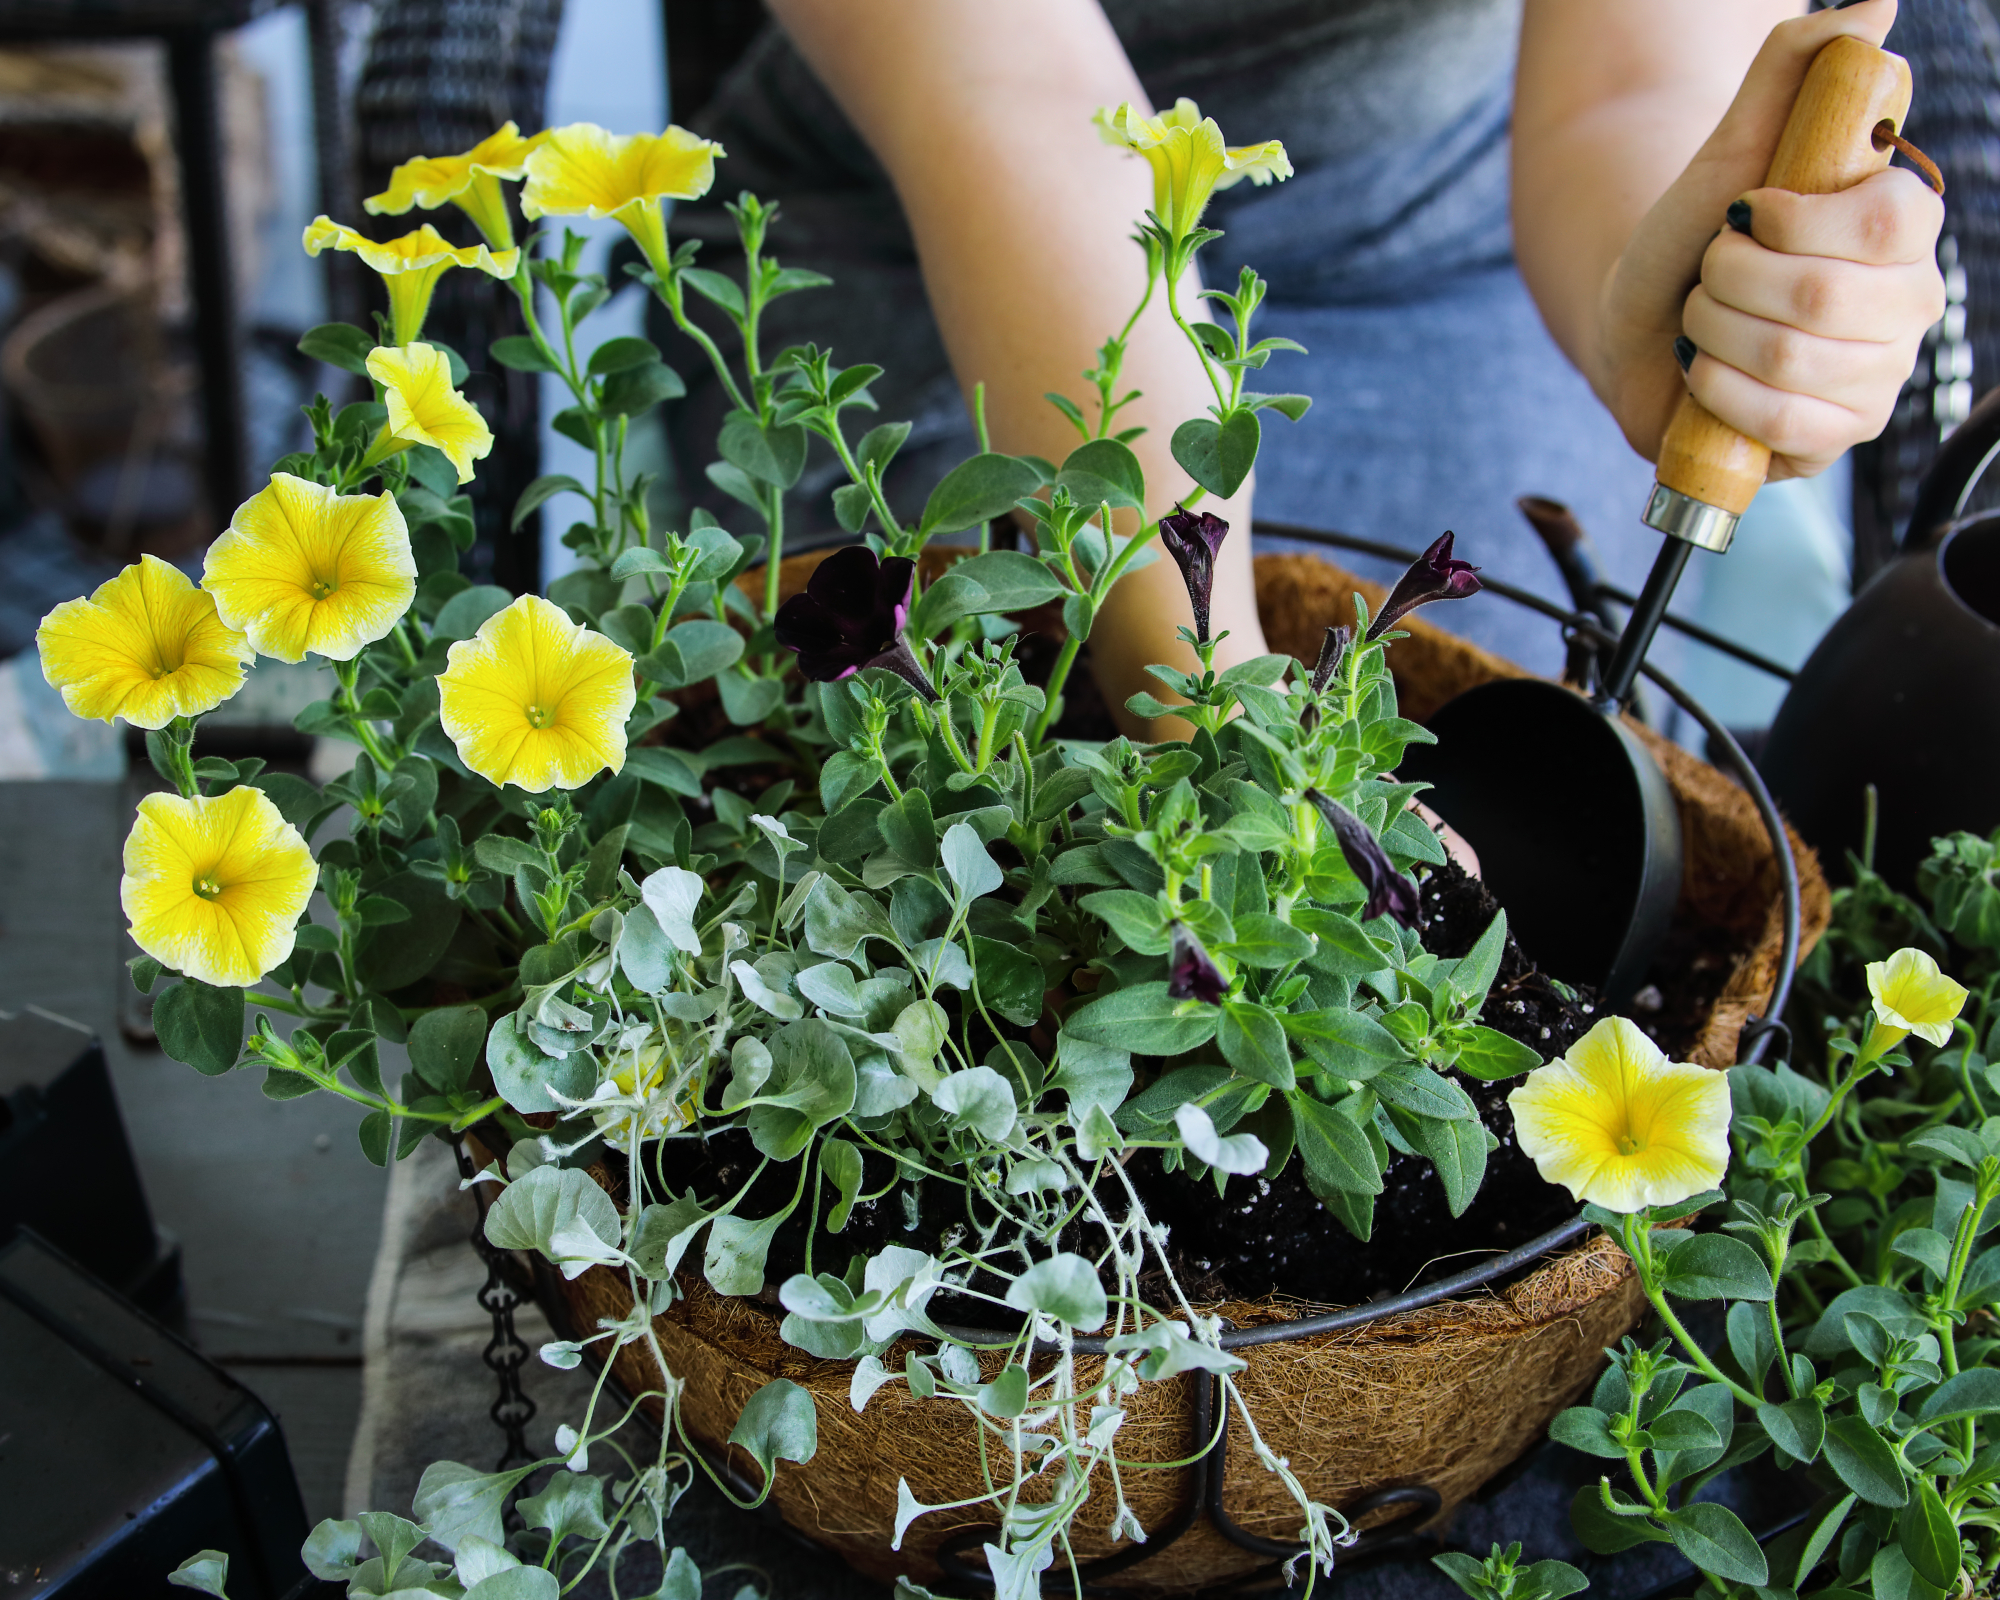
Now comes the fun part! You’ve taken out the dead and wilting plants and deadheaded the flowers. Early August is the perfect time to freshen containers by adding new flowers for hanging baskets. Use starts from the garden center and pick a species that establishes quickly.
A few favorites of mine for refreshing sunny baskets midsummer include colorful compact zinnias, vibrant yellow calibrachoa, or pretty pink angelonia from the Home Depot. Coleus are preferred for shady baskets.
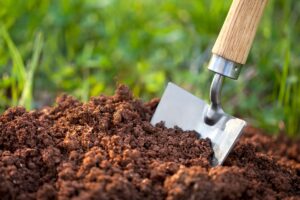
If necessary, add a little bit of fresh potting soil at the same time to give the new plants a steady base. Content Editor Laura swears by this Miracle-Gro potting mix for her containers.
6. Fertilize Your Baskets
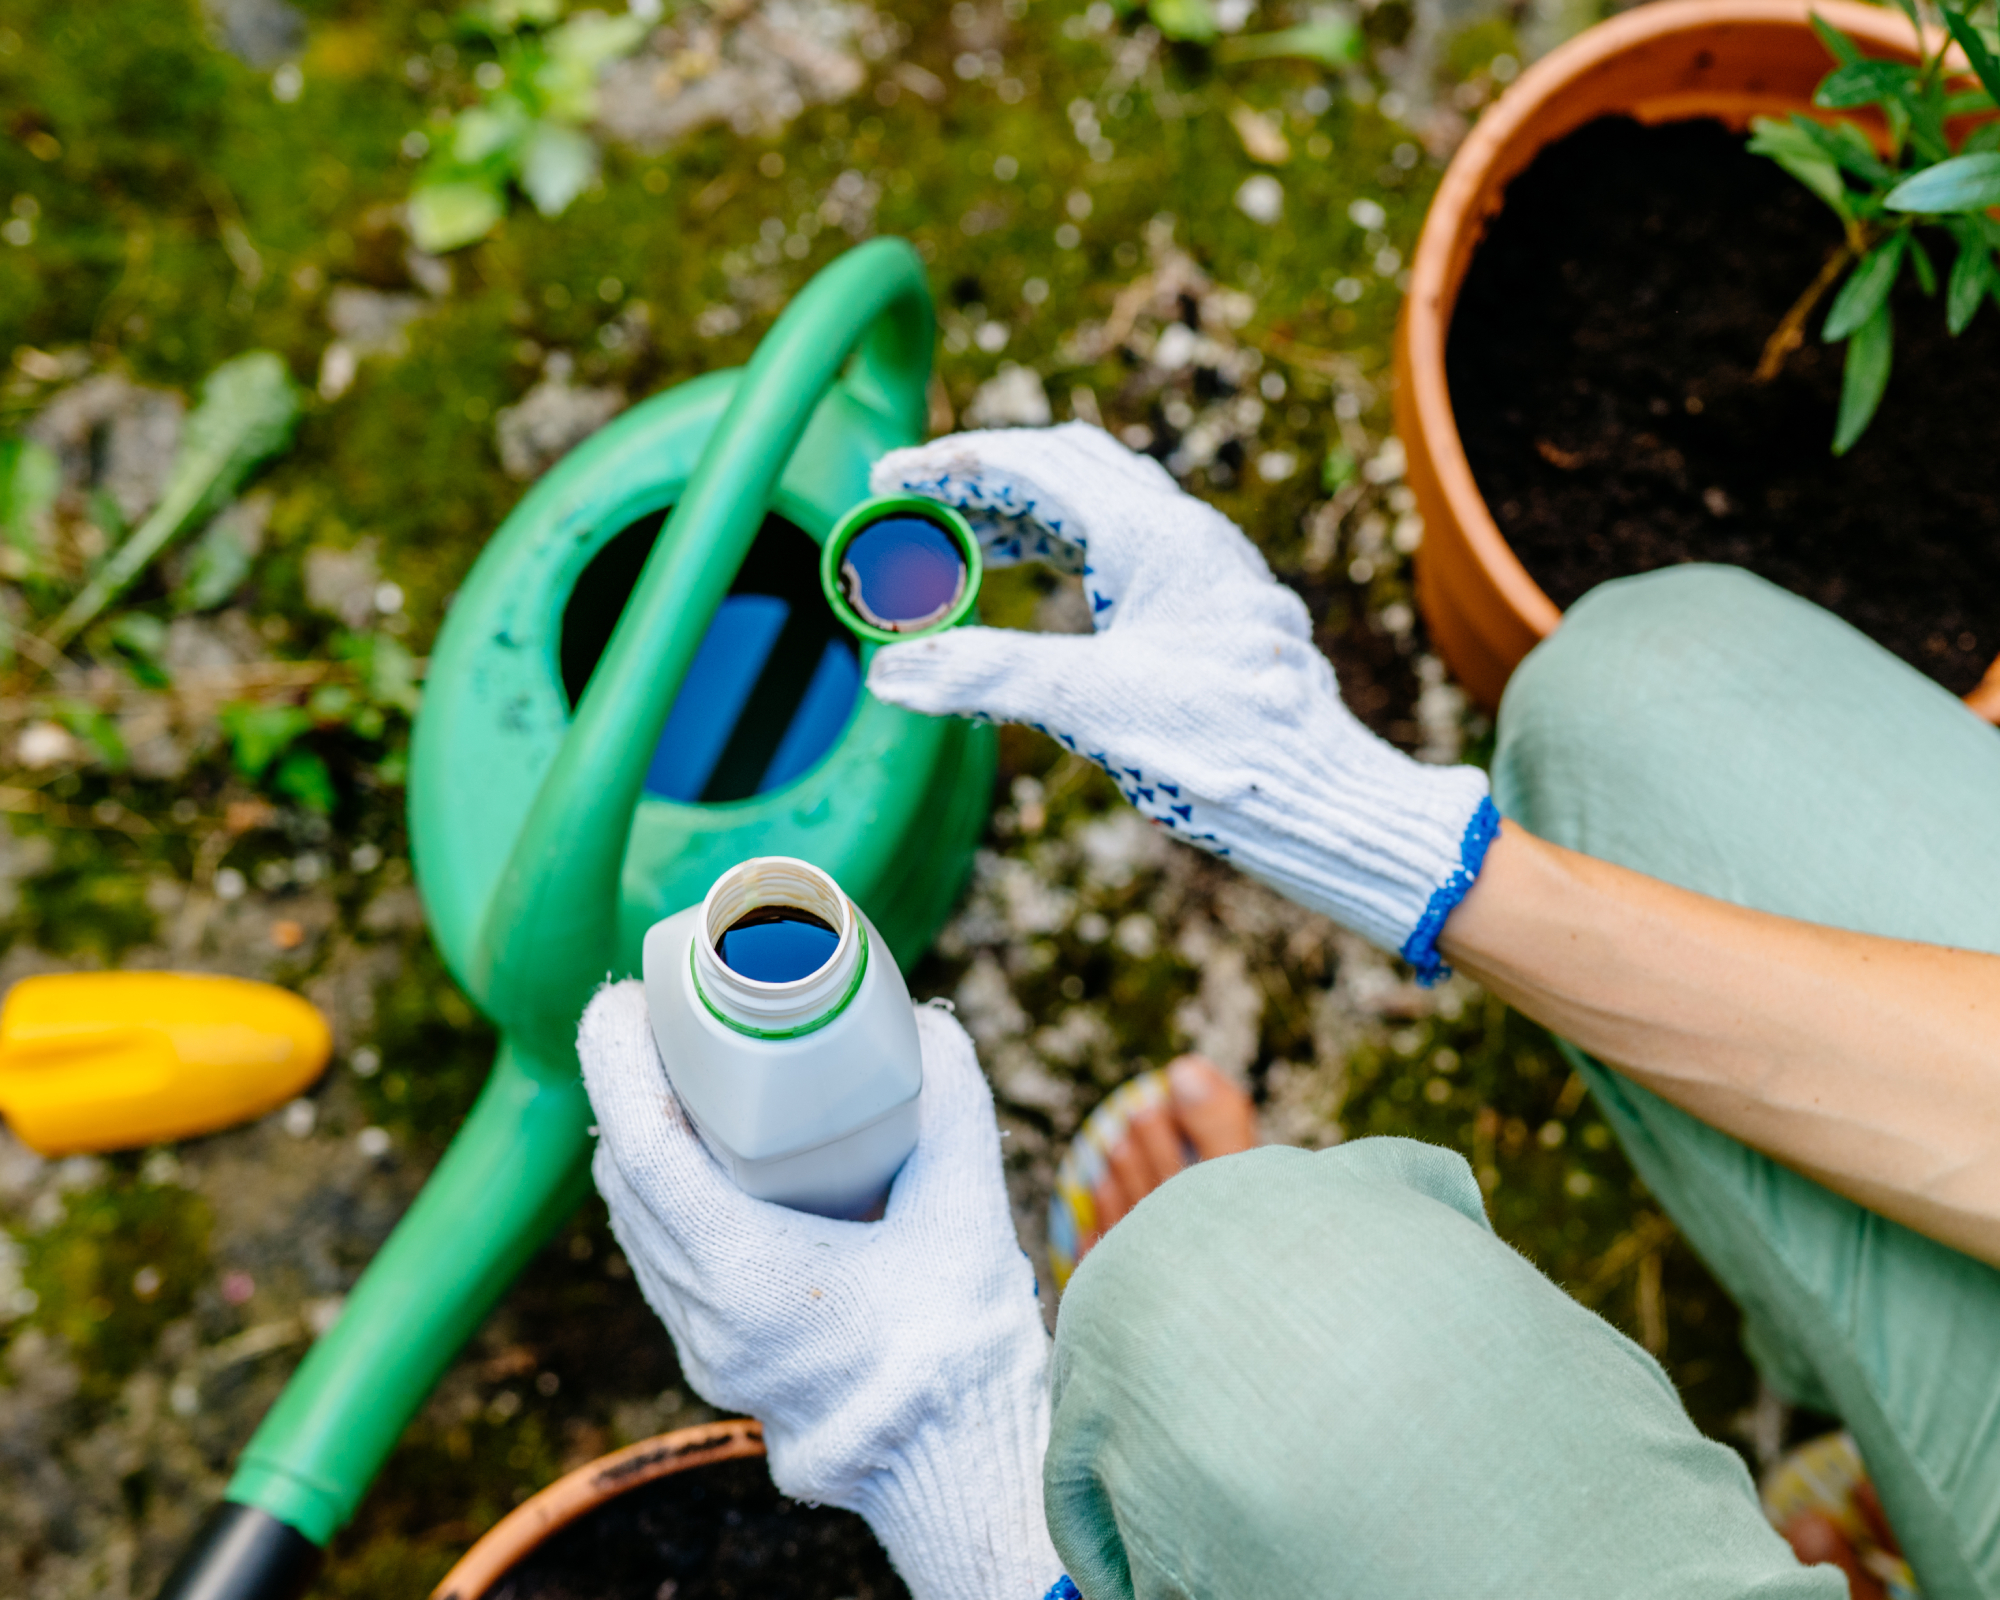
Last but not least, give your hanging baskets a boost with a fresh dose of fertilizer. By the last month of summer, your basket has used all the nutrients in the original potting soil and they are ready for additional fertilizer.
Your best choice is to use a liquid fertilizer formulated to support leaf growth and flowering, like this all-purpose organic bloom-boosting plant food from Espoma. You’ll need to dilute the product with water and use it the same time you are watering hanging baskets. This will give your plants the necessary nutrients without burning the roots.