
Your lawn mower is one of the hardest-working tools you own, yet it’s often the most neglected. Skipping key checks might save you an hour today, but poor maintenance dramatically shortens your machine’s lifespan and drastically reduces cut quality. Dull blades hack at grass rather than slicing it, while dirty filters force the engine to work twice as hard, risking permanent damage. Put simply, lawn mower maintenance is essential if you want it to do its job properly.
Learning how to maintain your lawn mower also saves you money on premature repair and replacement costs. You’ll have a better sense of how easy it can be to keep yours working at its best for longer. You’ll also be simplifying your lawn care, as you’ll make the physical act of mowing your lawn a lot quicker, more efficient, and hopefully more enjoyable.
Whether you’re running a gas-powered push mower or a battery-operated model, this quick, seasonal maintenance routine helps you protect your investment, keeps your machine running reliably for longer, and gives crisp, professional-looking lawn lines all season. So before you use yours again, run through this lawn mower maintenance checklist to ensure it cuts like a dream and lasts for years to come.
What You Need Before You Start
Setting up a simple DIY workstation for these checks before you start makes lawn mower maintenance quick, clean, and safe. Don’t panic: you don’t need a professional workshop, just a few hand tools, protective clothing, and some cleaning supplies. Whatever type of lawn mower you have, your core kit should include some heavy-duty work gloves to protect your hands from sharp metal edges. If you don’t already own a pair, the WZQH Heavy-Duty Leather Work Gloves from Amazon are comfortable and solid, with puncture resistant cowhide.
You should also keep an oil drain pan and funnel nearby for mess-free fluid changes, plus a stiff scraper brush, metal file or blade sharpener, cleaning cloth, and tire pressure gauge. Oh, and don’t forget to keep your manual handy! Sounds obvious, but it’s easily forgotten and really useful for double-checking extra parts (and specs) you might need. Depending on your mower type, you may also need these extras:
- Gas Mower Extras: SAE 30 engine oil, replacement spark plug, spark plug socket wrench, new air filter, fuel stabilizer, oil drain pan, funnel.
- Battery/Electric Extras: Multimeter (for testing voltage) and a dry microfiber cloth for battery terminal contact points.
Maintenance Essentials
Find a little room in the garage or shed for these key care items to prevent stubborn grass buildup, keep the blades cutting cleanly, and protect your engine season after season. Here are the top-rated extras every lawn mower owner needs in their kit.
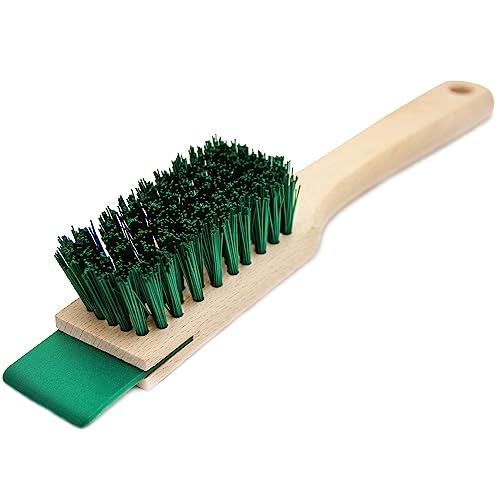 Deck & Housing Care
Safety comes first when scraping away gunked-up turf from under the deck. This ergonomic brush features stiff bristles and a flat scraper edge to lift away caked-on mud and dried grass without damaging the mower’s protective powder coating. Fantastic for keeping the underside smooth and clean.
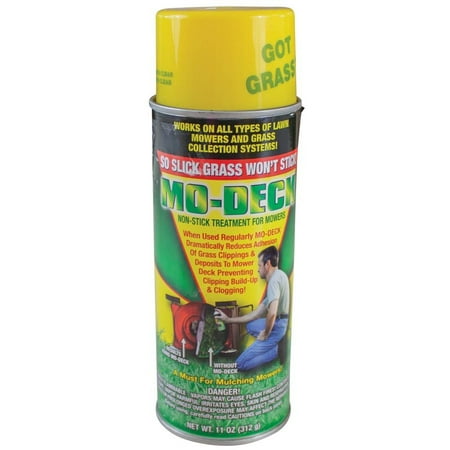 Under-Deck Protection
Wet grass clippings and damp soil can act like concrete under a mower deck, leading to rust and dragged engine performance. A quick spritz of this non-stick coating on a clean deck stops grass from clinging, making post-mow cleanup as simple as a quick rinse. Essential for keeping air flowing freely under the deck.
 Blade Precision
Dull mower blades shred grass instead of cutting it, leaving ugly brown, frayed tips. This heavy-duty sharpener takes all the guesswork out of blade care by restoring a factory bevel edge in a few strokes. Compact and ergonomic, it keeps your mower blades razor-sharp without power tools or complex setups.
7 Lawn Mower Maintenance Checks
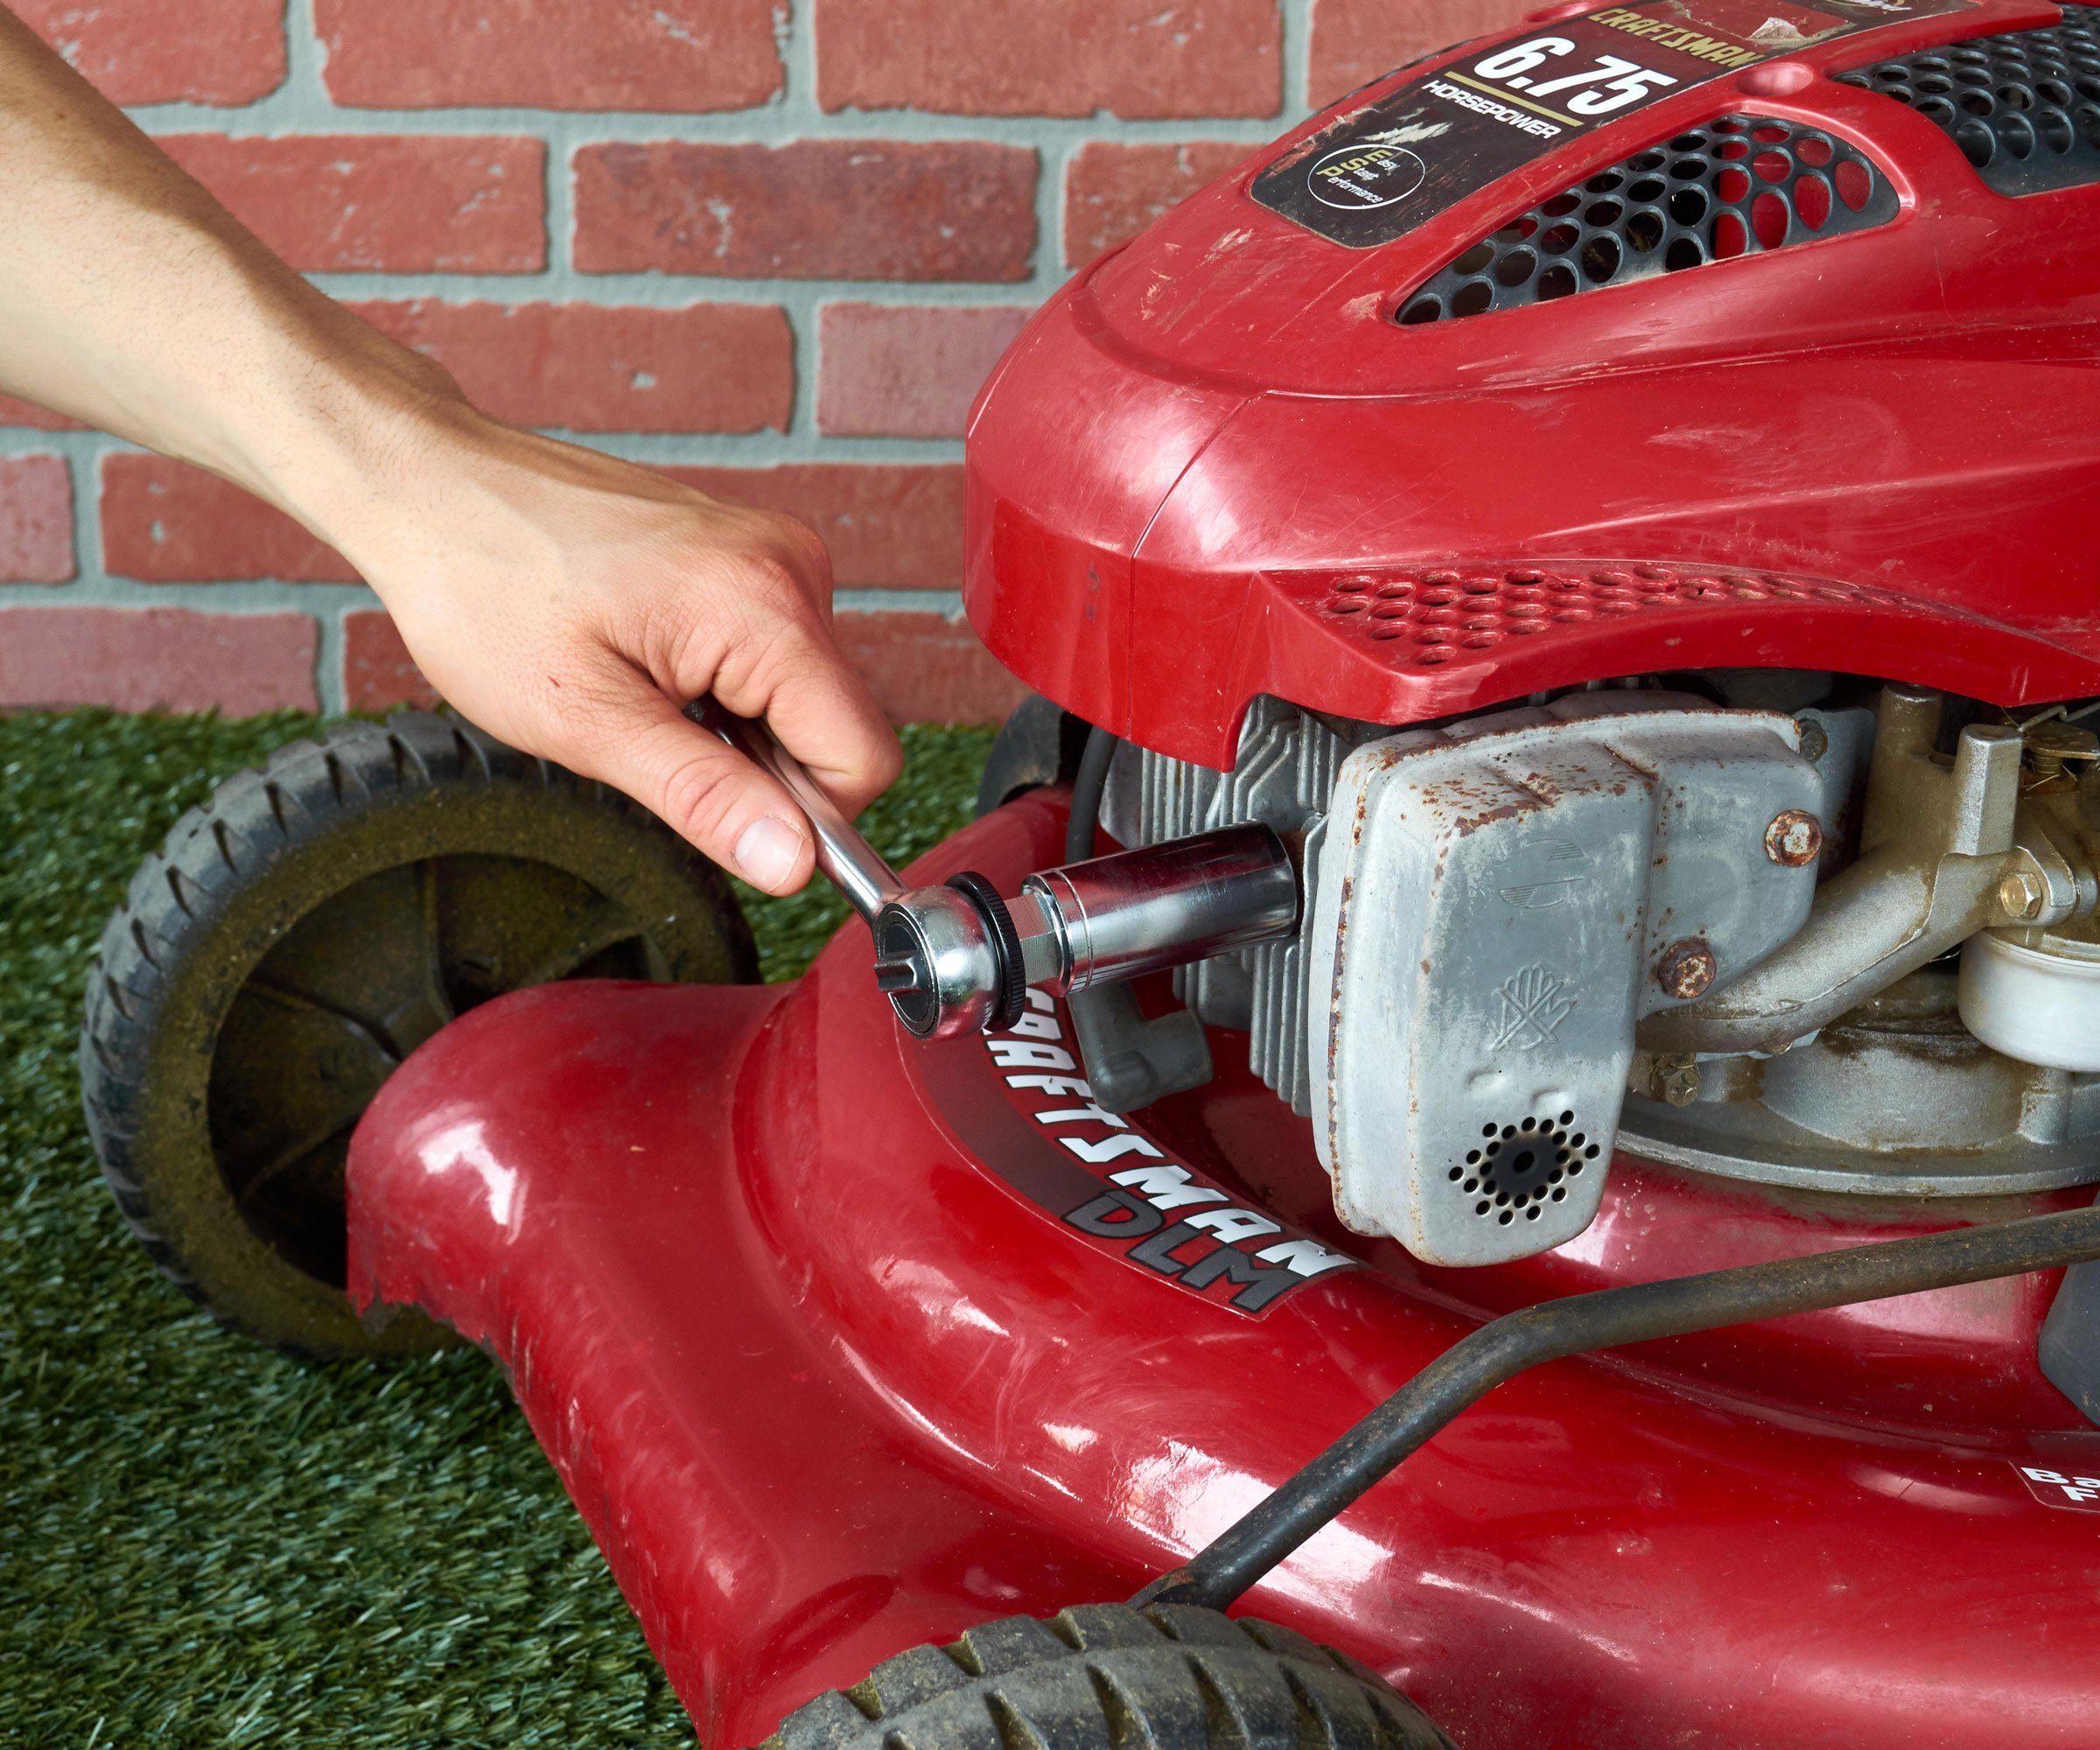
Whether you own a gas-powered mower or a battery-powered machine, this maintenance checklist is invaluable. If you own a gas-powered mower, running through all these steps will keep your engine firing on the first pull and burning fuel efficiently. If you use a corded electric or battery-powered mower, simply focus on steps 1, 5, 6, and 7 to keep your blades sharp, your battery healthy, and your deck free of rust-causing grass buildup.
The following routine tasks are easy weekend checks and will ensure better lawn mowing. As a small note of caution, if you get to the end and sense your mower might need internal transmission repairs or deep engine overhauls, these are best left to a local servicing dealer. But the following checks will all help you check mower health, get on top of quick fixes, and ensure you keep it in the best shape possible.
Once you have consulted your mower manual for specific torque settings or part specs, grab your gloves. Before inspecting the deck or touching any moving parts, just disconnect the spark plug boot on gas mowers, or remove the safety key/battery on electric models to prevent accidental startup. Then work through these steps.
1. Prep and Clean the Exterior
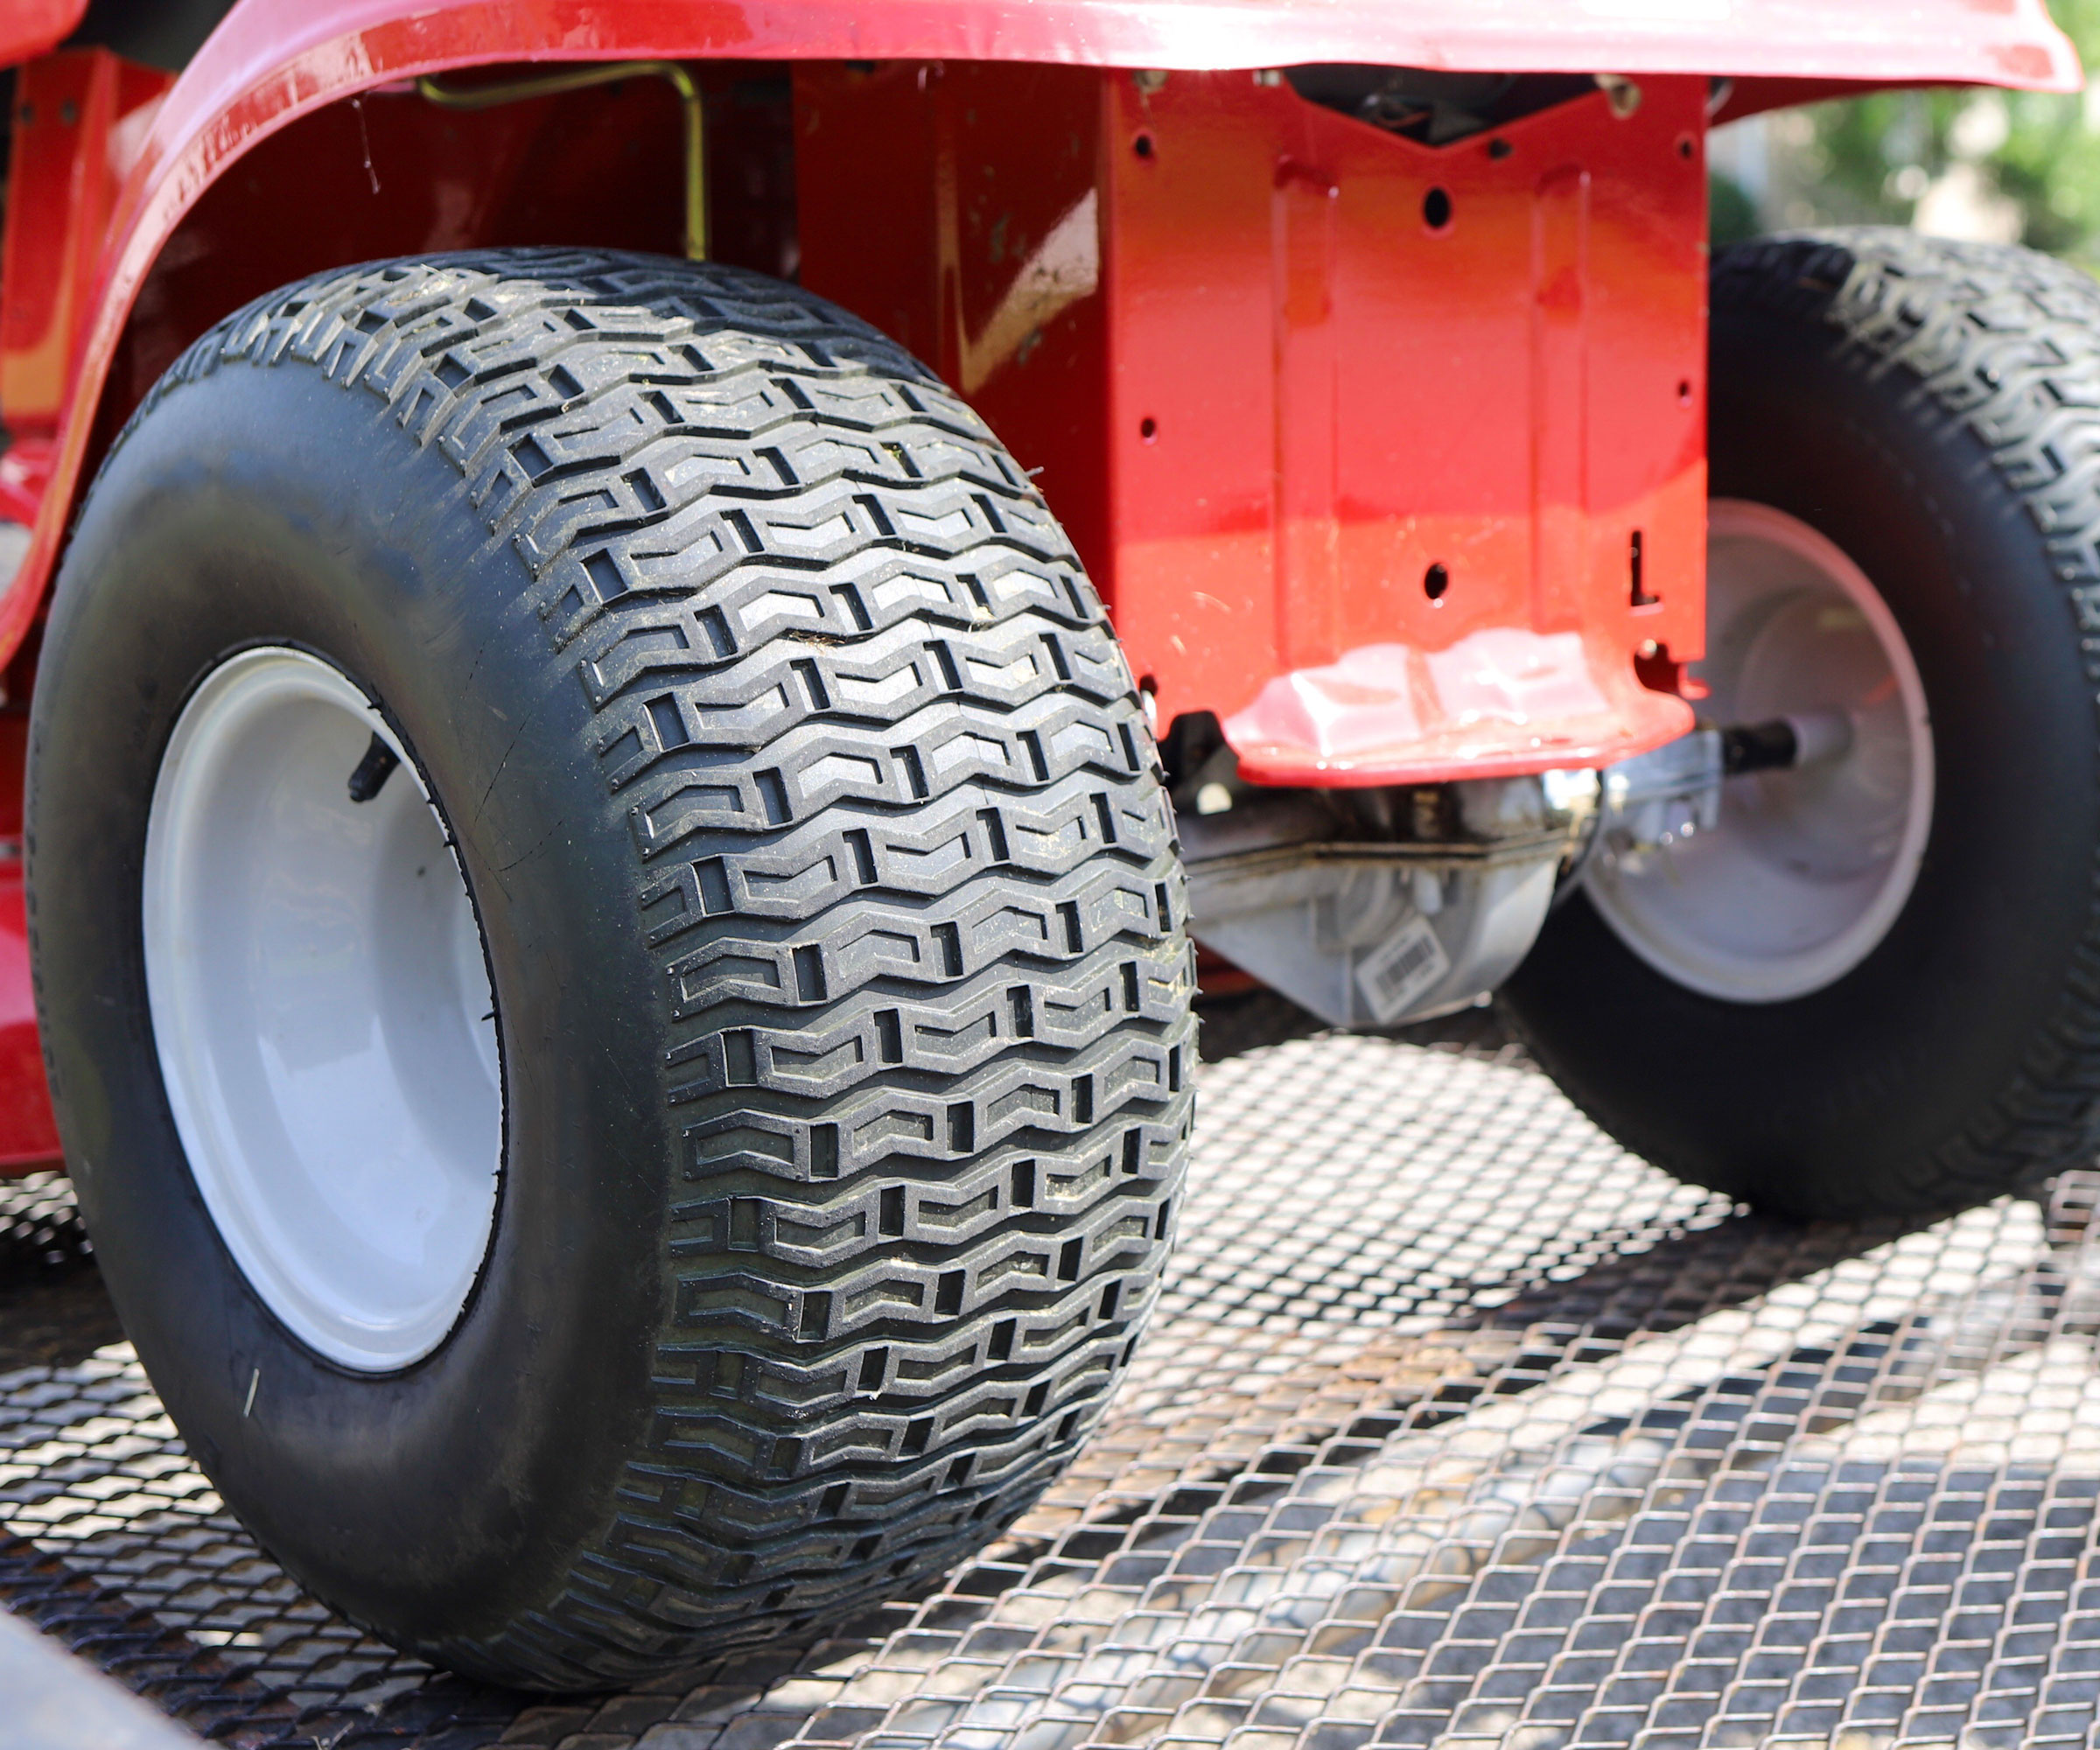
Before touching any mechanical components, give your mower a thorough exterior clean and surface inspection. Built-up damp grass, soil, and garden debris don’t just look messy: they trap moisture against metal housing, leading to deck rust, clogged discharge chutes, and dragged engine performance.
Disconnect your power source, tilt the mower on its side with the air filter facing up, and scrape away dried grass underneath the deck. If your mower has pneumatic (air-filled) tires rather than solid plastic wheels, it’s important to check tire pressure and ensure this is even across all tires. Uneven tire pressure can result in an uneven and inconsistent cut. If you don’t have one, invest in a pressure gauge like the AstroAI ATG250 Digital Tire Pressure Gauge from Amazon. This is an excellent universal tool that works on mower tires, wheelbarrows, and car tires.
Once you’ve checked the tires, wipe down the outer deck shell and spray metal joints with a protective water-displacing lubricant. Spray with some WD-40 Multi-Use (Smart Straw) from Walmart to protect and lubricate your lawn mower.
How often? Clean the under-deck after every 1-2 mows, check tire pressure monthly during the cutting season.
2. Change the Engine Oil
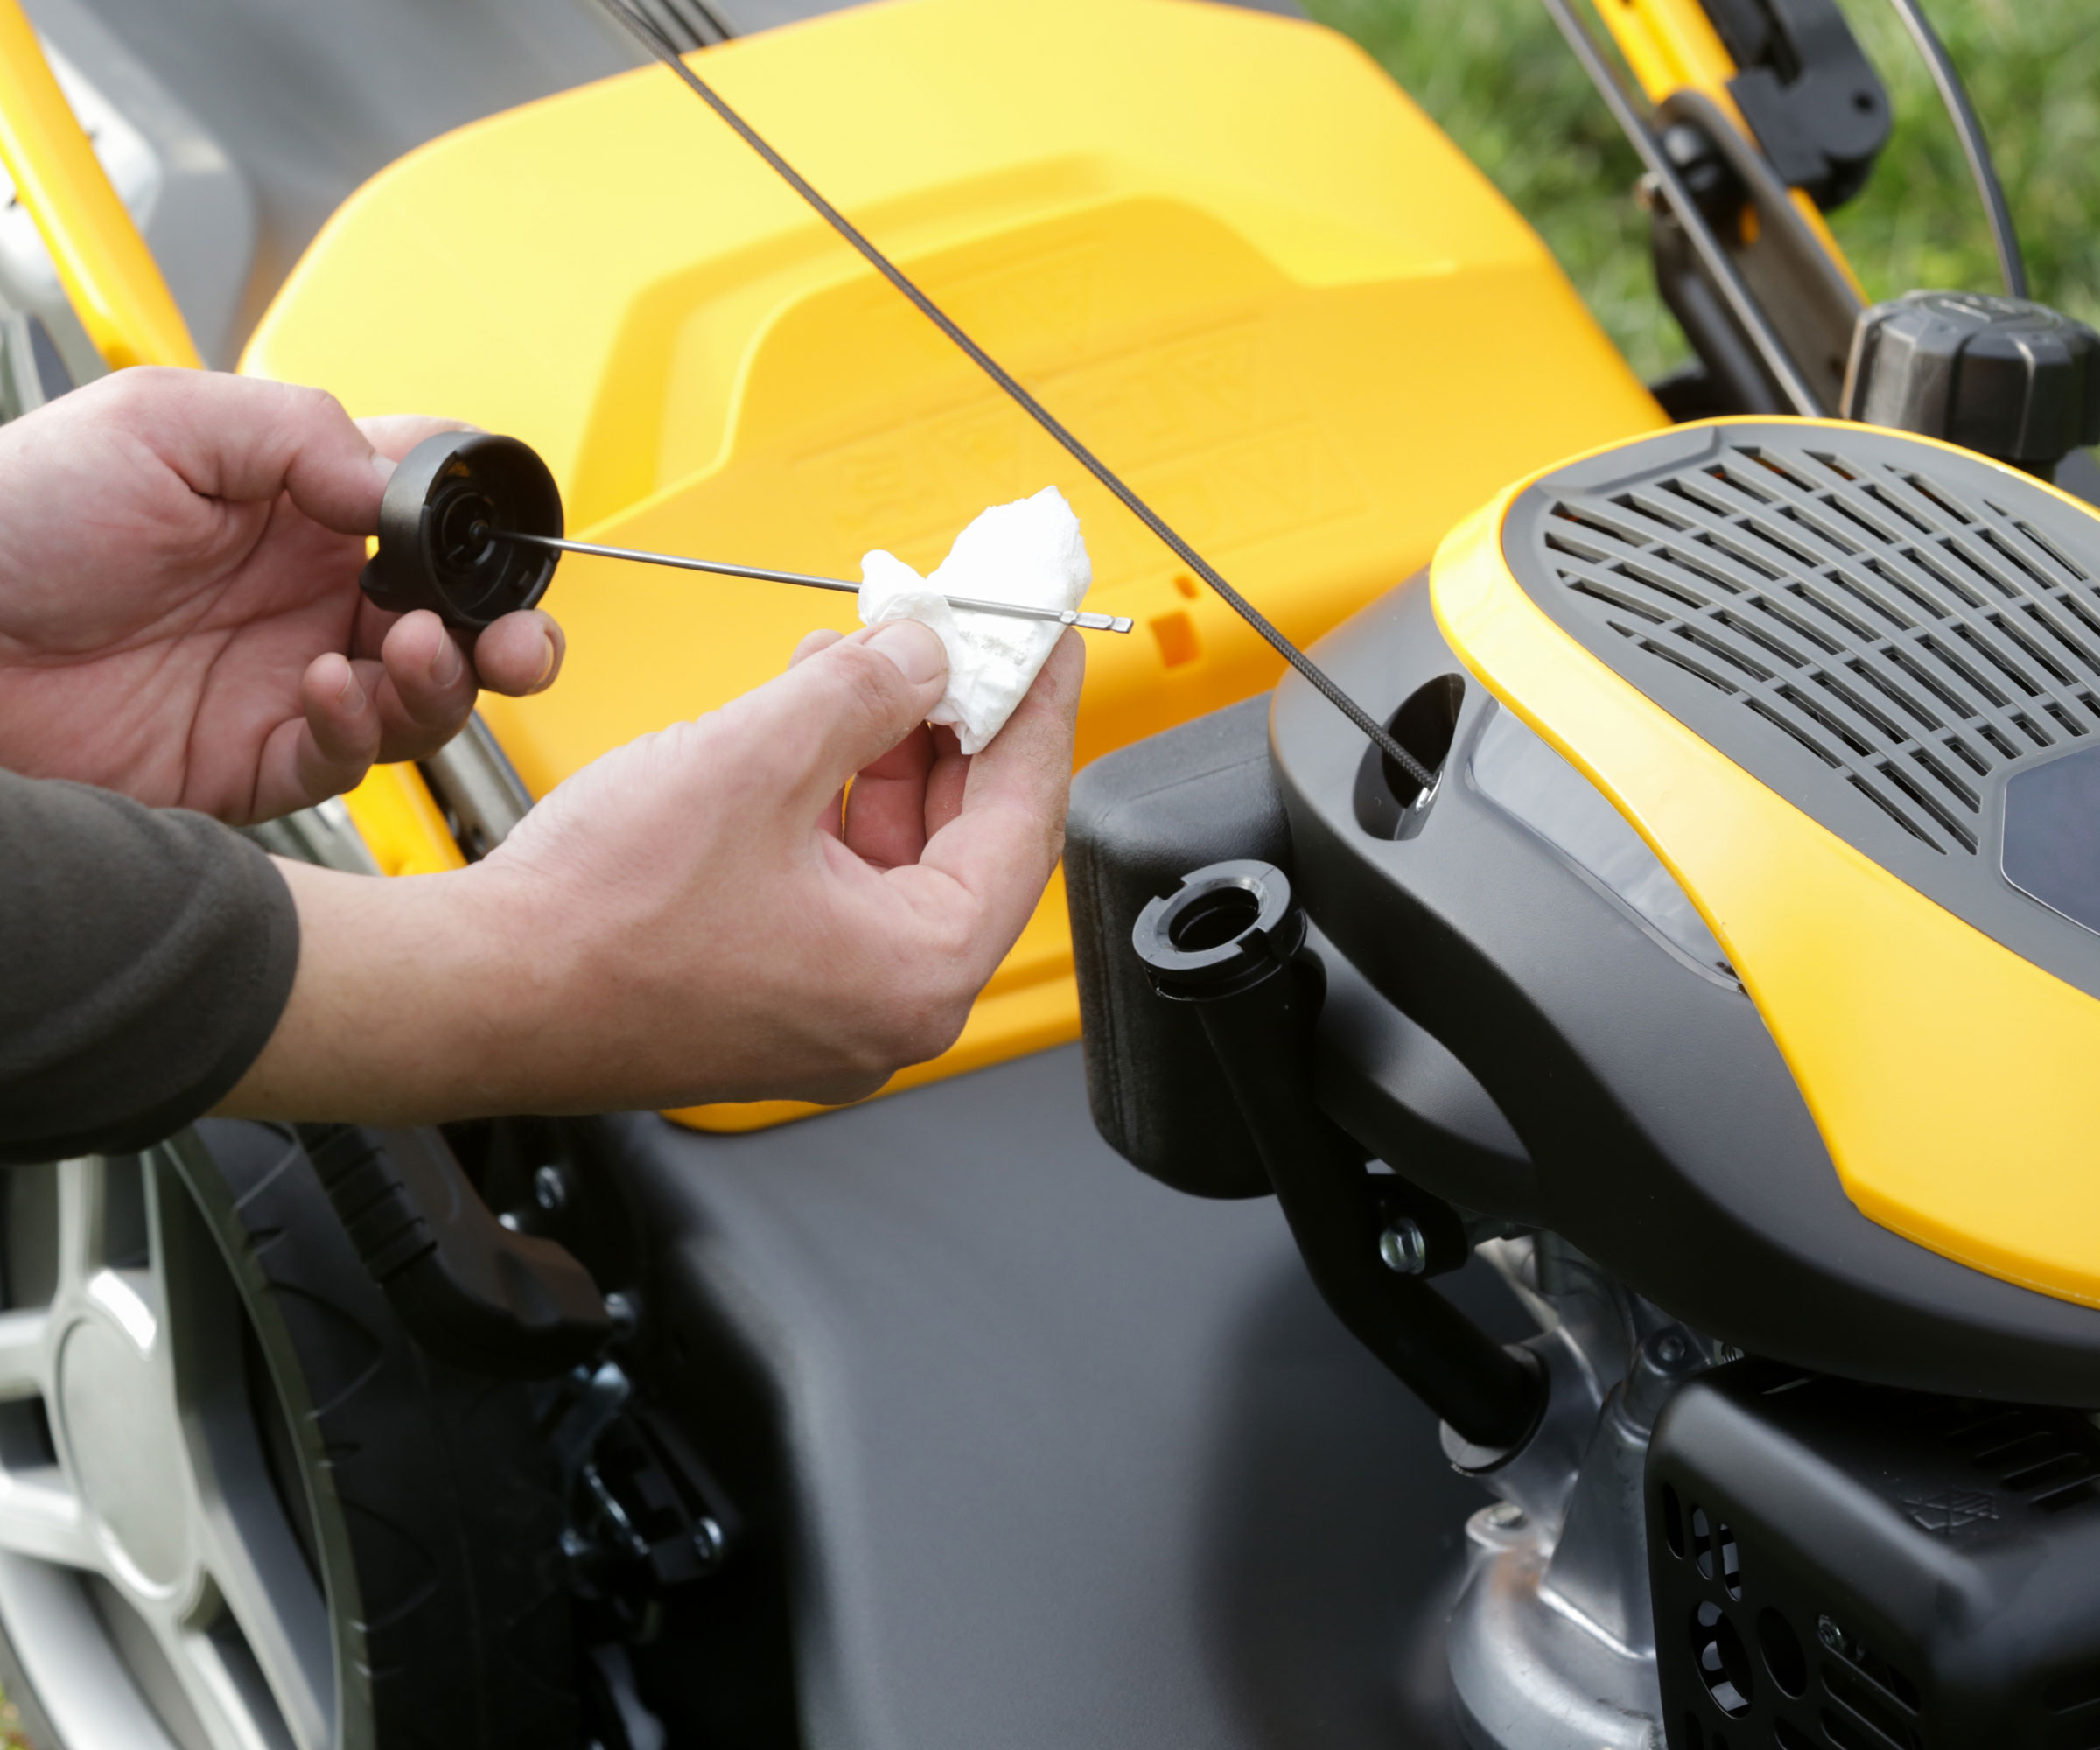
Changing the oil is the single most effective way to extend the lifespan of a gas-powered lawn mower. Over time, engine oil degrades, collecting dirt, carbon deposits, and microscopic metal shavings that cause internal friction. Fresh, clean oil keeps engine components properly lubricated, running cool, and operating smoothly. (Note: If you run a battery or electric mower, you can skip this step entirely.)
Start the engine for 2-3 minutes to warm up the fluid (warm oil drains far quicker than cold). Then turn off the engine and remove the spark plug boot for safety. Position a low-profile drain pan alongside the mower, remove the dipstick cap, and carefully tilt the machine onto its side to drain the old oil completely.
Once emptied, set the mower level on all four wheels, insert a narrow-spout funnel, and refill with the exact oil type and weight specified in your owner’s manual (typically SAE 30 or 10W-30). Briggs & Stratton SAE 30 Four-Stroke Engine Oil (48 oz) from Walmart is excellent for most gas-powered push and riding mowers. Be careful not to overfill, check the level with your dipstick, and then secure the cap.
How often? After every 25-50 hours of use, or at least once per season before winter storage.
3. Refresh the Air and Fuel Filters
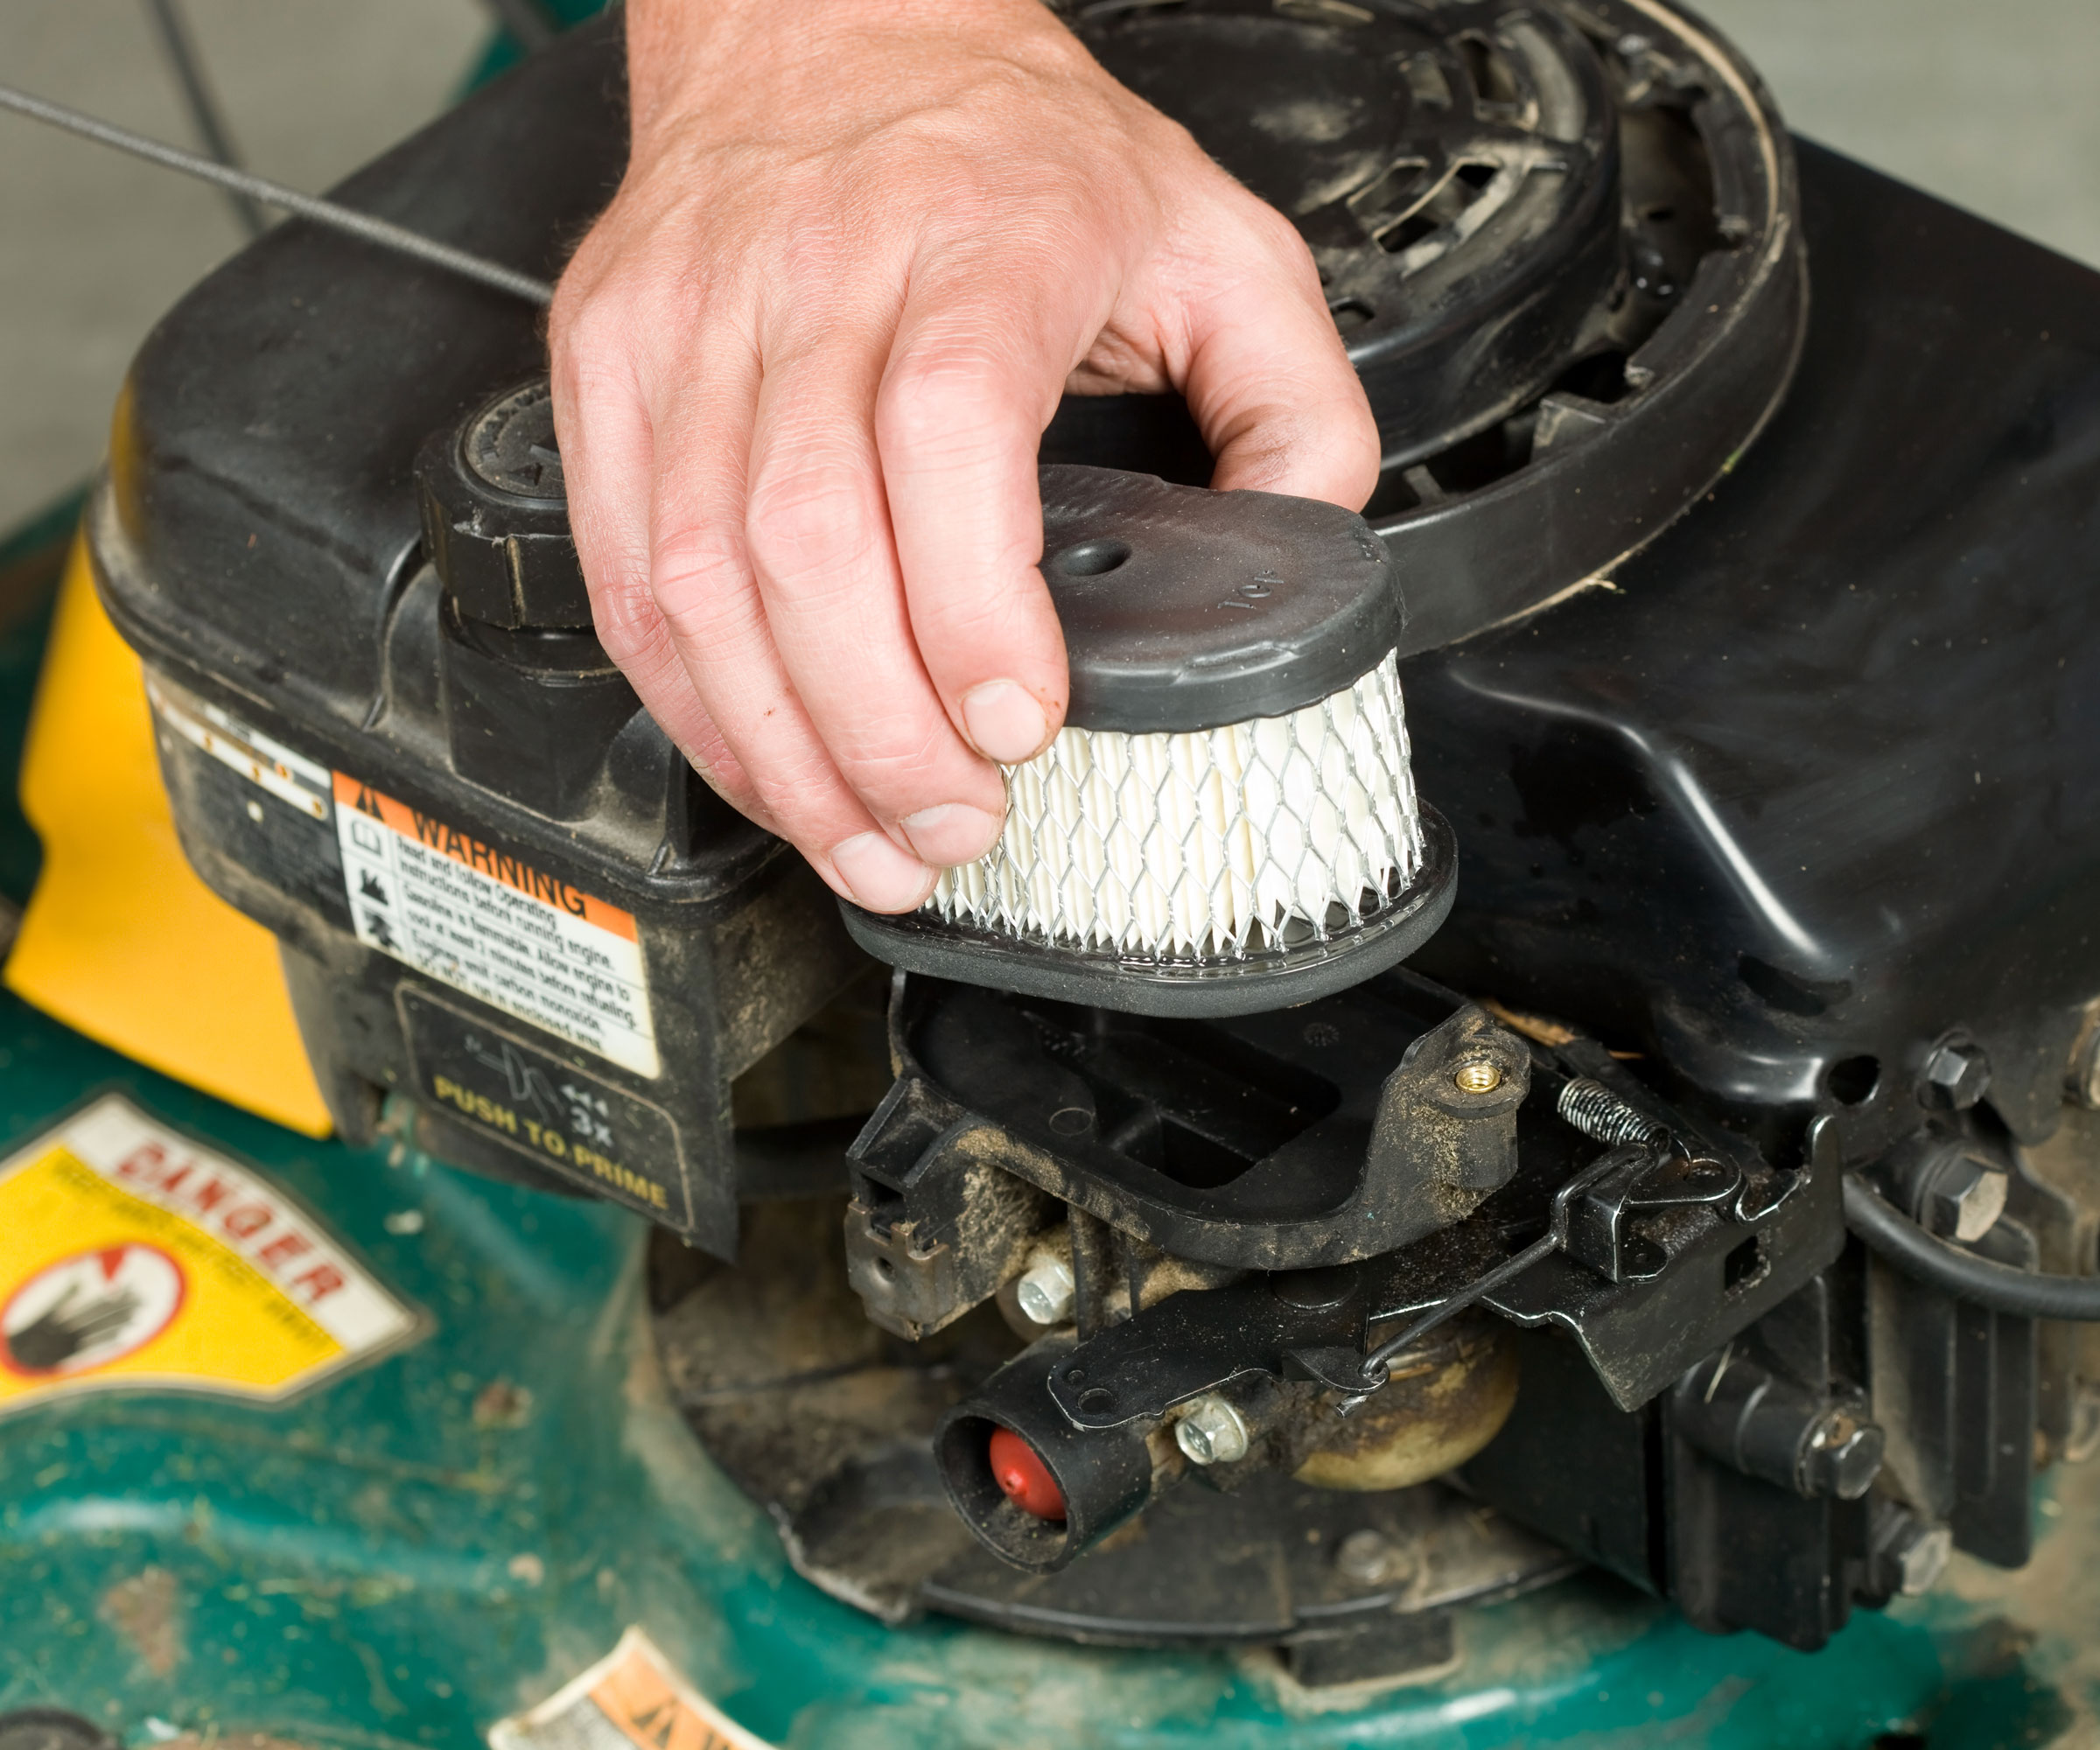
Your mower’s engine relies on a clean mixture of air and gasoline to generate steady cutting power. Over the course of a single lawn care season, dust, fine turf debris, and fuel grit build up inside your filters, starving the engine. Regularly replacing the air filter is crucial, especially in dusty conditions. A damaged filter can lead to problems starting your lawn mower and a noticeable loss of power during use.
Start by unclipping the air filter cover on the side of the engine. If your model uses a pleated paper filter, tap it against a hard surface to knock off loose dust. If the air filter is damaged, worn, or still dirty after cleaning, you need to replace it. Swap in a new one if the paper is black or oil-stained. You can buy a Briggs & Stratton Flat Air Filter Cartridge from Amazon. Foam filters can simply be washed in warm, soapy water, squeezed dry, and reinstalled.
Next, inspect the fuel filter along the main fuel line. A clogged filter blocks gas from reaching the carburetor, which has the potential to stop the mower from being usable altogether. Without change, this can cause poor engine performance and eventually has the potential to stop the mower from being usable. Clamp the fuel line with a hose pinch pliers to prevent spills, slide off the metal retaining clips, and swap in a fresh fuel filter like the Sunbelt Universal Fuel Filter from Lowe’s. Then secure the clamps back into place.
How often? Clean or replace the air filter every 3 months (or once a season), and swap the fuel filter annually.
4. Check and Replace the Spark Plug
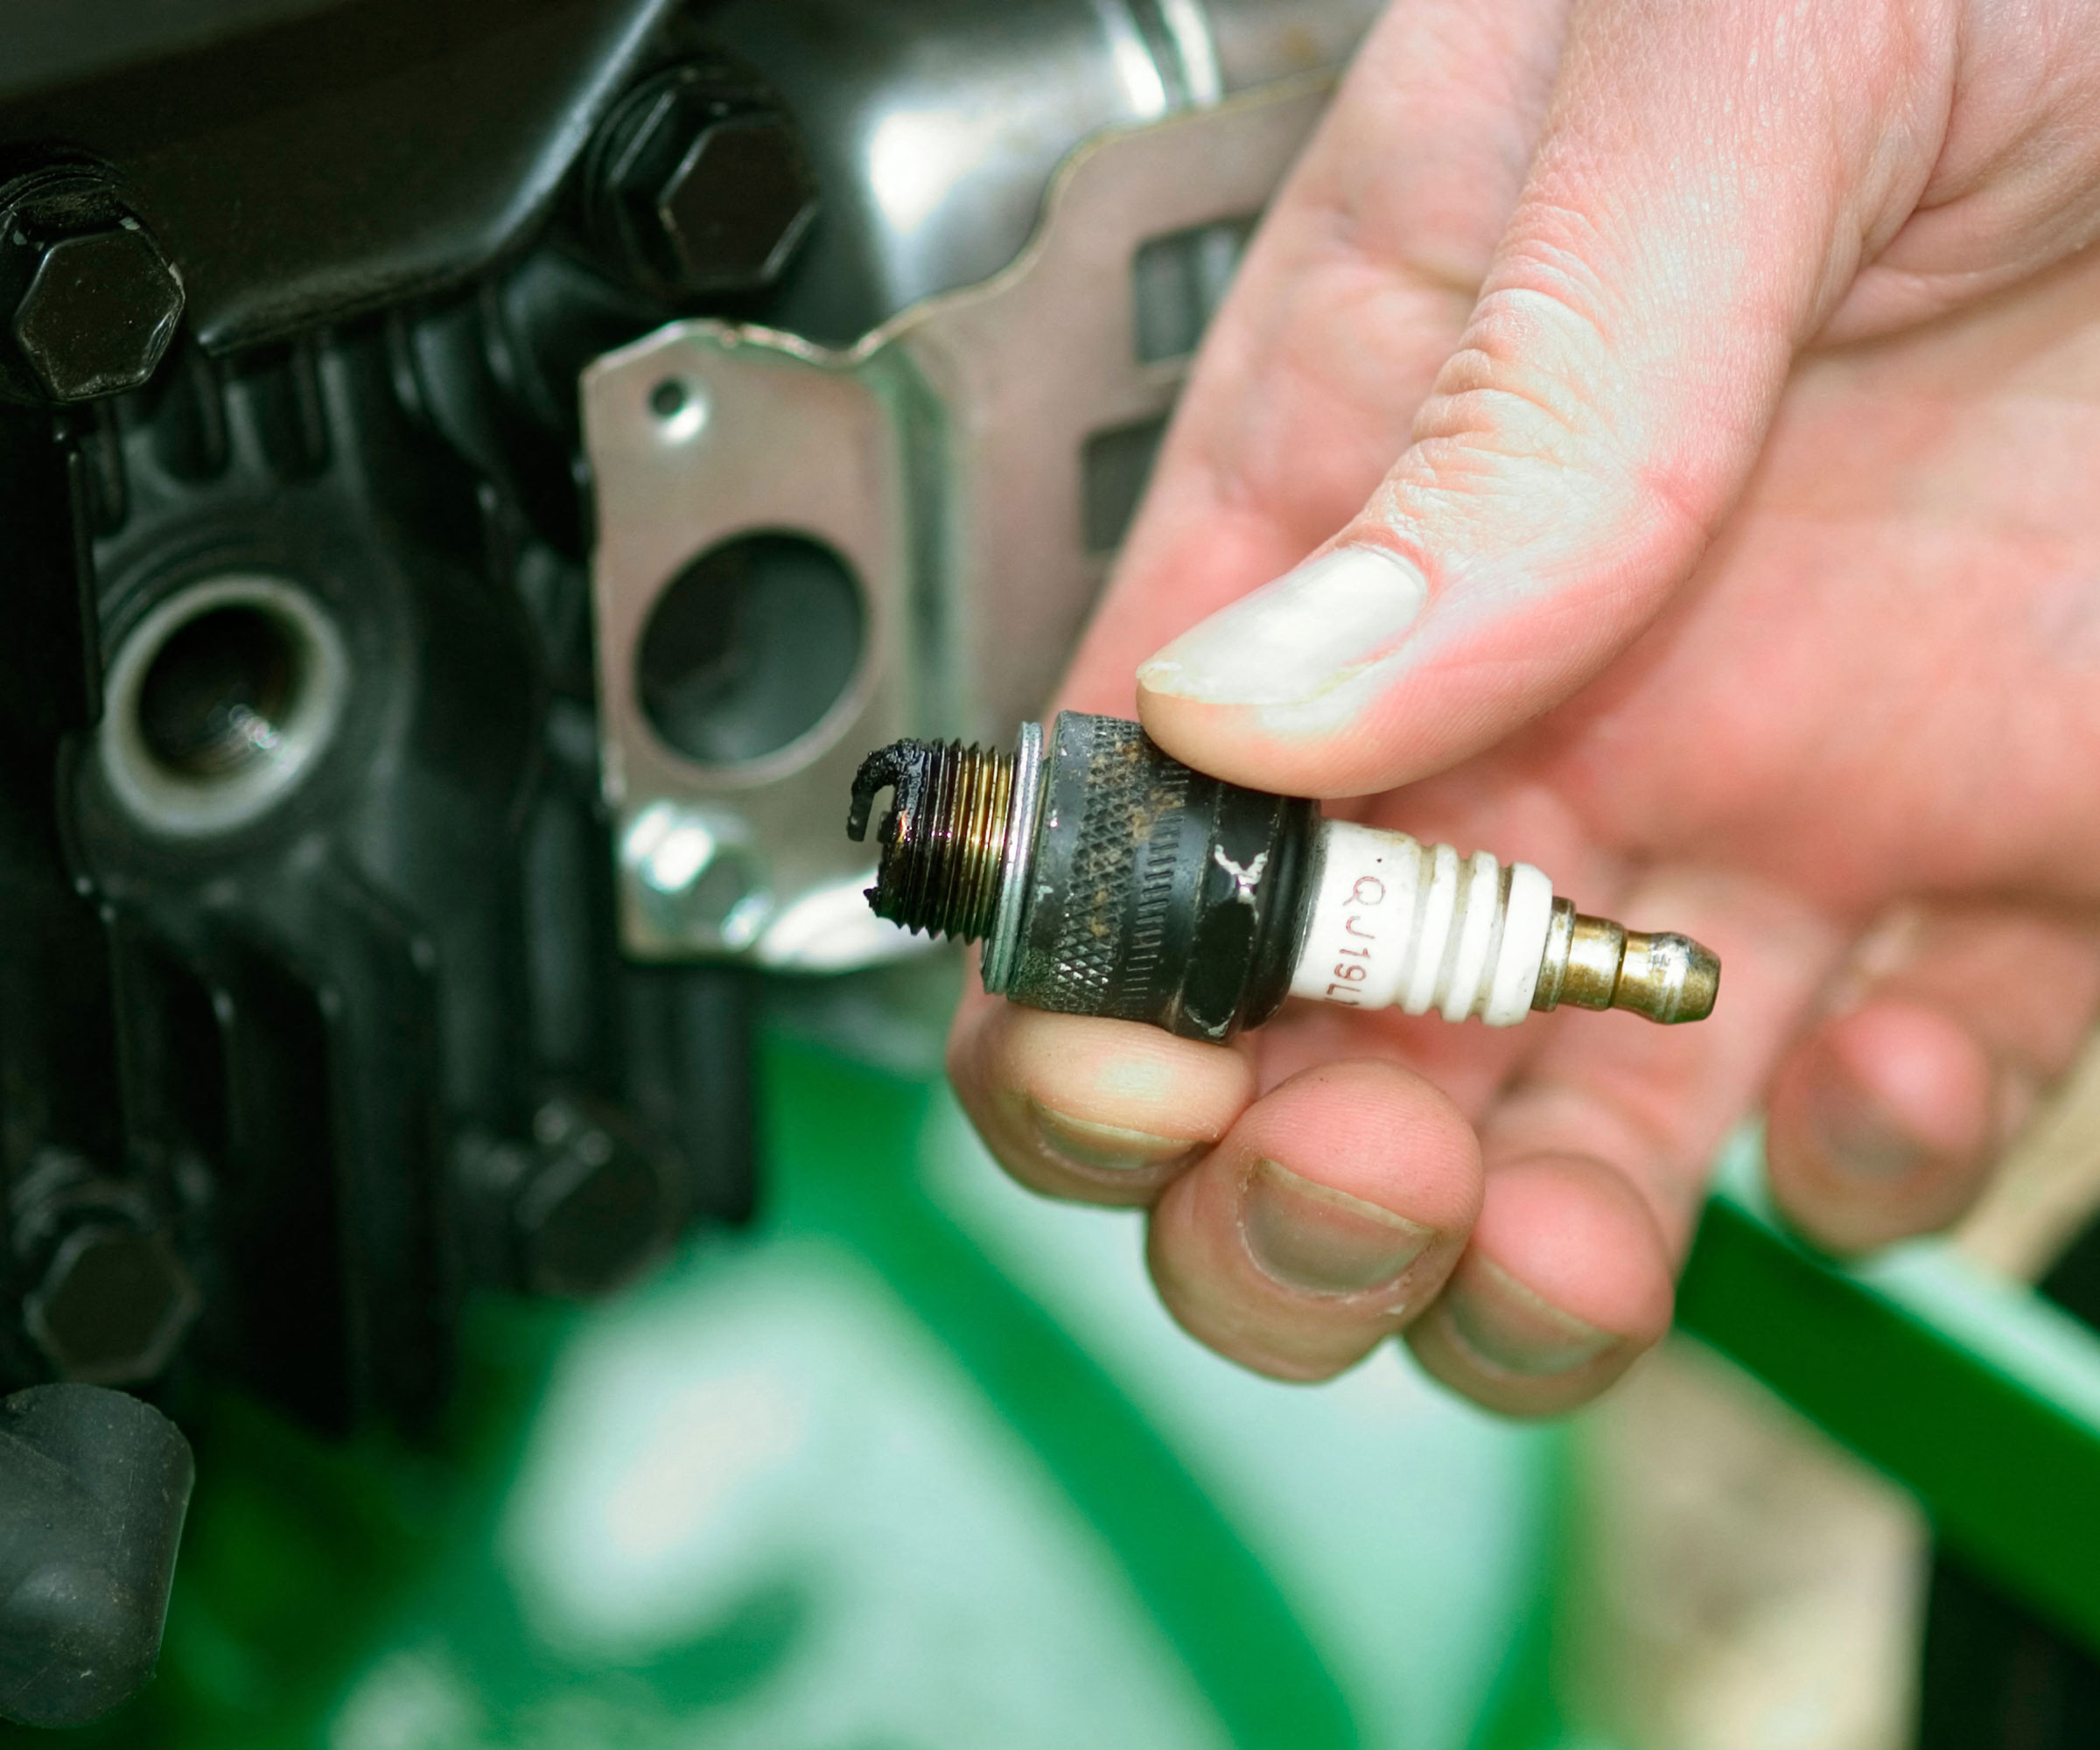
A dirty, corroded, or carbon-fouled spark plug prevents proper ignition, making your mower difficult to start and causing the engine to misfire or stall when cutting thick turf. And the thing is, spark plugs are well within most budgets and easy to swap.
To replace the plug, gently pull off the rubber ignition cable boot. Use a dedicated spark plug socket wrench to unscrew the old plug counterclockwise. Before buying a replacement, check your manual to match your exact engine type. If your existing plug just has light carbon buildup, you can often clean the tip with a wire brush and keep using it. However, if the porcelain insulator is cracked, the electrode is eroded, rounded, or heavy dark soot won’t come off, it’s time for a new one.
For standard side-valve engines, the very highly rated Champion RJ19LM from Amazon is the most common industry standard, while modern overhead-valve (OHV) engines typically require a Champion RC12YC, also from Amazon. Inspect the gap on your new plug before installing to ensure it meets factory specifications. Thread the new spark plug in by hand first to avoid cross-threading the delicate aluminum cylinder head, then tighten firmly with your wrench until seated snug against the washer. Reattach the ignition cable, and your ignition system is set for the season.
How often? Replace every 1-2 years (or after 100 hours of operation).
5. Inspect and Sharpen the Blades
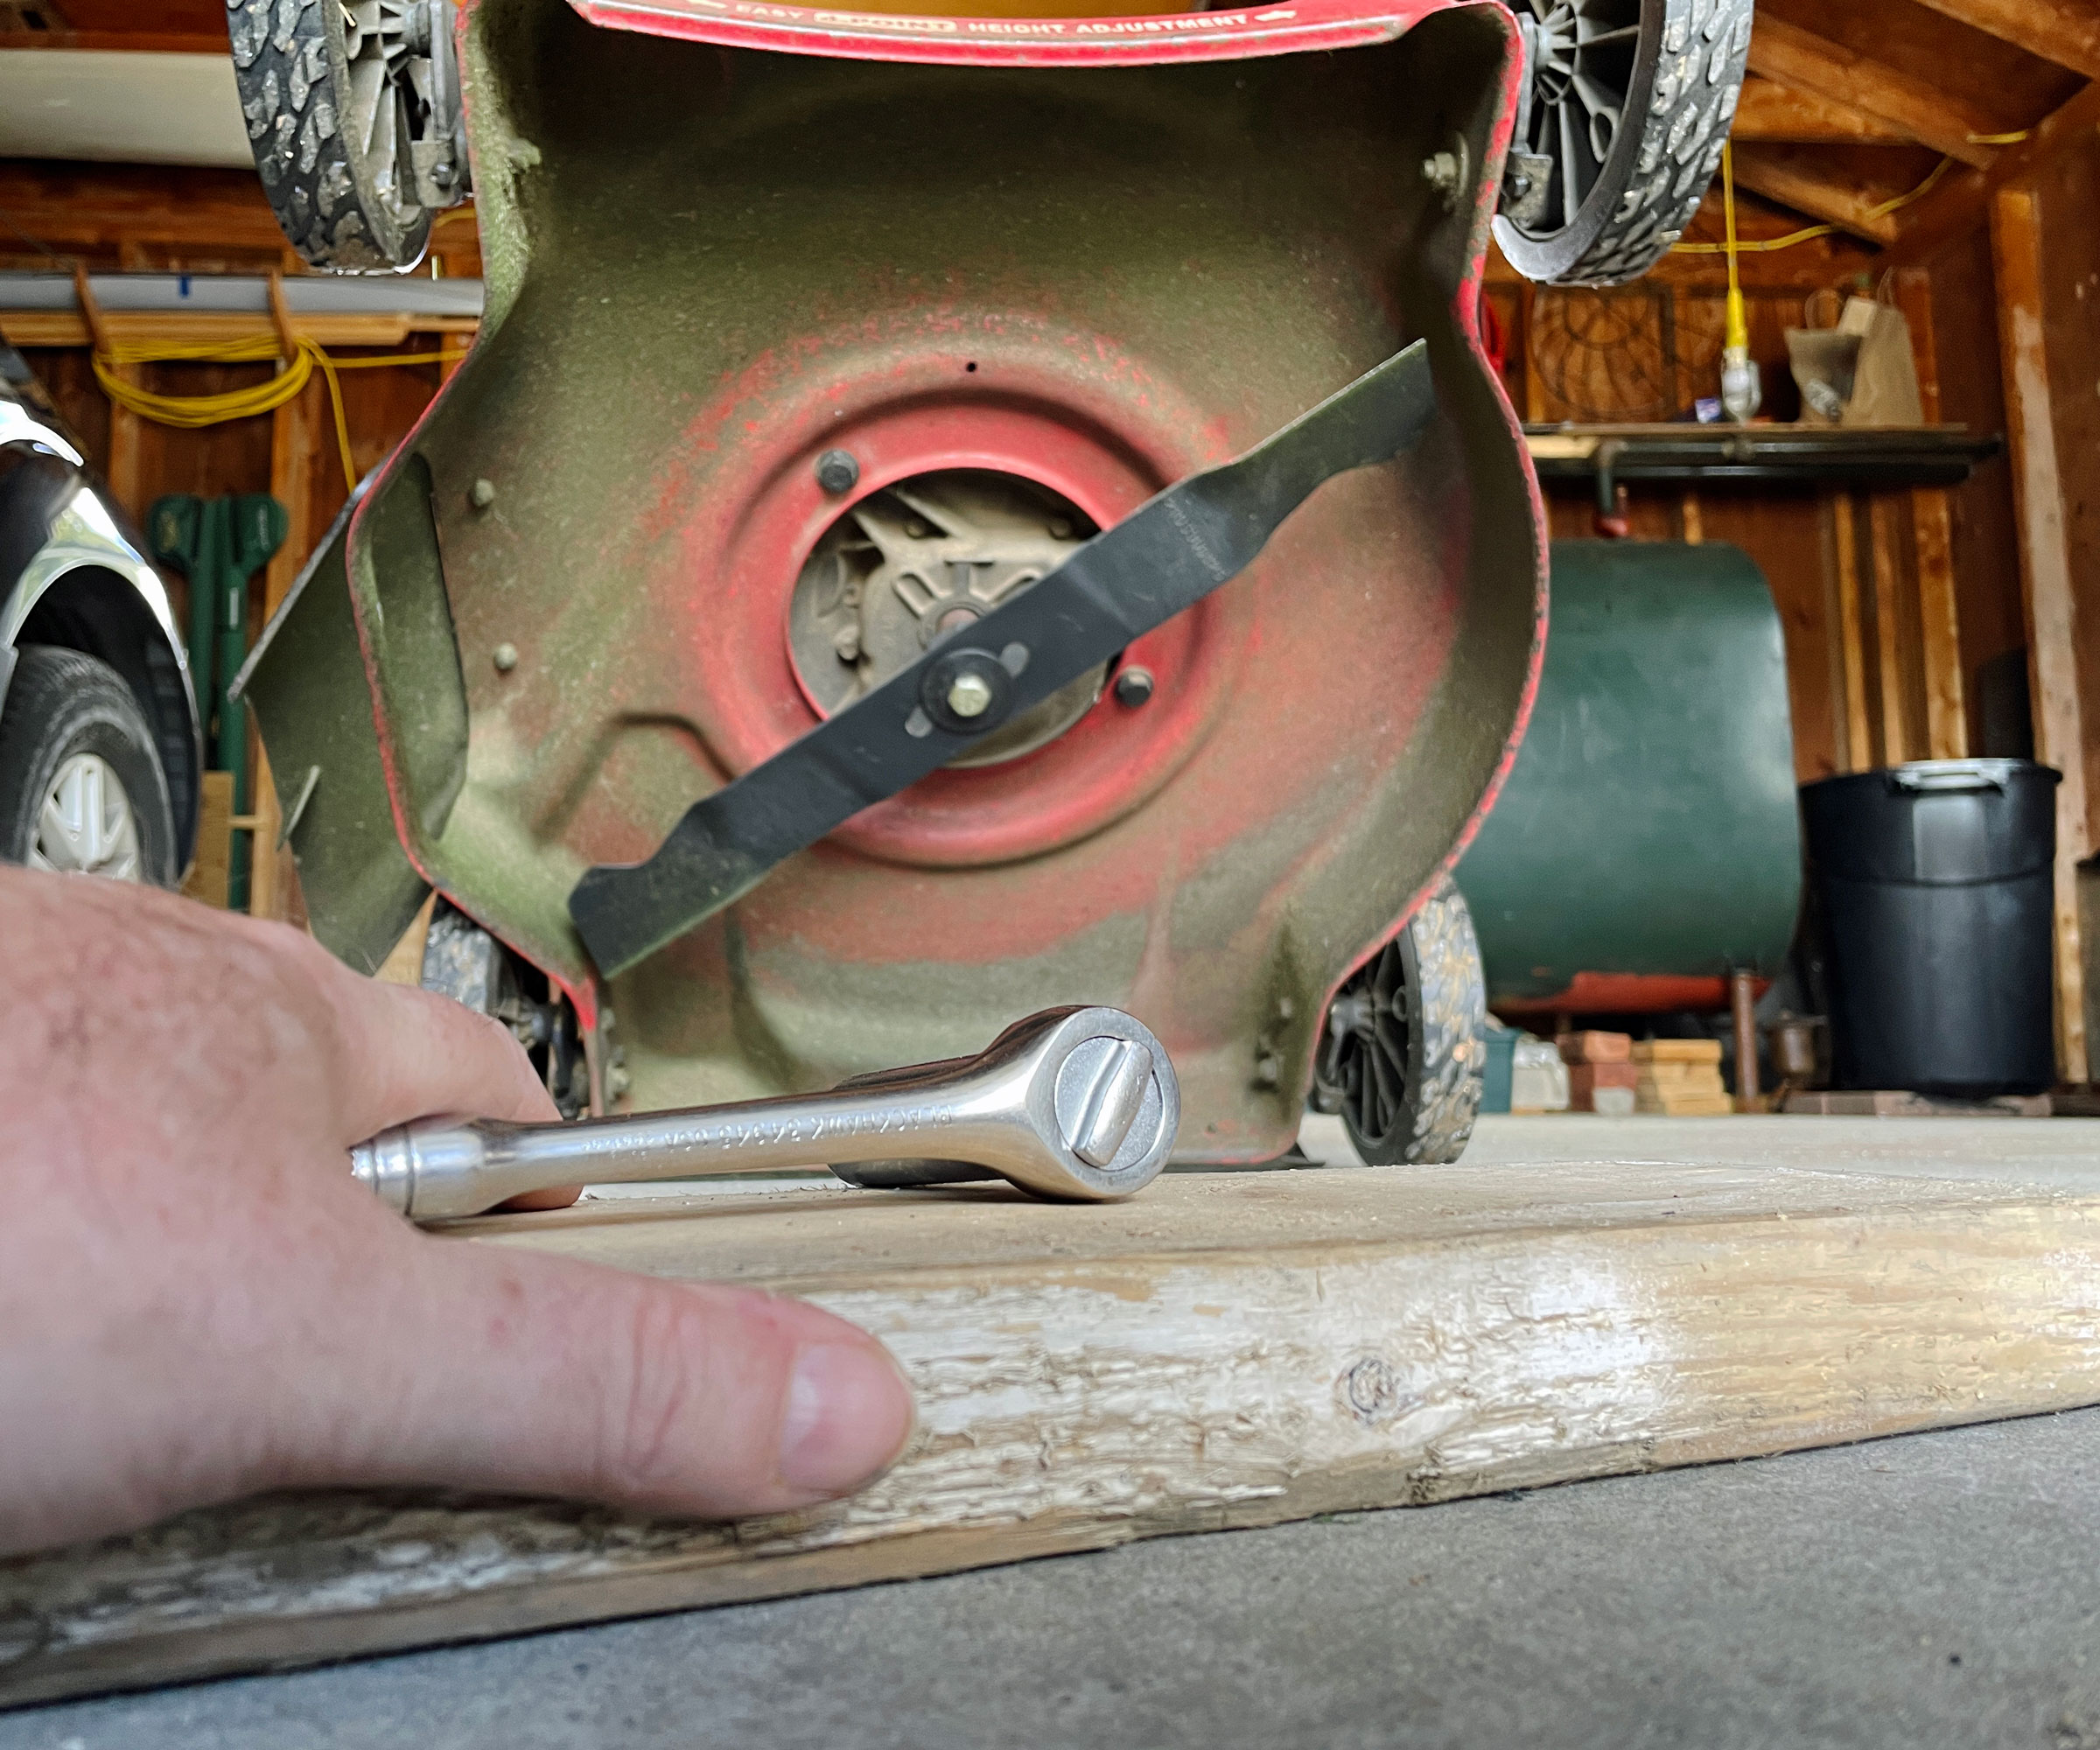
Dull mower blades hack and tear at grass rather than cutting it cleanly. So inspecting and sharpening your lawn mower blade at least once a season ensures a crisp, healthy cut that keeps your lawn looking lush. Safety is essential: check the spark plug boot is disconnected or the electric battery is removed before touching the blade. Wearing your gloves, use a socket wrench to unscrew the central retention bolt and remove the blade. Clean off any caked-on grass and sap with warm, soapy water and a stiff sponge.
Clamp the blade firmly in a bench vise or against a sturdy workbench. Then sharpen with your metal file or blade sharpener. If you haven’t got one, the Sharpal 103N All-in-1 Lawn Mower Blade Sharpener from Amazon is a compact, easy choice that can usually get the job done in a few quick strokes. Place at the same angle as the blade edge and push down and forward. Work in smooth, one-direction strokes until the edge is clean and free of minor nicks. Before reinstalling, balance the blade on a nail or balancing cone to ensure one side isn’t heavier than the other, which causes dangerous engine vibration.
How often? Sharpen every 25-30 hours of mowing (or twice per season), and replace damaged blades every 1-2 years.
6. Check the Battery and Drive Belt
If your lawn mower has a battery, you’ll need to check it’s in good working order. Most gas push mowers don’t have a battery, but riding mowers, electric-start models, and cordless battery mowers do rely on them. For cordless electric mowers, press the built-in charge indicator button to check remaining cell health, and recharge if needed. On gas riding or electric-start mowers, inspect terminal posts for white corrosion. Wipe clean with a dry cloth, and check charge levels using a digital multimeter. If you need a good voltage tester, you can pick up the highly rated AstroAI Digital Multimeter Voltage Tester from Walmart (which is also handy for checking car and household batteries).
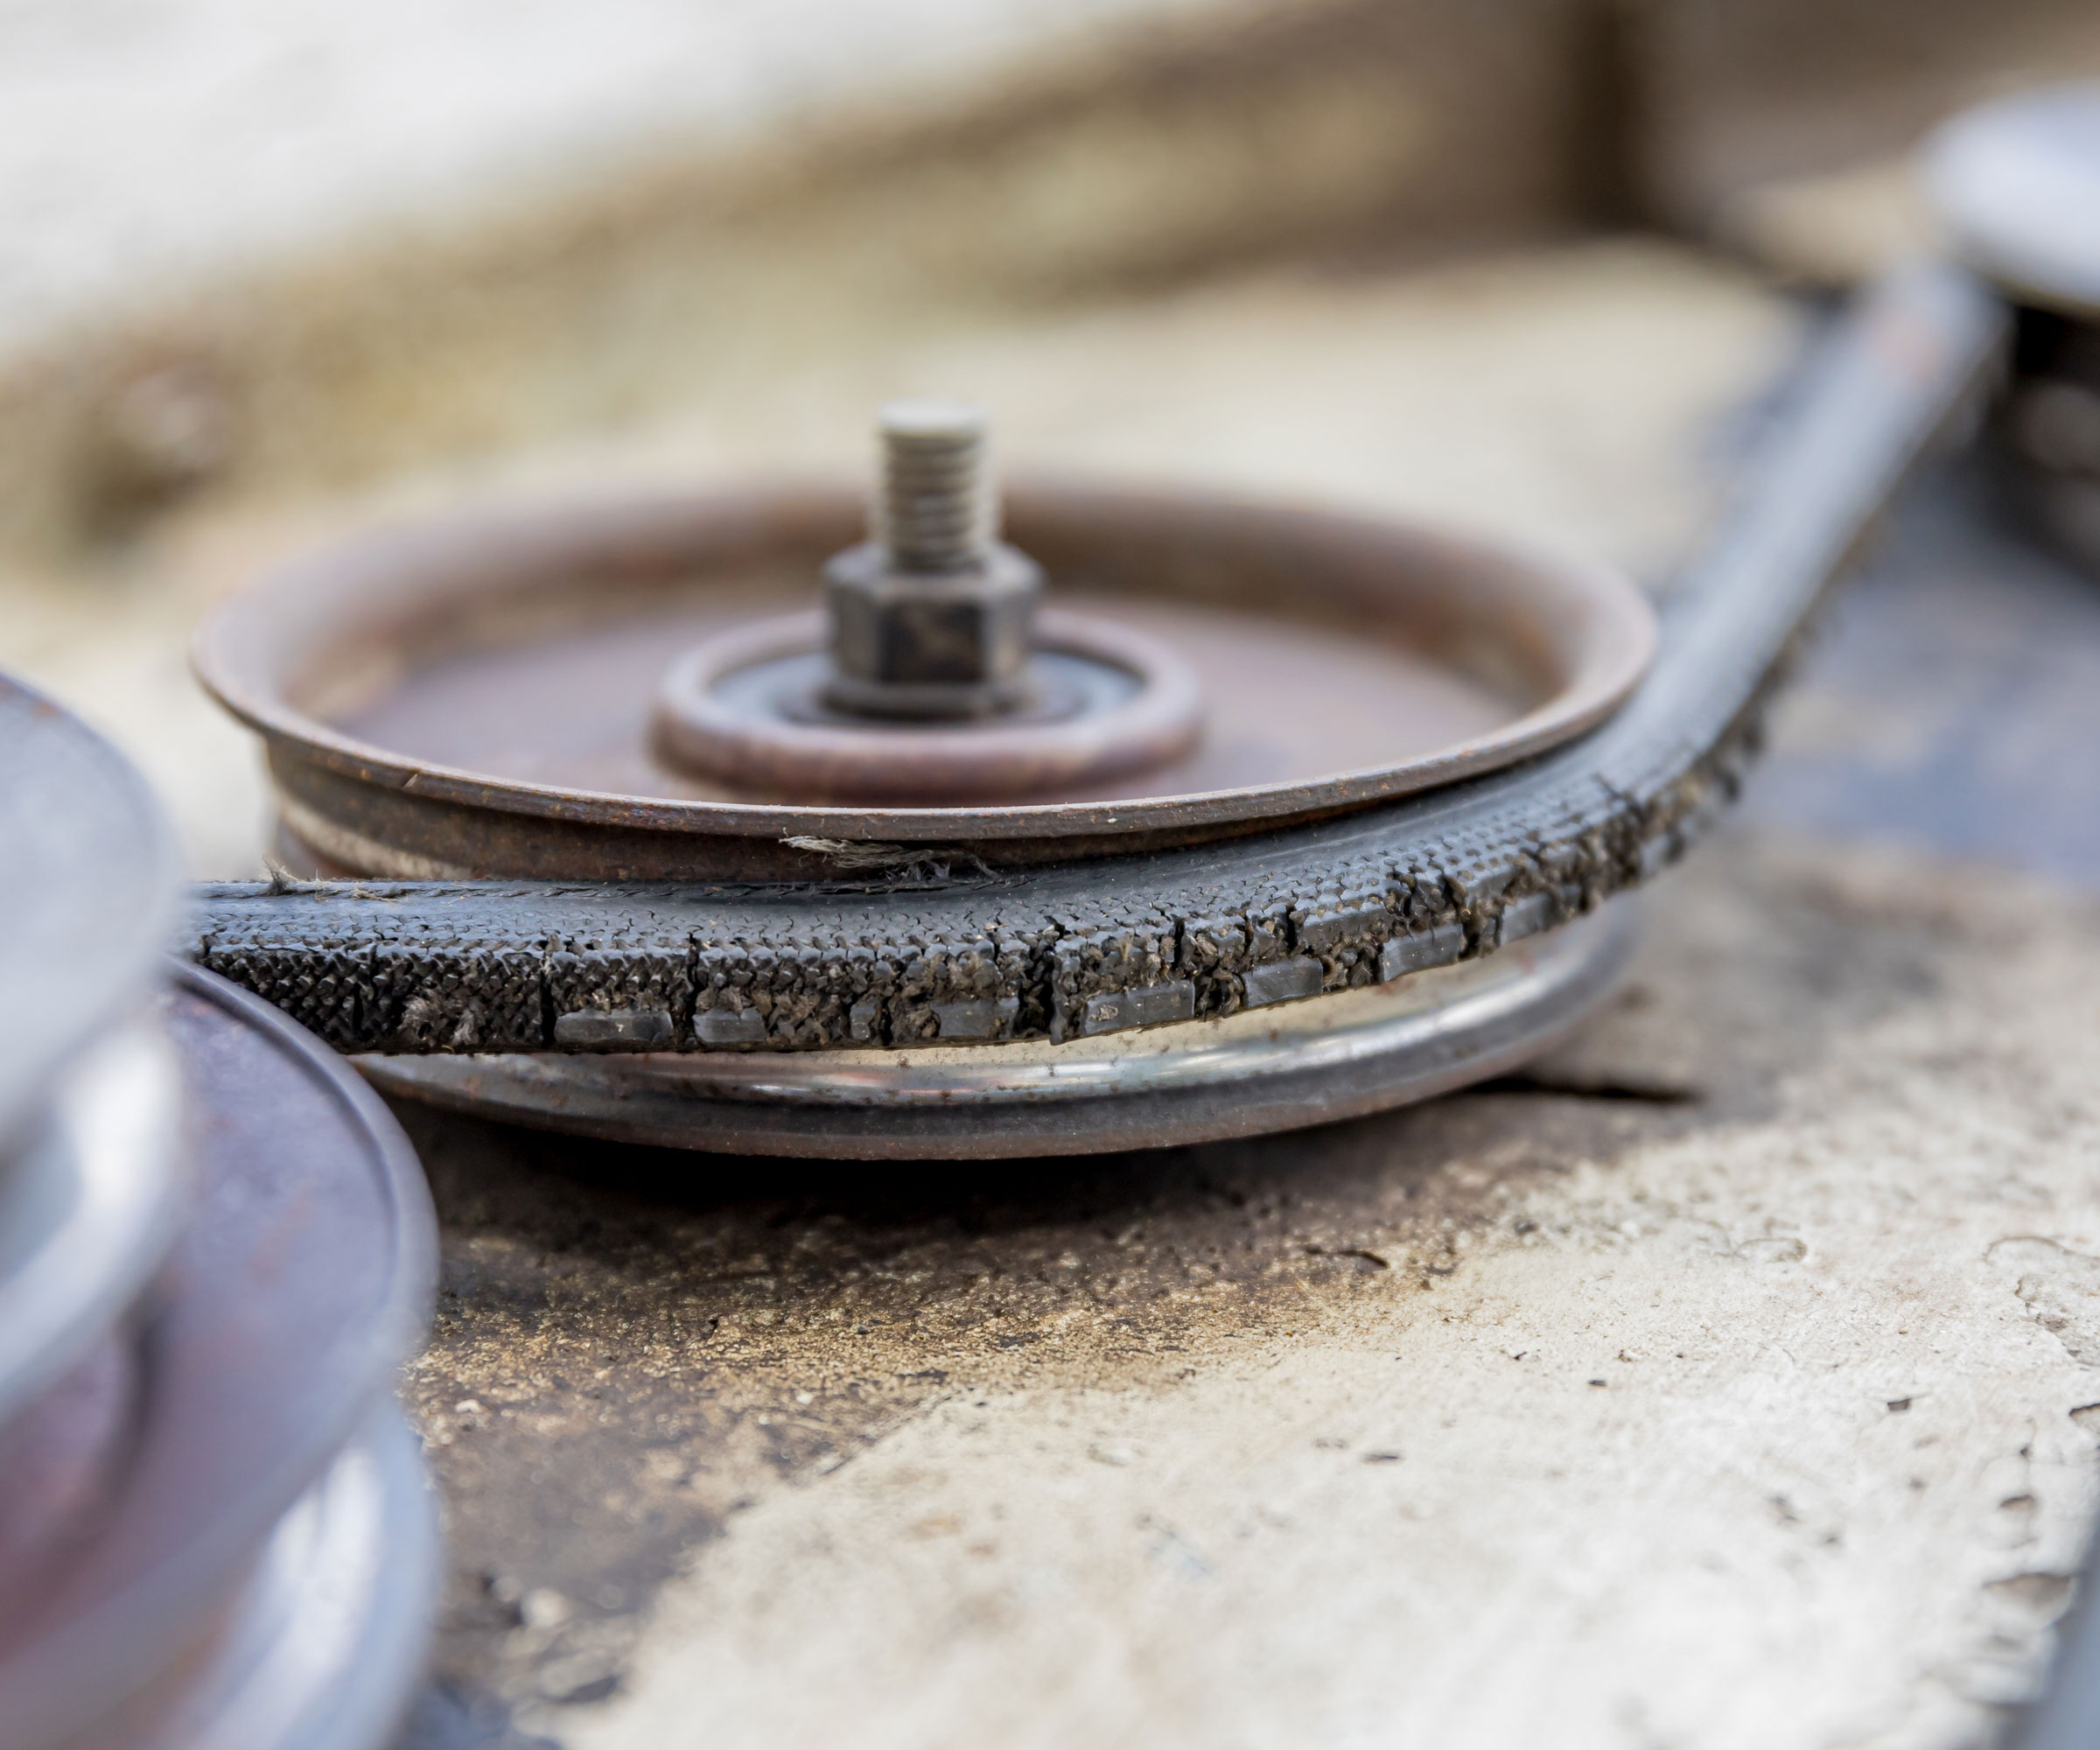
Next, inspect the rubber drive belt linking the engine to the transmission or cutting deck. Mower belts should be checked regularly. There is no specific timeline on how often these should be replaced, as their lifetime depends on operating conditions. Just check that belts are not worn, frayed, or cracked, and are correctly tensioned. If a belt appears stretched or glazed, consult your owner’s manual for replacement part numbers or pop into a local dealer for quick installation.
How often? Check battery voltage and inspect drive belt tension at the start of spring and midway through the cutting season.
7. Stabilize Fuel and Winterize for Storage
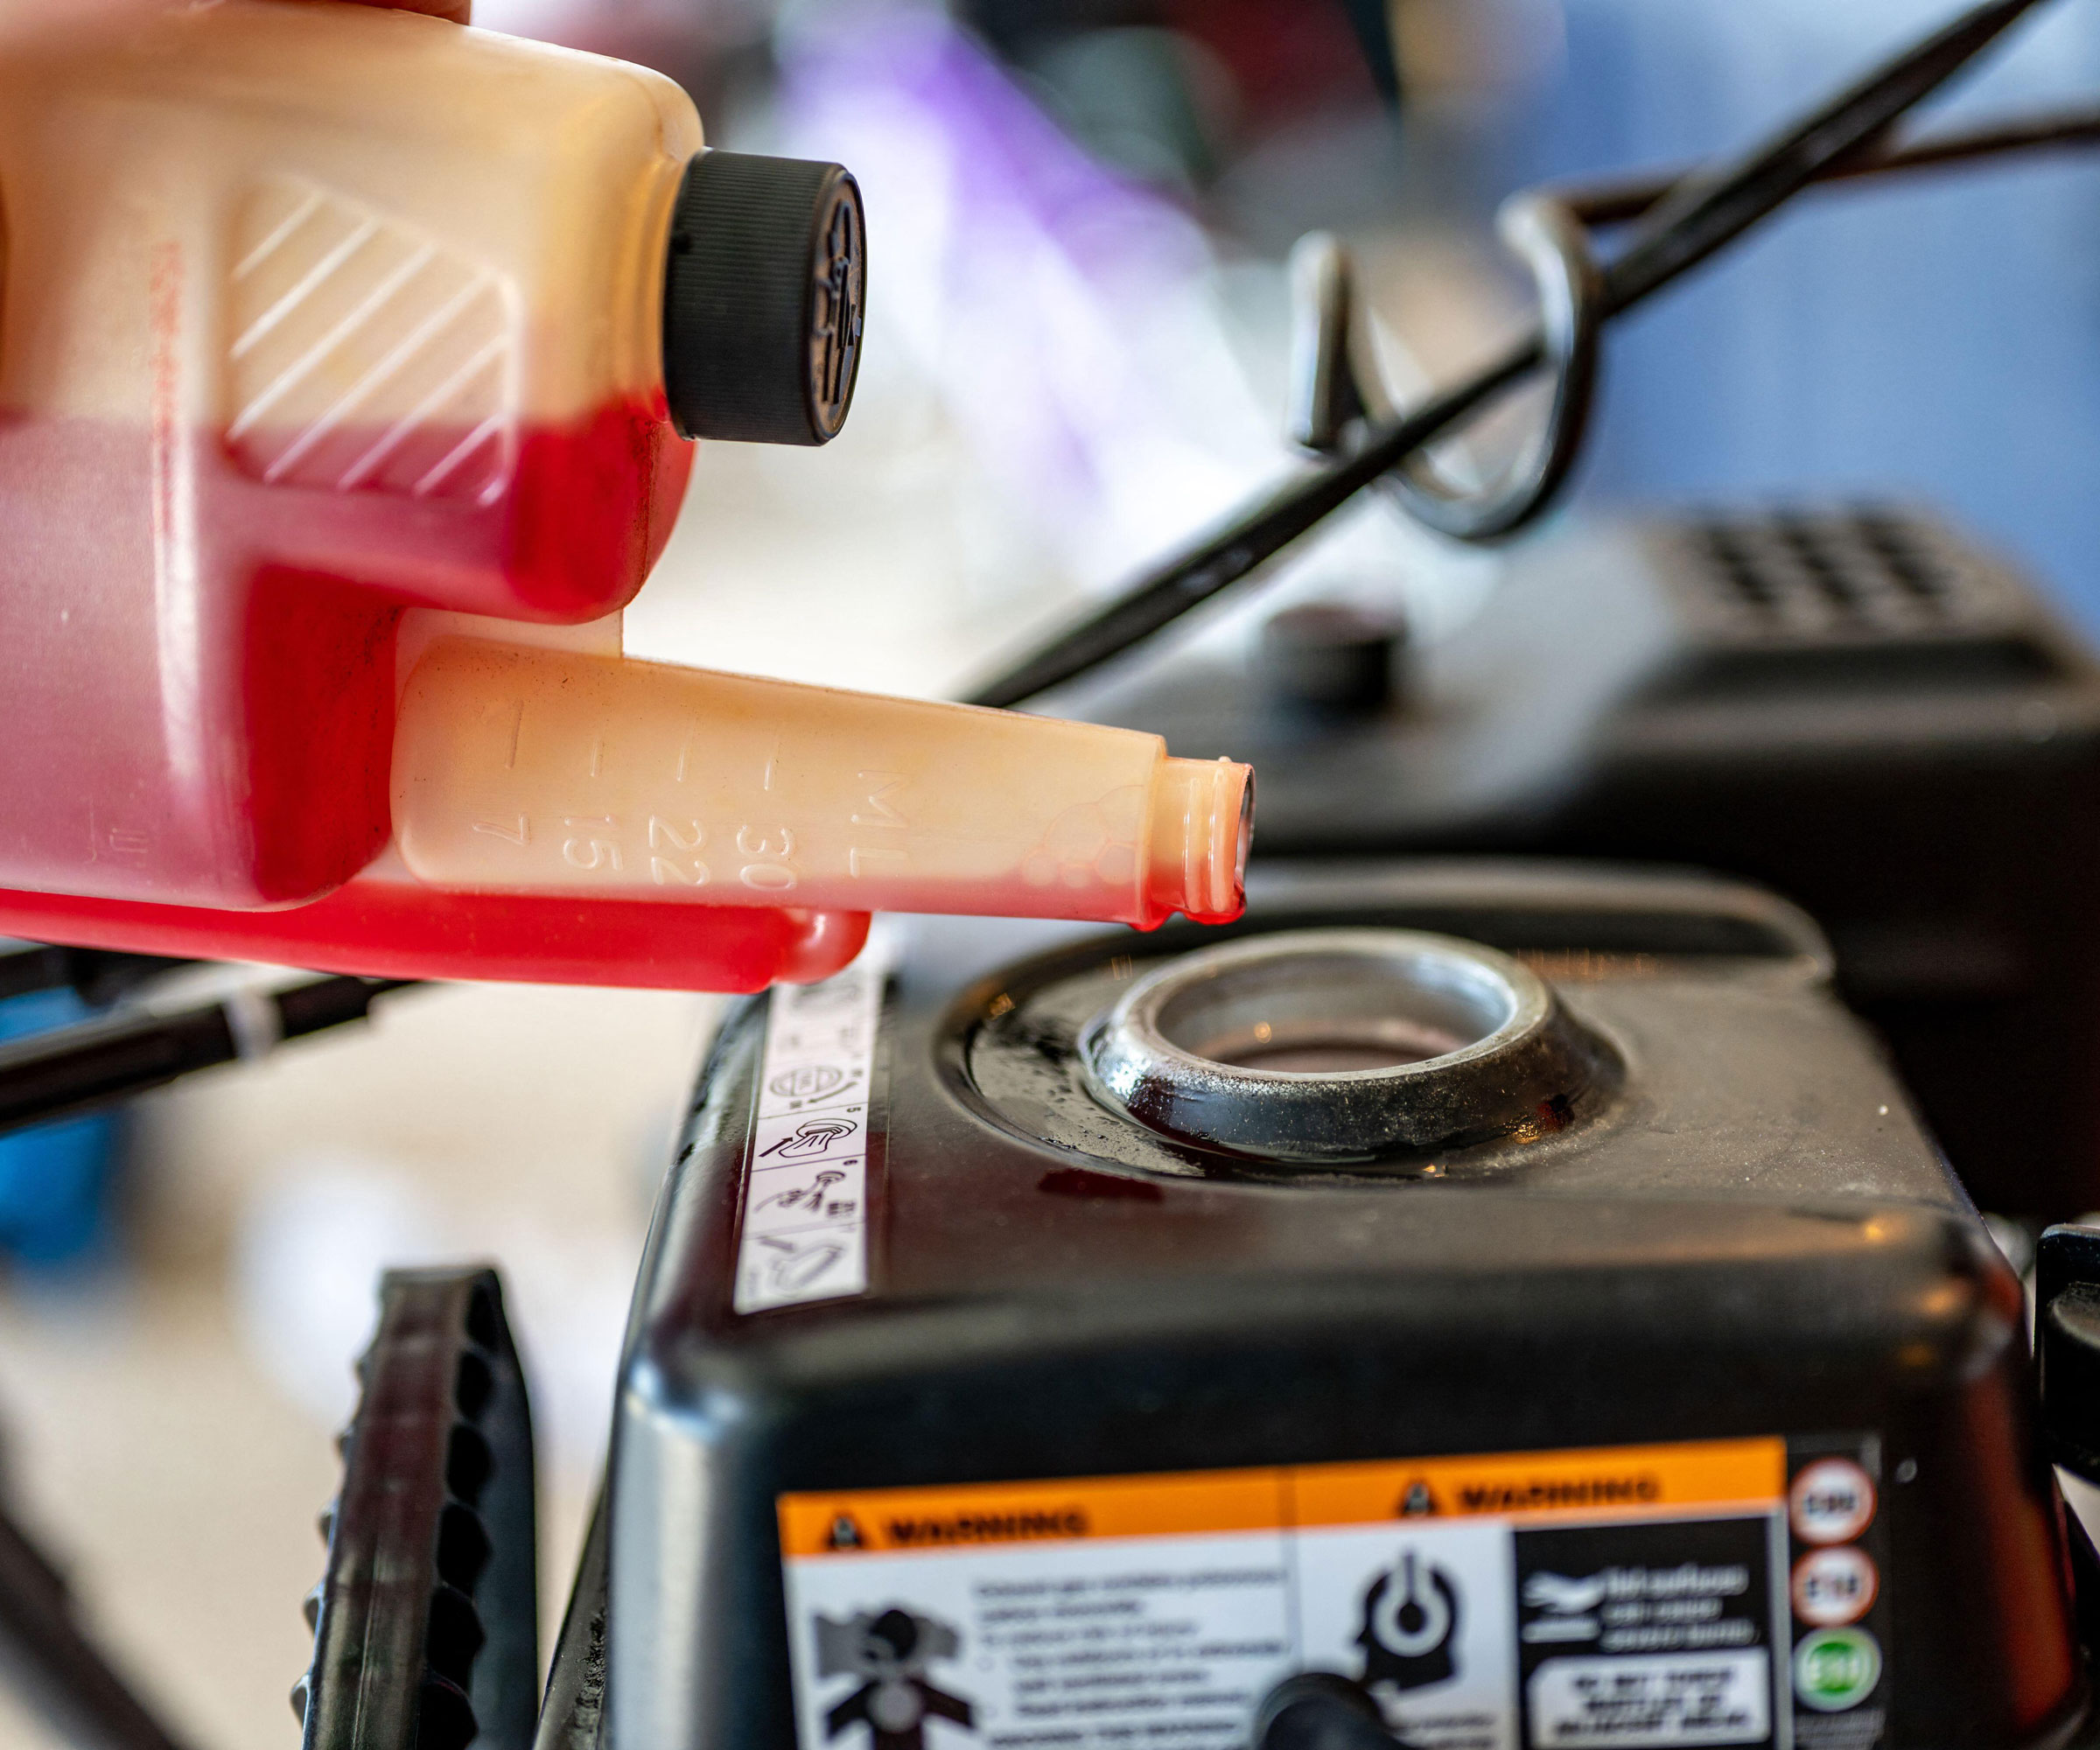
Untreated gasoline can begin to degrade and break down in as little as 30 days. As ethanol-blended gas sits in a fuel tank, it forms sticky varnish and gum deposits that clog the tiny passages in the mower’s carburetor. Using a quality fuel stabilizer keeps gas fresh for up to 24 months, ensuring your engine fires up effortlessly every single time. If you need a bottle of fuel stabilizer, STA-BIL Storage Fuel Stabilizer, available from Lowe’s, is the gold-standard additive for keeping small engine gas fresh.
Fuel stabilizer removes the need to drain fuel prior to storage by keeping it fresh and helping prevent buildup within the engine fuel system. Simply pour the recommended dose into your gas can or mower tank, then run the engine for 5 minutes so the treated fuel circulates through the entire fuel line. This is especially useful before putting your lawn mower in storage. Basically, you are adding a solution to the fuel that will stop it from degrading when not in use for long periods.
When preparing your machine for long-term winter storage, top off the gas tank with stabilized fuel to prevent moisture from condensing inside the tank. Finally, store your mower in a dry, covered shed or garage, and pop a heavy-duty weather cover over the deck to protect electrical components from dust and dampness.
How often? Add fuel stabilizer every time you fill your gas can; store with a full, treated tank at the end of the cutting season.
Establishing a quick, consistent lawn mower maintenance routine is the ultimate way to safeguard your gardening investment and ensure a clean, healthy cut every time you hit the grass. By taking care of simple tasks throughout the cutting season, and running through our checklist again before winter storage, you will be giving your mower (and your grass!) the best care season after season. Follow these steps, and your lawn mower will be your friend for years to come.
Frequently Asked Questions
How often should a lawn mower be serviced?
For standard residential use, a lawn mower should receive a full maintenance service at least once every 12 months, ideally right before the spring cutting season begins. However, if you have a large yard or mow frequently, your schedule should be based on operating hours rather than the calendar.
With standard use, gas lawn mowers should be serviced at least every 12 months. However, if used more frequently, service blades after every 25–30 hours of use, changing oil every 30 hours or so, and inspecting all other moving parts every 50 hours. Battery lawn mowers should be serviced once a year using a similar timeline.
Should I wash my lawn mower after every use?
Yes, giving the underside of your mower deck a quick clean after every 1-2 uses prevents wet grass clippings from drying into a concrete-like crust that bogs down the blades and rusts the metal deck housing. But always exercise caution when using water around an engine, though.
Disconnect the power source first, and avoid spraying cold water directly onto a hot gas engine block immediately after mowing, as rapid temperature shifts can crack the metal housing or damage sensitive gasket seals. Allow the machine to cool down before rinsing, and always brush away loose debris around electrical ports on battery models using a dry cloth or soft brush instead of a hose.
How often should I oil my lawn mower?
You should check your oil level with the dipstick before every single mowing session to make sure the engine isn’t running dry, topping up with small amounts as needed. However, a complete oil drain and replacement should be performed after every 25-50 hours of use ,or at least once at the end of each cutting season. In particularly dusty, dry, or sandy conditions, more frequent oil changes may be necessary to prevent grit from entering the crankcase.
Which way should I tip my lawn mower when working on it?
When tilting a gas lawn mower onto its side to clean under the deck or access the blades, always tilt the mower with the spark plug and air filter pointing up to the sky. If you tip the mower with the air filter facing downward, engine oil will drain out of the crankcase into the air filter housing and carburetor. This saturates the paper filter element, causes smoke upon startup, and can prevent the engine from firing. If in doubt, consult your manual for the manufacturer’s recommended tilt direction.
Need more ideas for getting the most from your plants, indoors and out, and looking for the best seasonal expert advice delivered straight to your inbox? Sign up for the free Gardening Know How Newsletter!