Hostas (Hosta spp.) are beloved backyard staples. Celebrated for their lush foliage, incredible leaf variety and excellent shade tolerance, these reliable perennials make a big impact from spring through late summer into fall. However, as October rolls in, with shorter daylight hours and potentially the season’s first frosts, these blue-green leaves beauties begin to yellow, collapse, and prepare for dormancy.
While it might be tempting to view fall as a time to step back, this is a pivotal month for hosta care. Proper fall maintenance goes far beyond basic backyard tidiness and cleaning up your beds. The right interventions now can protect plant crowns, prevent overwintering pests, and reduce fungal spores. The right October care for hostas can be a vital investment in next spring’s finest plants.
Because hosta varieties vary widely, from massive Empress Wu to miniature Blue Mouse Ears, your plants may transition into dormancy at slightly different rates. But if you adjust the timings according to your hardiness zone and weather, these essential tasks will help you set the stage for an explosion of lush foliage next spring.
Best Hosta Care in October
October marks an important transition for your hostas. Above ground, the lush leaves stop photosynthesizing and begin transferring their stored starches down into the roots and crowns. This means lots of yellowing leaves, eventual foliage loss, and plant dormancy. Below ground, energy reserves fuel the development of dormant eyes (buds) that will push up as fresh leaves next April.
Understanding your local weather patterns and USDA hardiness zone is essential for timing the following tasks correctly. In colder northern climates (zones 3-5), heavy frosts often arrive by mid-month, signaling an earlier start to cutting back foliage and insulating crowns. In milder southern regions (zones 6-8), hostas may hold green leaves for a few more weeks, requiring a more gradual approach to fall cleanup.
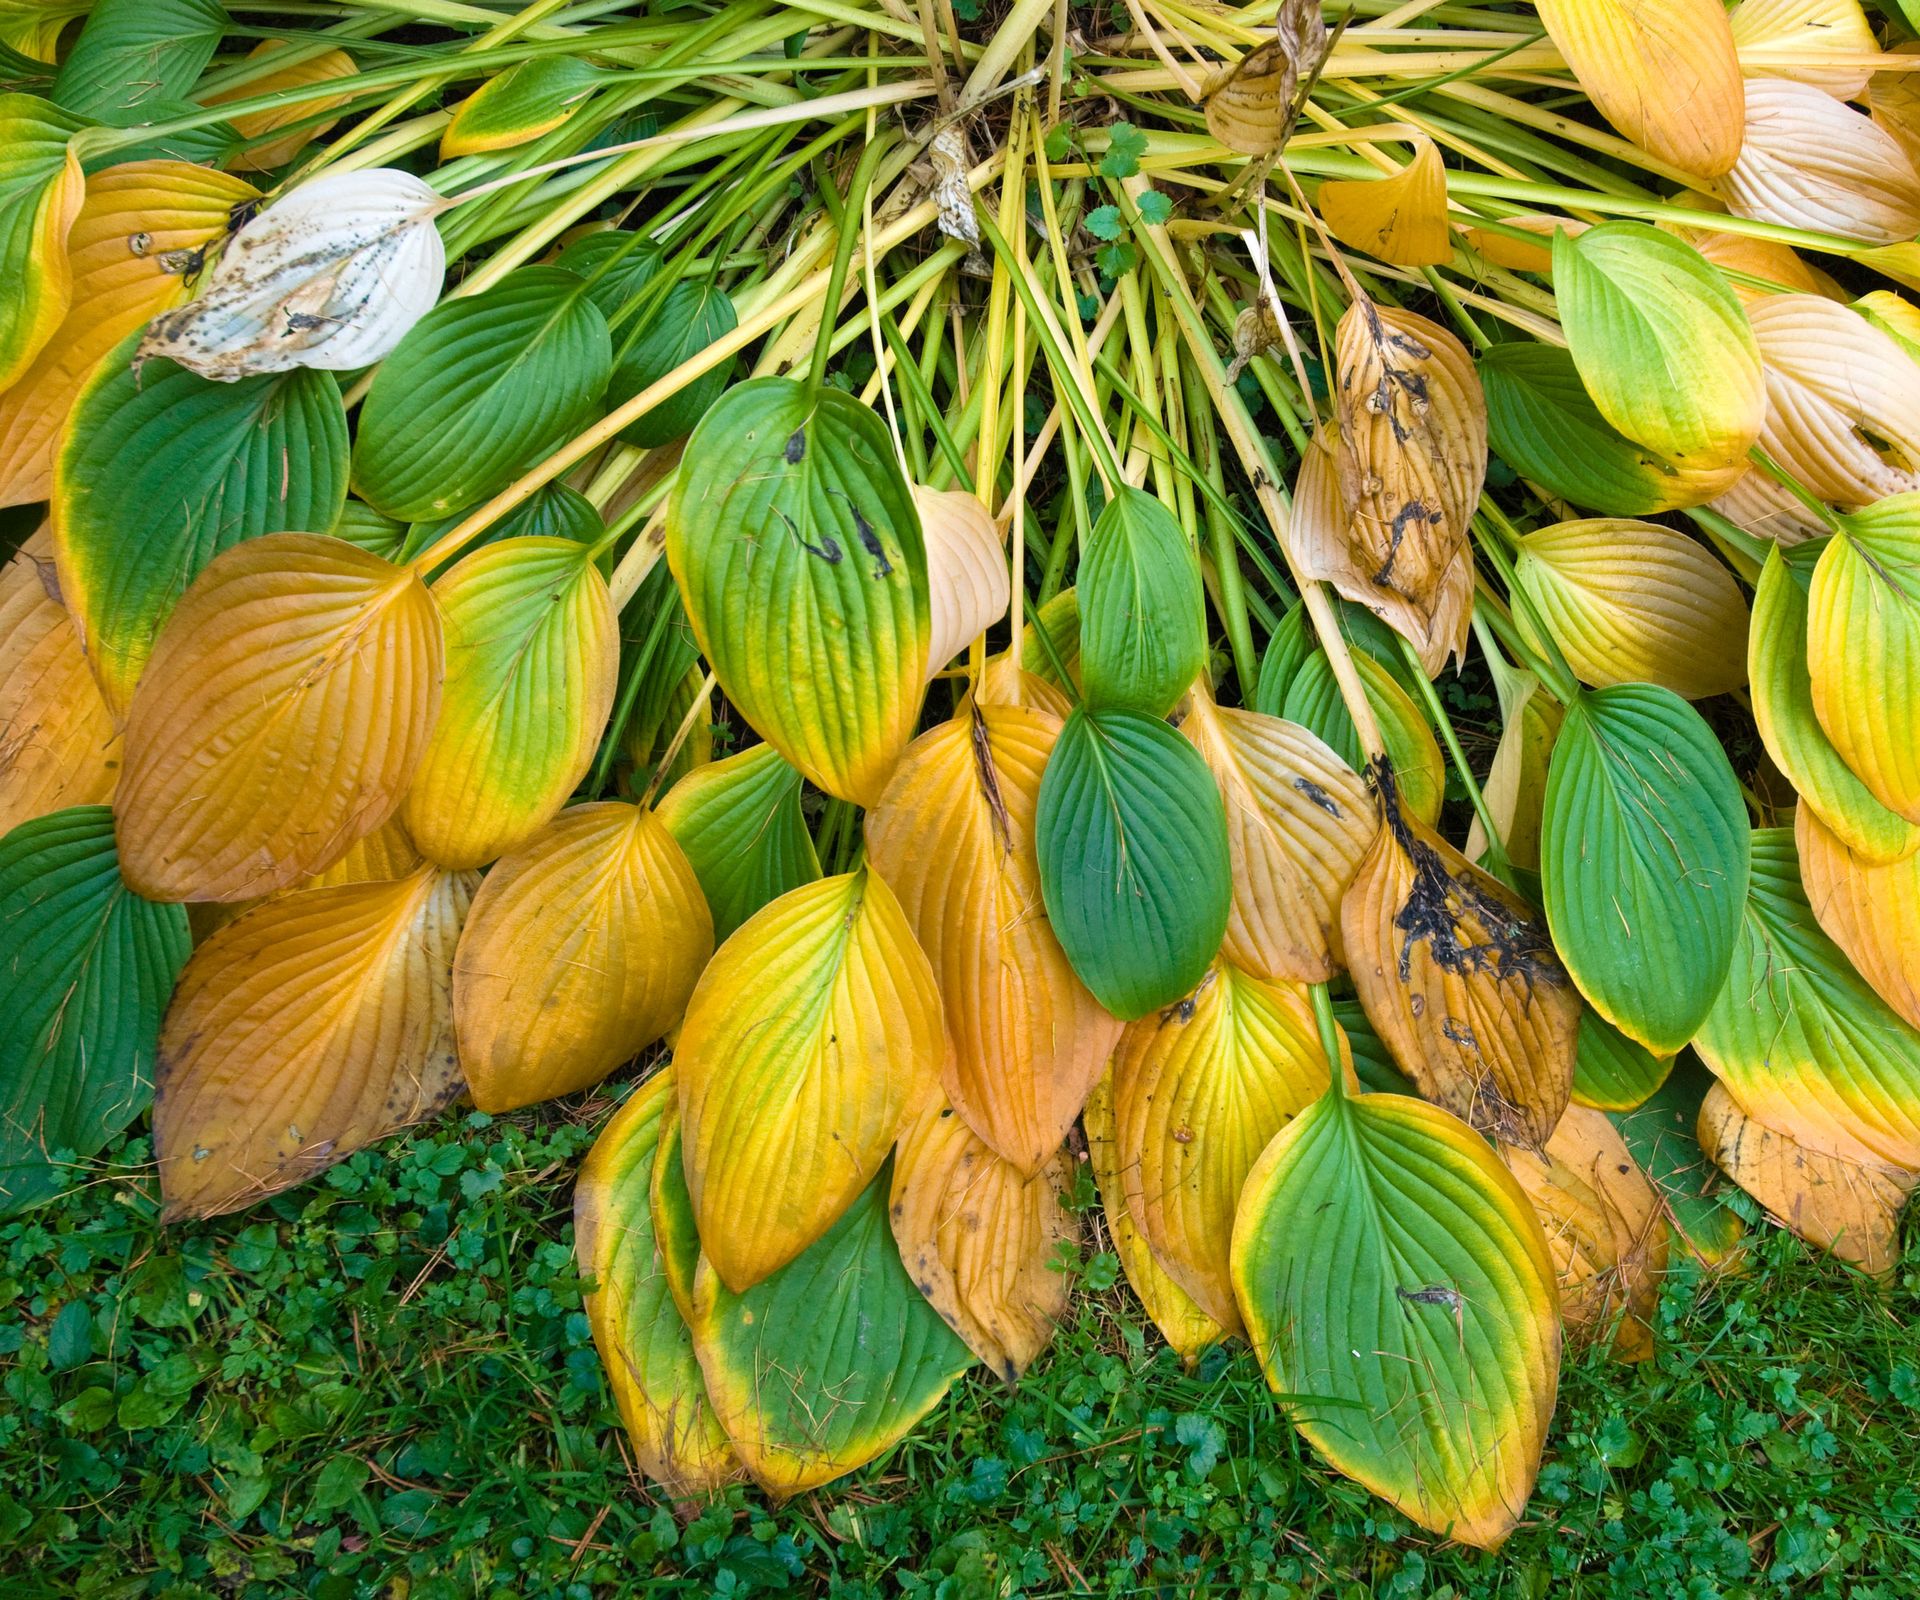
Both in-ground hosta plantings and container-grown specimens require help before winter sets in. Taking time this month to check in with plant health, inspect leaf debris for pests, and prepare potted plants for freezing temperatures ensures every hosta in your yard enjoys a peaceful, protected dormancy. If you’re unsure about soil moisture, use the Raintrip 4-in-1 Soil Meter, available from Amazon, to get a heads-up about ground conditions before you start these tasks.
1. Reduce Watering and Stop Feeding
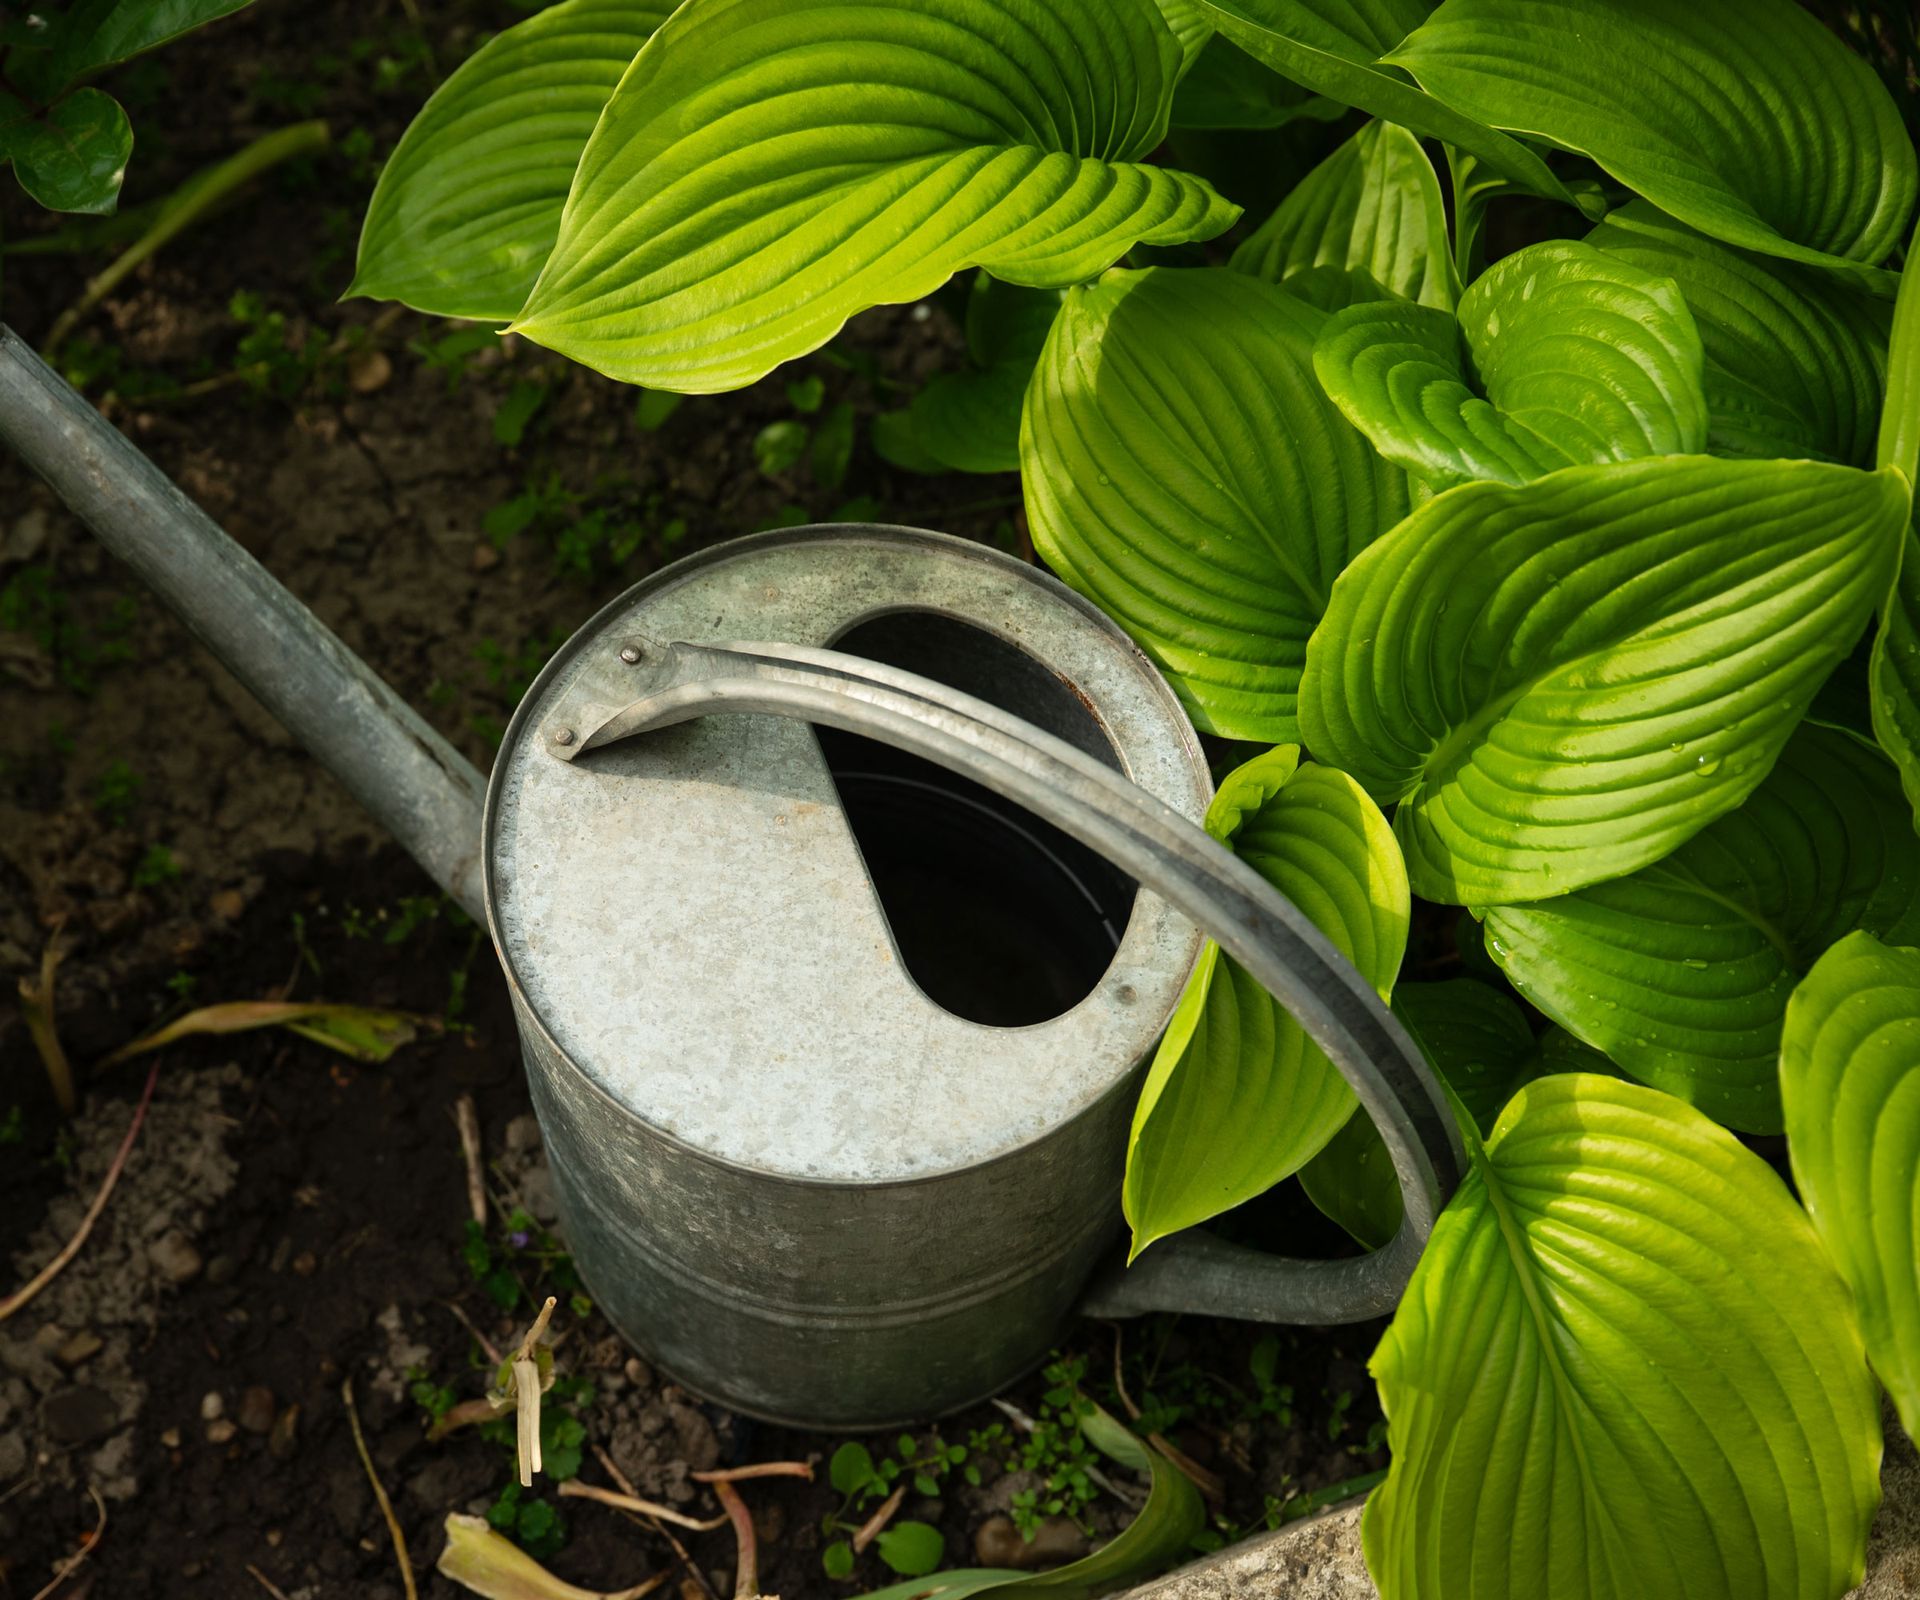
Your hostas are naturally preparing for a period of rest this month, so you don’t want to encourage growth right now. So stop applying nitrogen-rich fertilizers in early fall and help them rest. Feeding hostas in October encourages a sudden flush of soft leaf growth that cannot harden off before winter, wasting vital energy that the plant needs for dormancy and leaving the crown vulnerable to severe freeze damage. It’s not a bad idea to add a tiny sprinkle of a diluted seaweed tonic, such as GS Plant Foods Organic Liquid Kelp from Walmart, to help winterize roots, but that’s enough.
You also need to adjust and reduce hosta watering this month. While hostas needed consistent moisture in summer to keep their large leaves plump and turgid, autumn rainfall and cooler temperatures reduce soil evaporation. When you do want to water, check the top couple of inches (5cm) of soil first. If it feels damp, hold off. Only water during dry spells to keep roots from desiccating before the ground freezes. Once the topsoil freezes in late fall, stop watering completely until spring thaw.
2. Wait Until First Frost to Cut Back
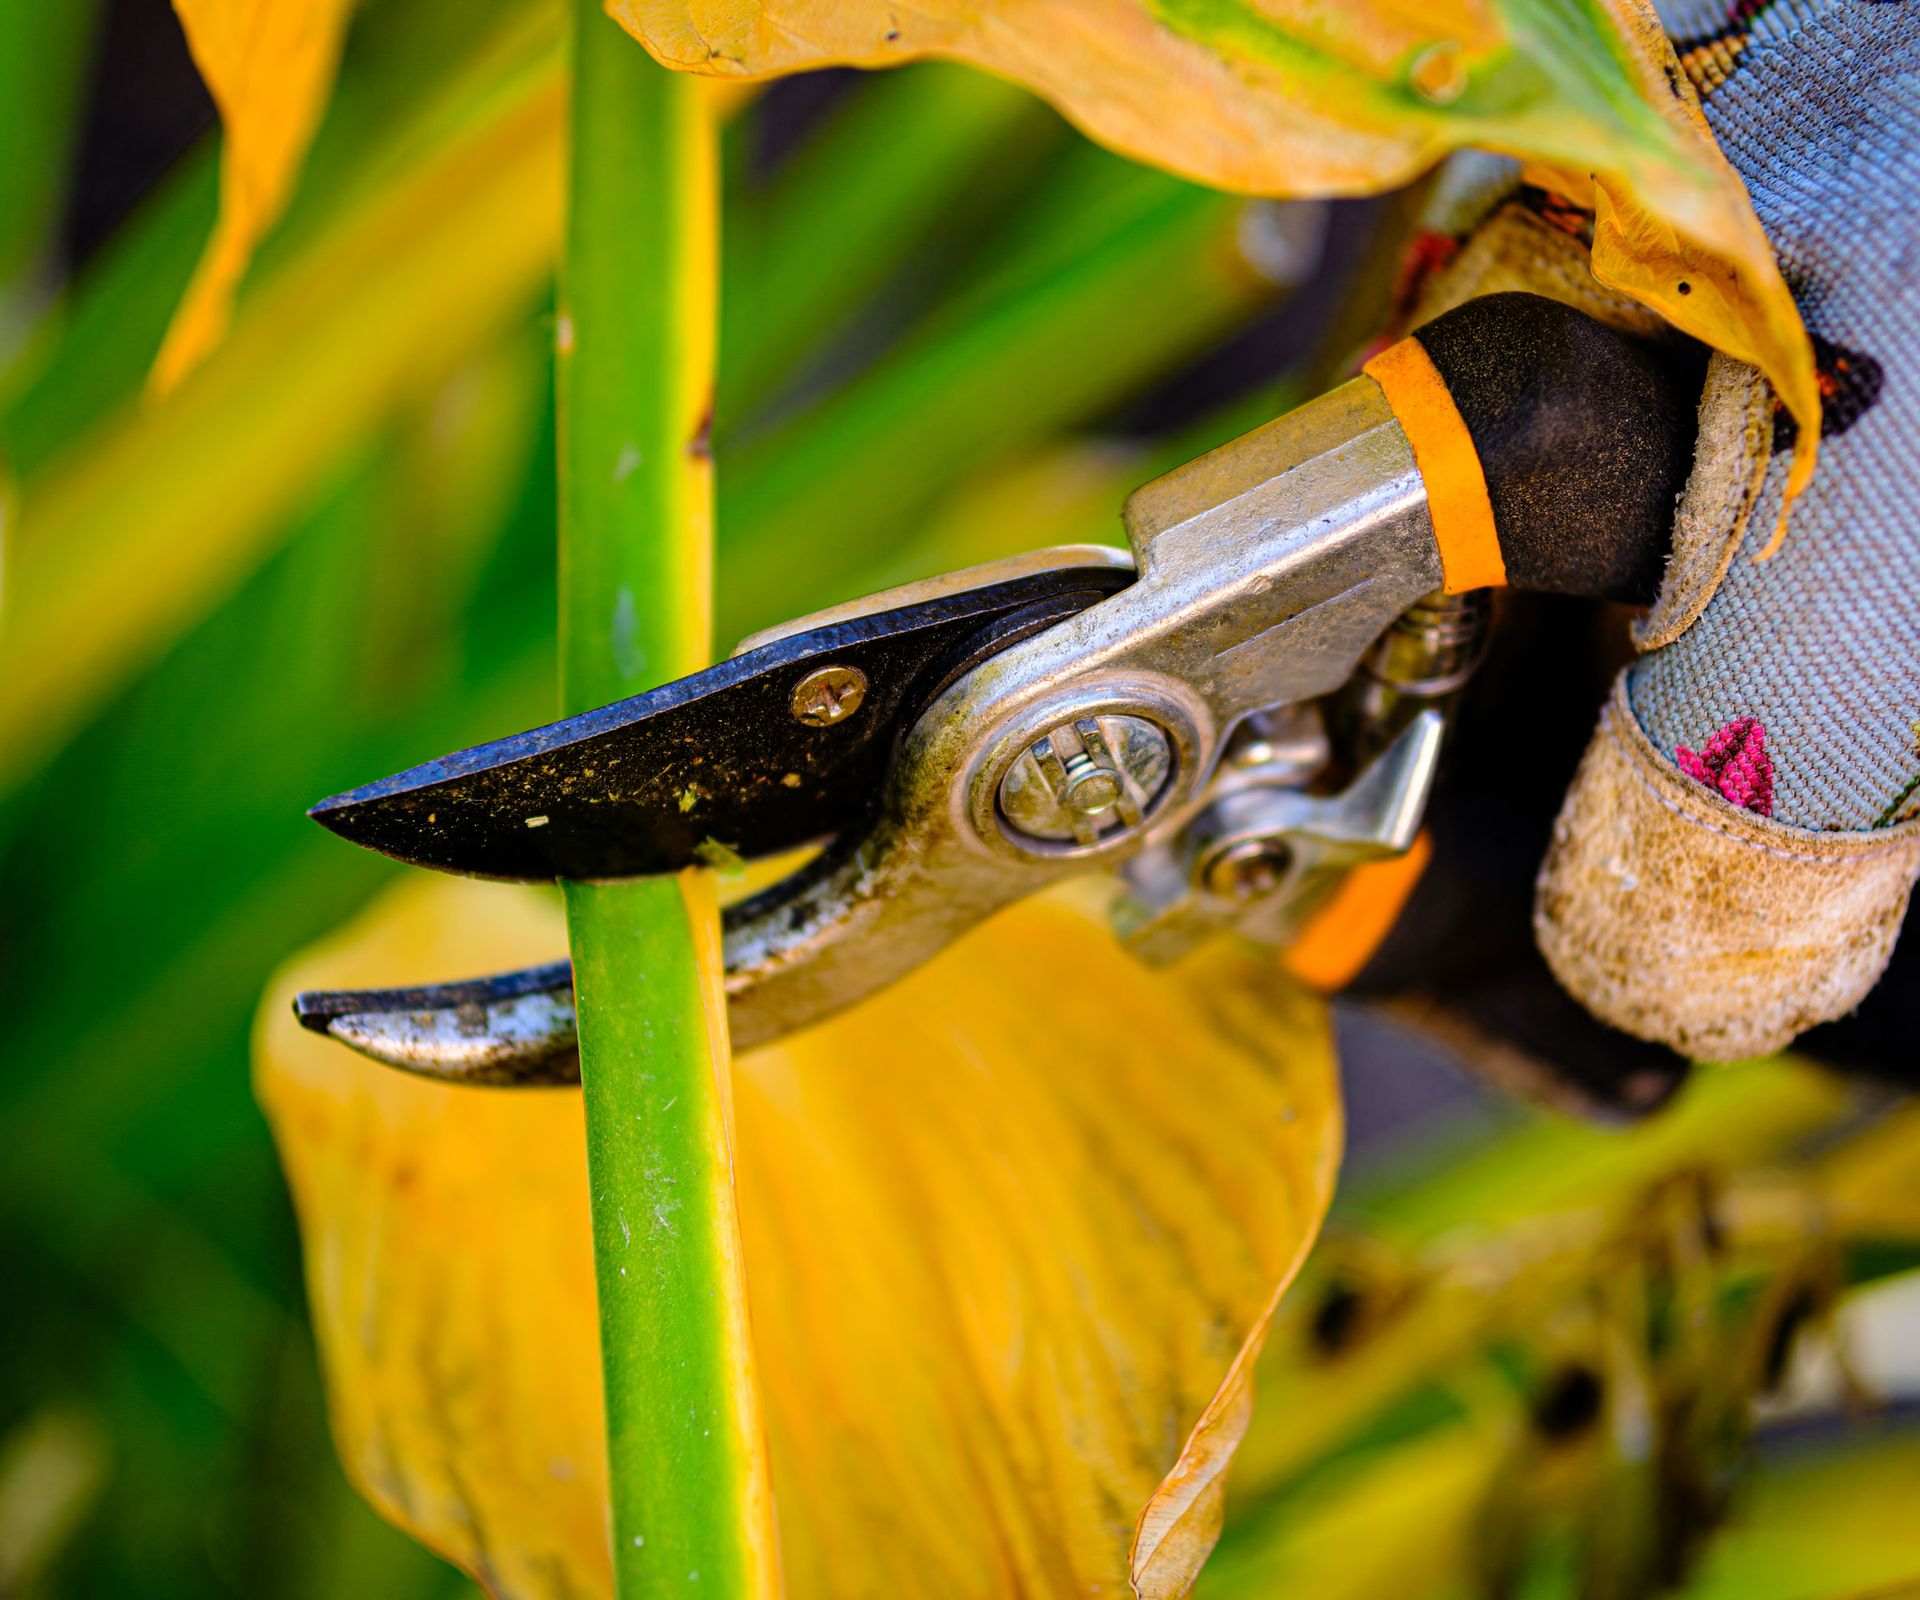
There is some debate among gardeners as to whether or not you need to trim or prune hostas in fall, but if you do, timing matters. As long as you can see a leaf has some green or yellowish-green color, it is still working at converting light into energy and pumping those energy reserves down into the roots for next year’s growth. If you cut this process short by trimming back foliage prematurely, you risk starving the plant, resulting in smaller crowns and weaker leaf development next spring.
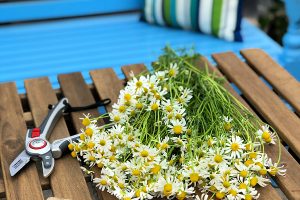
Even if they look raggedy, you need to wait until the leaves are clearly dead. For many, this happens after the first frosts of fall. At this point, you can use clean, sharp bypass pruners or grass shears to cut the leaf stems back to roughly 1-2 inches (2.5-5cm) above the ground. Make sure to wipe your pruners before and after use to reduce the risk of cross-contamination with a little isopropyl alcohol or some wipes, such as Clorox Disinfecting Wipes from Lowe’s.
Take care not to slice into the main crown or damage dormant eye buds sitting at the soil surface. Varieties with thick, corrugated leaves, like Frances Williams or Sieboldiana, may take longer to collapse than thin-leaved varieties, so be patient and adjust your cutting time accordingly.
3. Clean up Dead Leaves
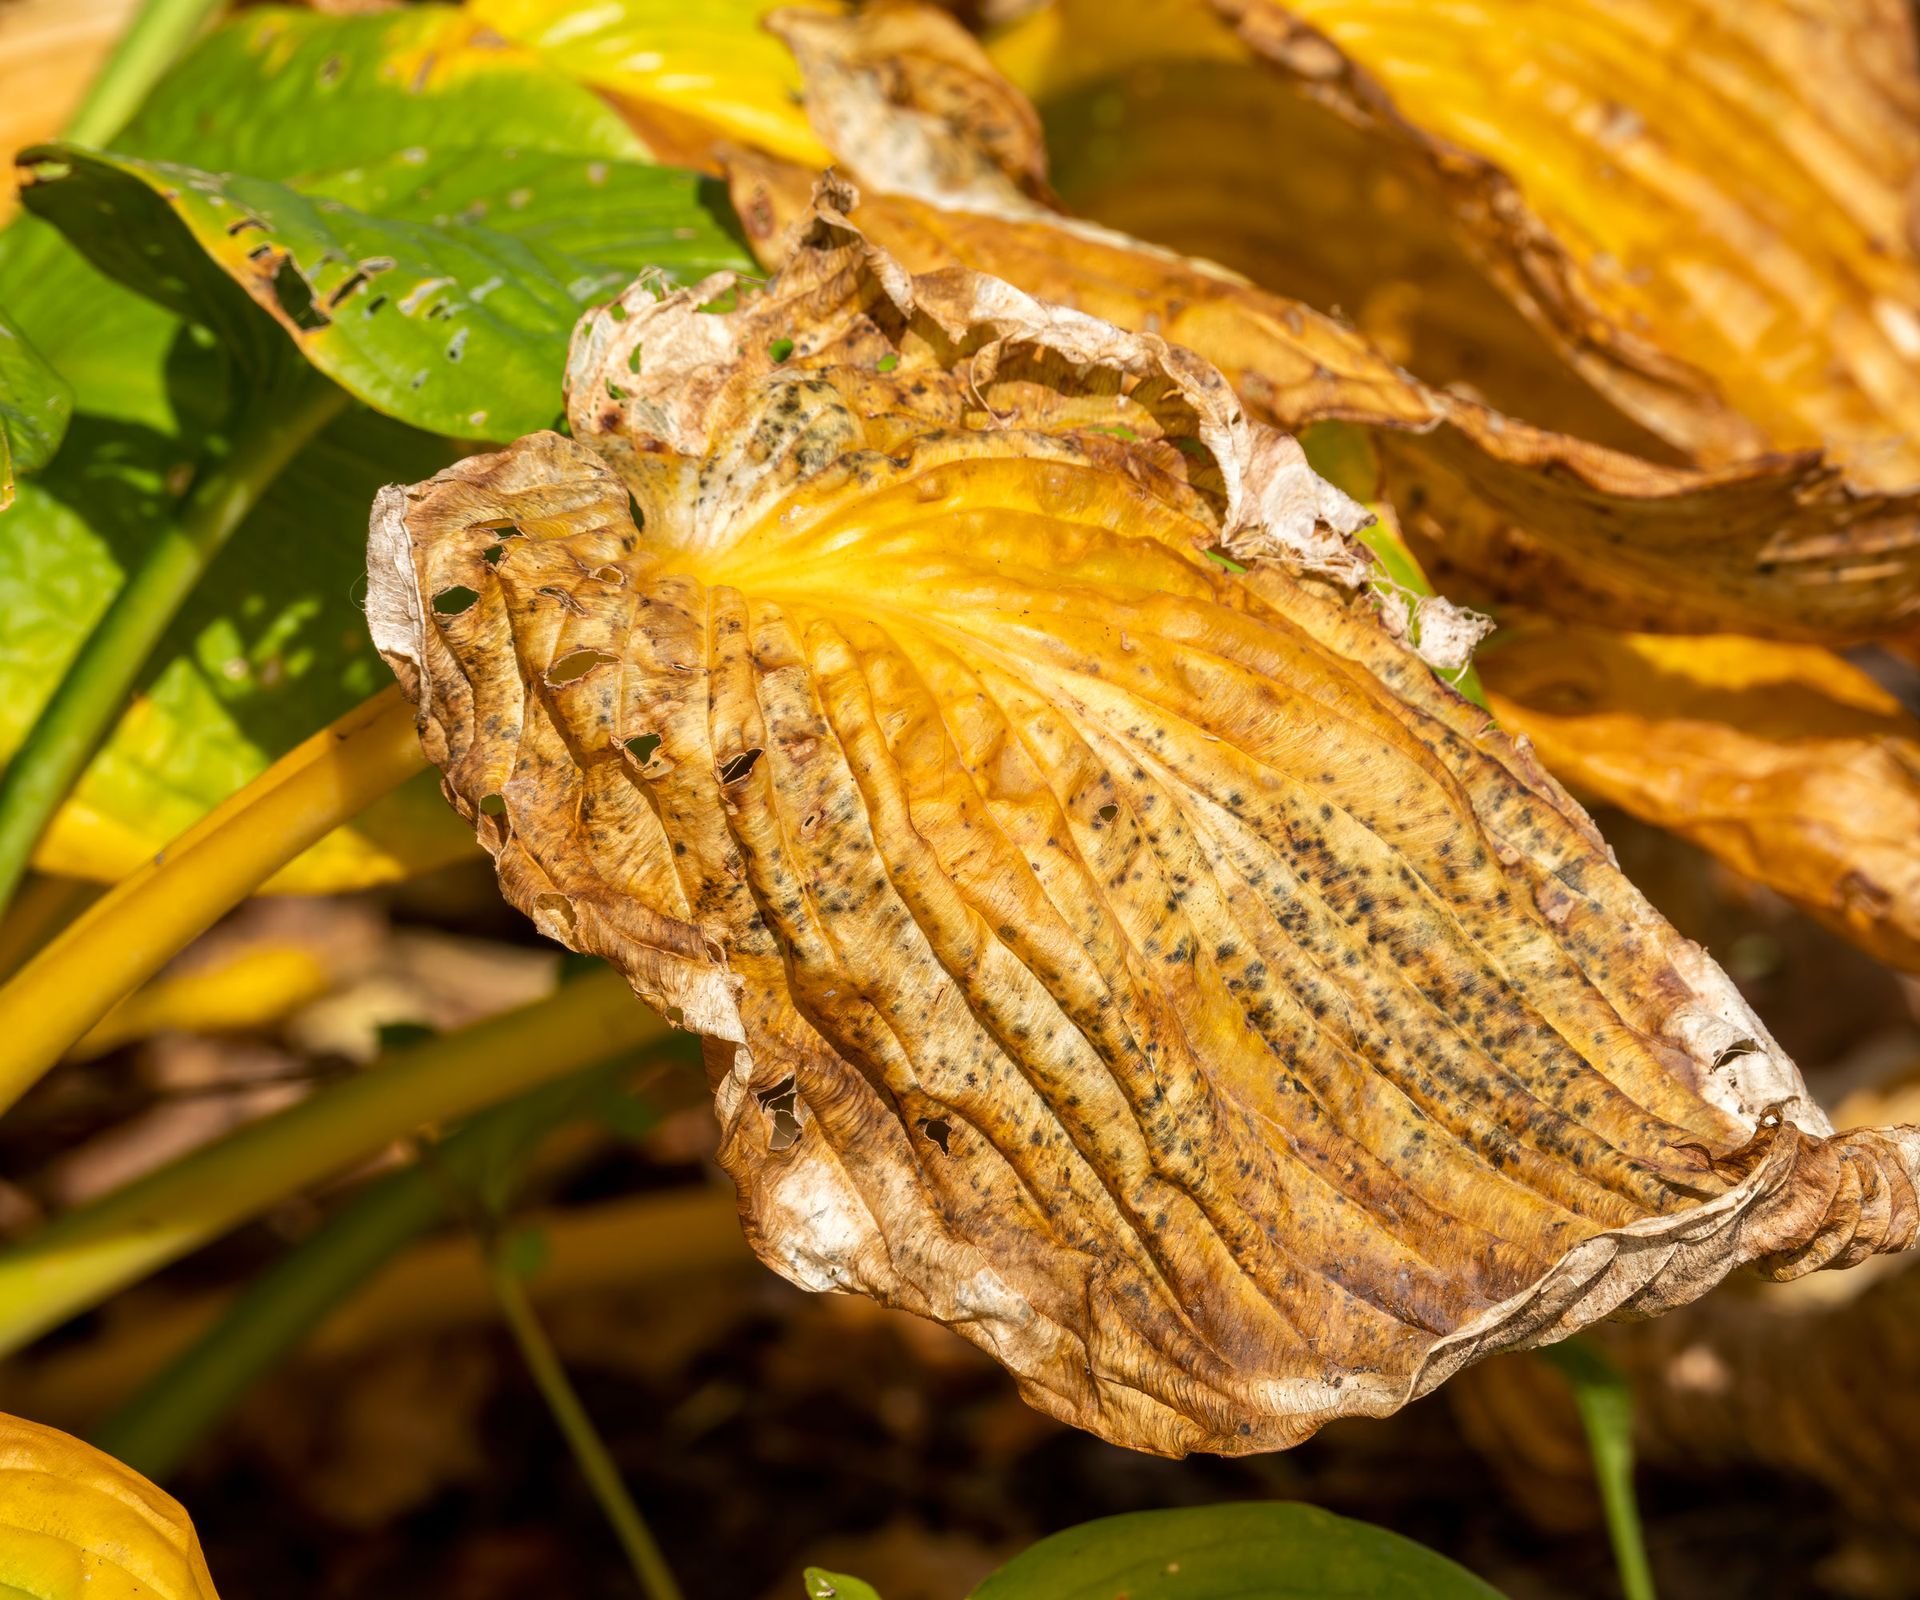
A good fall cleanup is the best way to protect hostas from slugs and fungal disease. Fungal spores love to overwinter in decaying hosta foliage. When hosta leaves die back and collapse, this soggy blanket also creates the ultimate winter resort for slugs and snails. Slugs lay clusters of tiny eggs beneath the collapsed foliage, and these can hatch right when tender hosta shoots are emerging come spring.
Once the leaves have died, trim them back and pick up all the debris around the plants. Rake up all dead leaf material, spent flower stalks, and surrounding leaf litter. If the removed foliage was healthy, it can be composted. However, if you see leaf spots, crown decay, or pest damage, dispose in the trash to reduce the risk of spreading pathogens. For a gentle soil amendment, add a sprinkle of Down to Earth Crab Meal, from Amazon, which can help soil microbes break down pathogens.
4. Divide Big Hosta Clumps
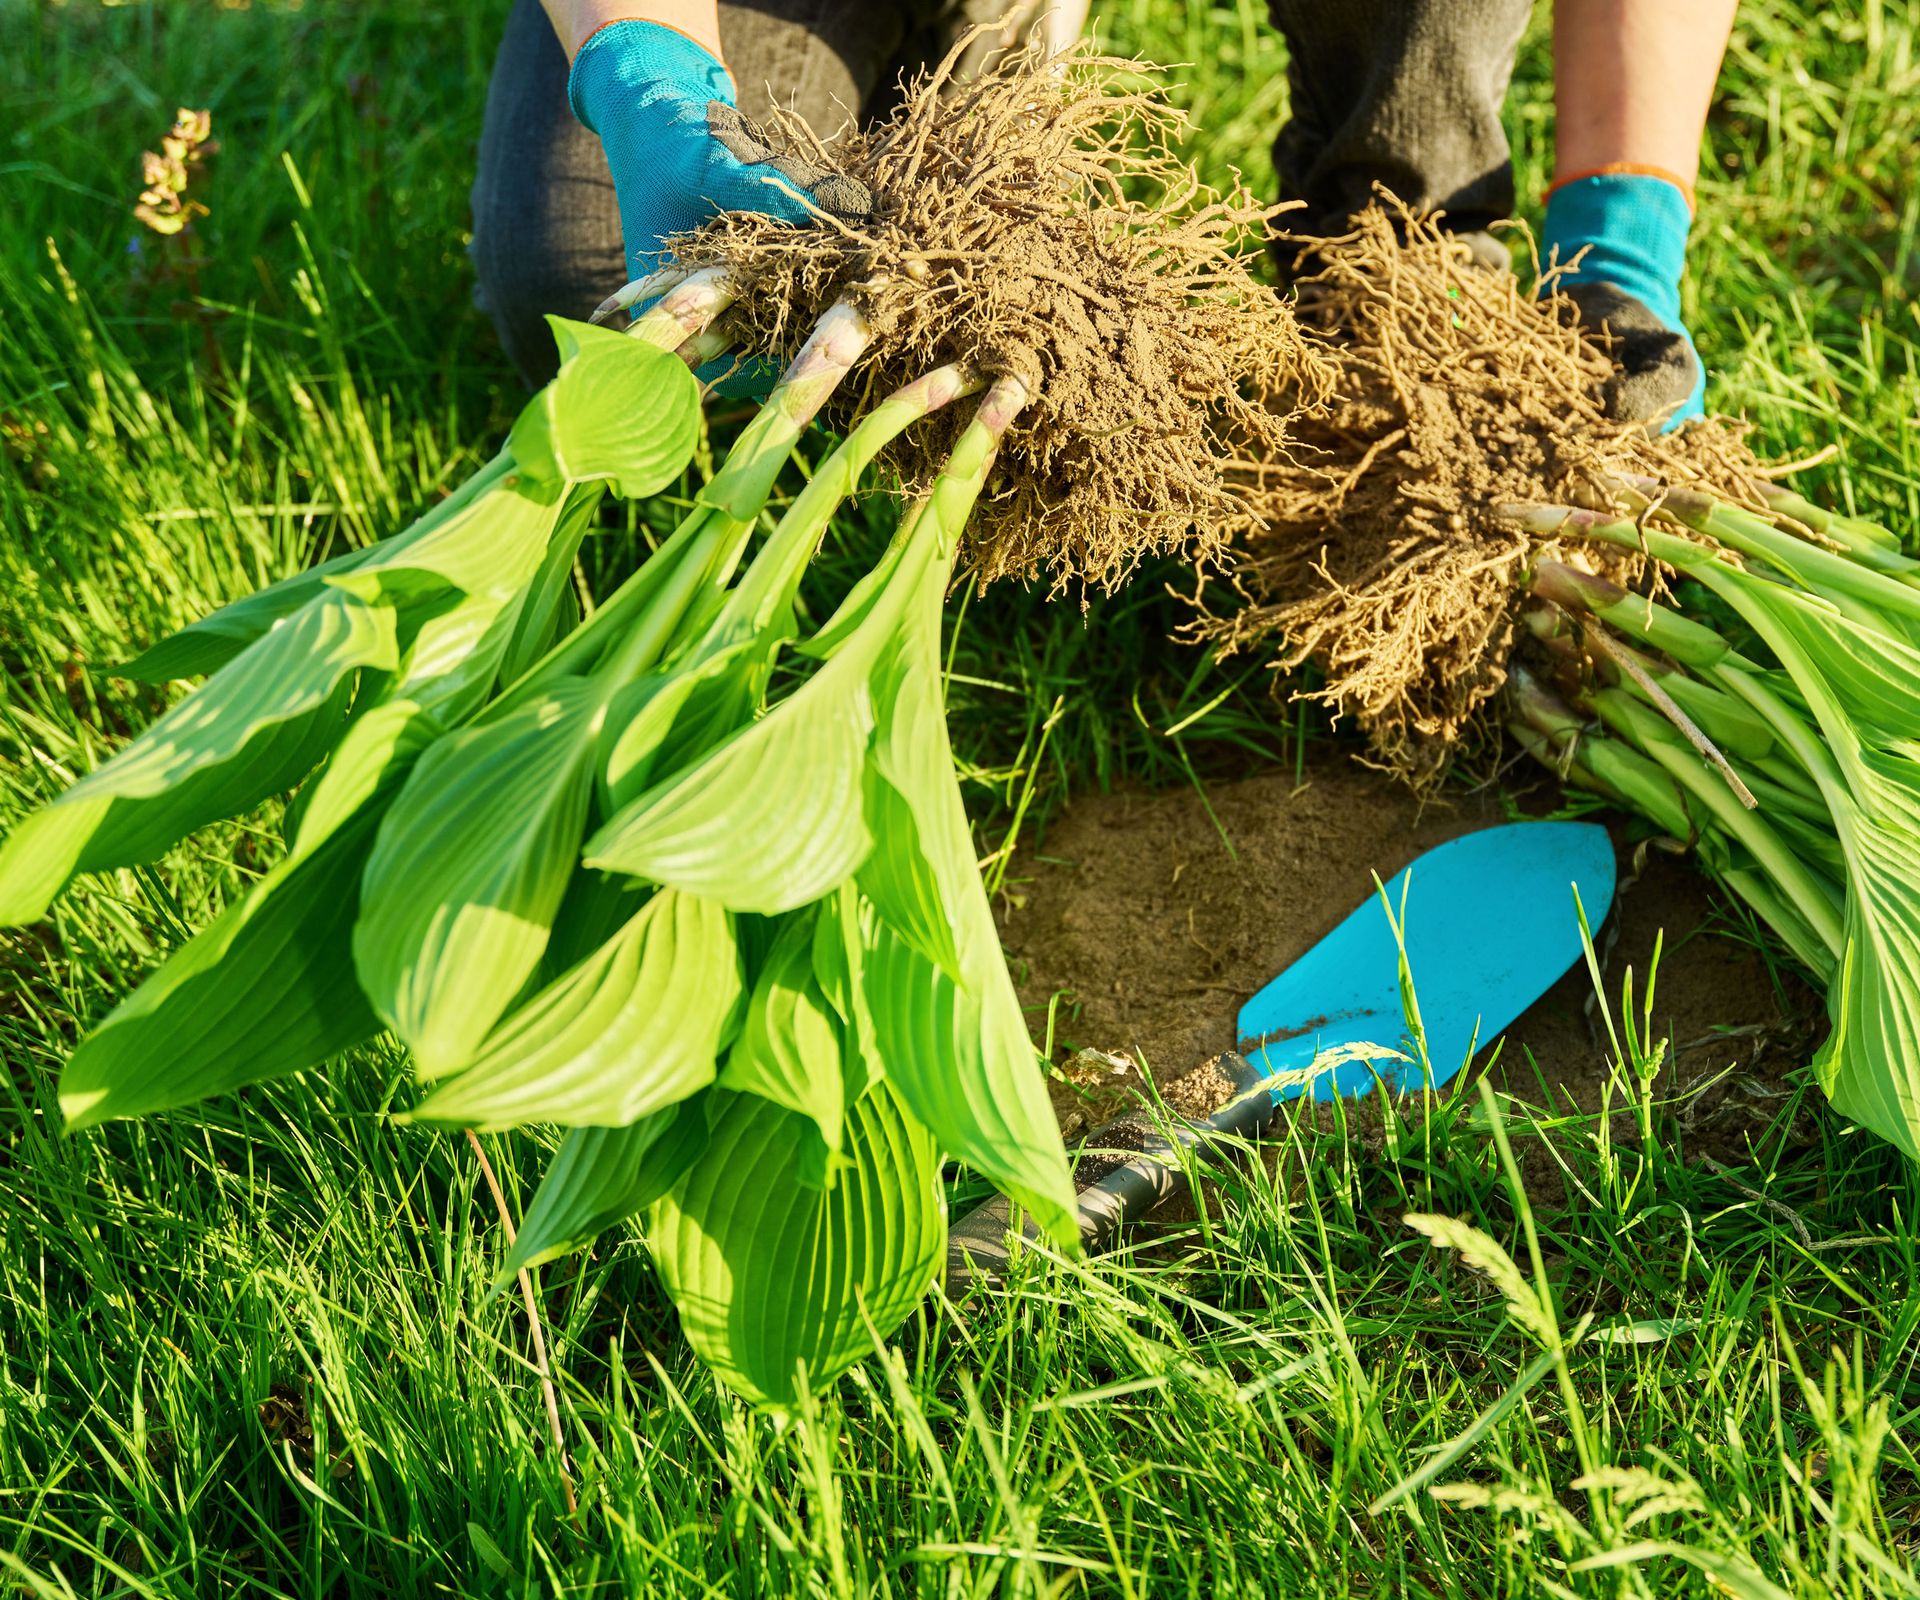
October can be a good time for dividing overgrown hosta clumps, provided you live in a moderate or warm climate (zones 6-8). Dividing in fall means the separated sections have time to settle before winter hits (ideally, they need 4-6 weeks before the first hard freeze). However, if you are in northern regions (zones 3-5) where the ground freezes solid by November, it’s best to postpone division until spring.
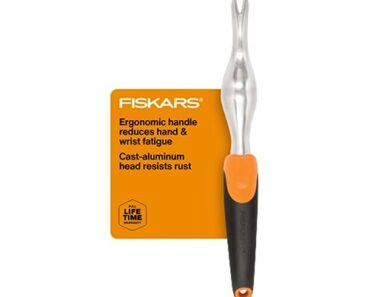
To divide a mature clump, wait until foliage begins to yellow. Carefully lift using a garden fork. Using a sharp serrated knife, slice the crown into sections, ensuring each division has a cluster of roots and 2-3 dormant eyes. If you need a good knife, try the versatile and highly rated Fiskars Hori Hori Knife, available from Walmart. Replant the divisions immediately at the same depth as the original plant, firming the soil and watering thoroughly. Hostas are long-lived perennials that only require division every 3-5 years when their centers become crowded or hollow.
5. Mulch and Add Markers
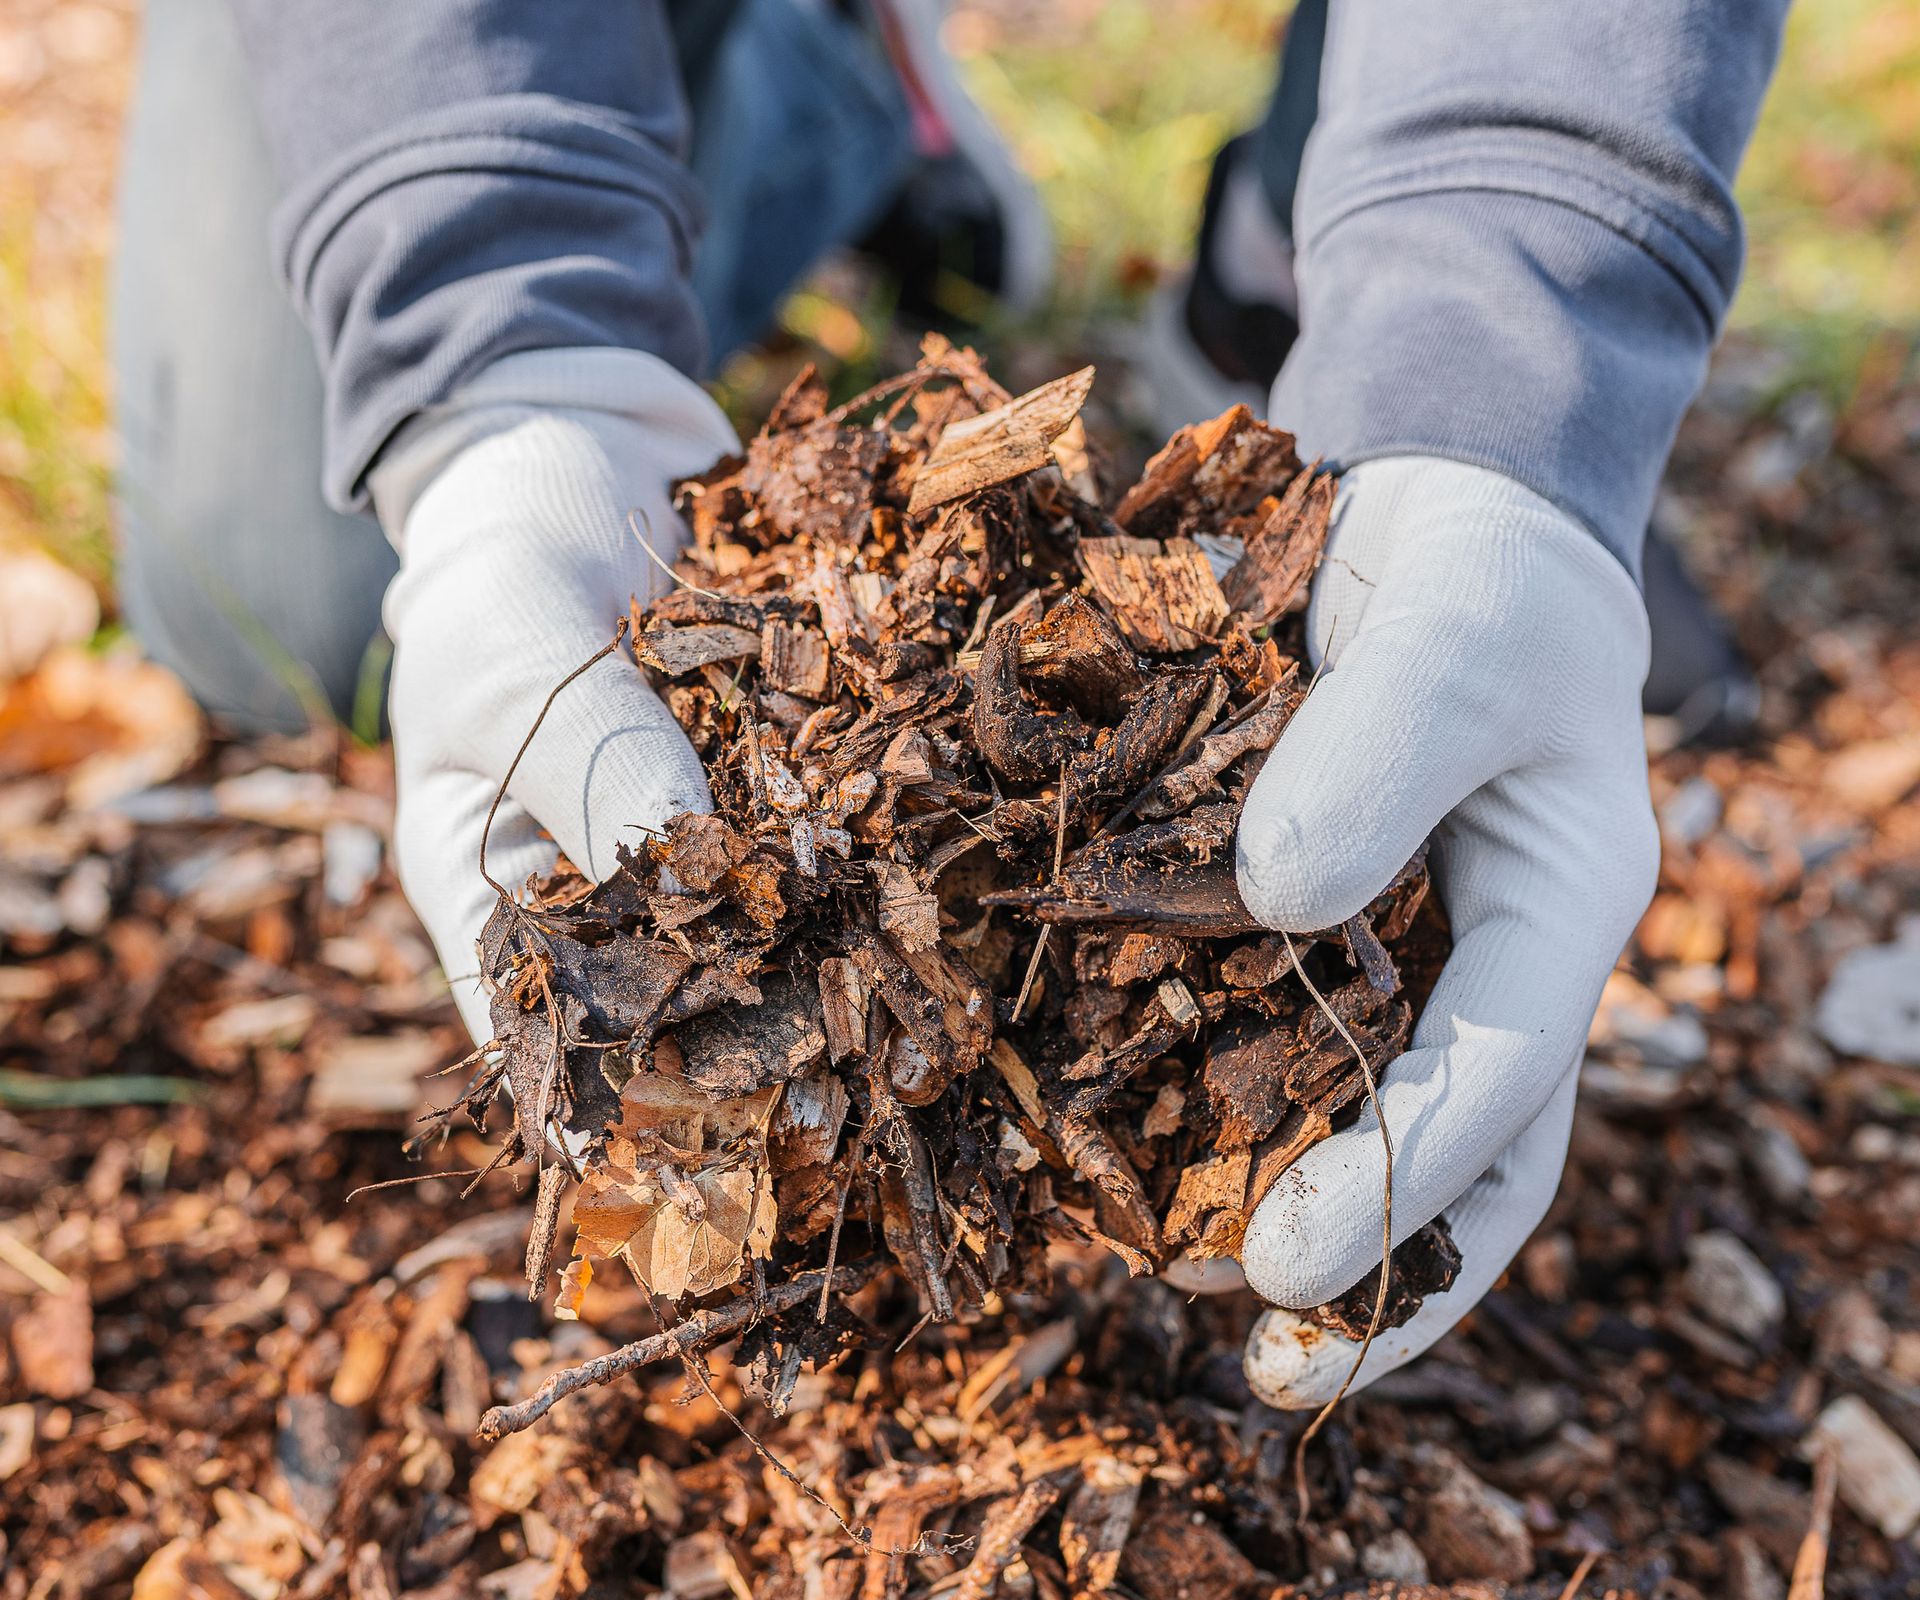
Applying a winter mulch over tidy beds protects delicate crowns from the dangers of frost heaving. Frost heaving occurs when freeze-thaw cycles cause the ground to lift shallow roots out of the ground, exposing vulnerable crowns to freezing air and drying winds. So mulch is a great protection. However, timing is everything: applying too early traps residual heat and moisture against the crown, encouraging fungal rot.
Wait until nighttime temperatures drop and the topsoil begins to freeze before applying a 2-3-inch (5-8cm) layer of loose organic mulch. Go for shredded bark, pine needles, or well-rotted leaf mold. Team favorite Back to the Roots Organic Premium Wood Mulch from Amazon is a dye-free bark mulch that insulates against freeze-thaw risks while preventing spring weeds. Just avoid piling mulch directly over the center of the crown. Keep it loosely brushed around the perimeter.
Trimming back foliage will mean that crowns become invisible beneath mulch. So drive some durable, weather-resistant garden markers into the soil directly beside each crown. Labeling prevents accidental spade damage when carrying out early spring digging and helps you track special cultivars like Patriot or June. It’s a good idea to take a picture of the ground with the markers, too, just in case.
6. Protect Container Hostas
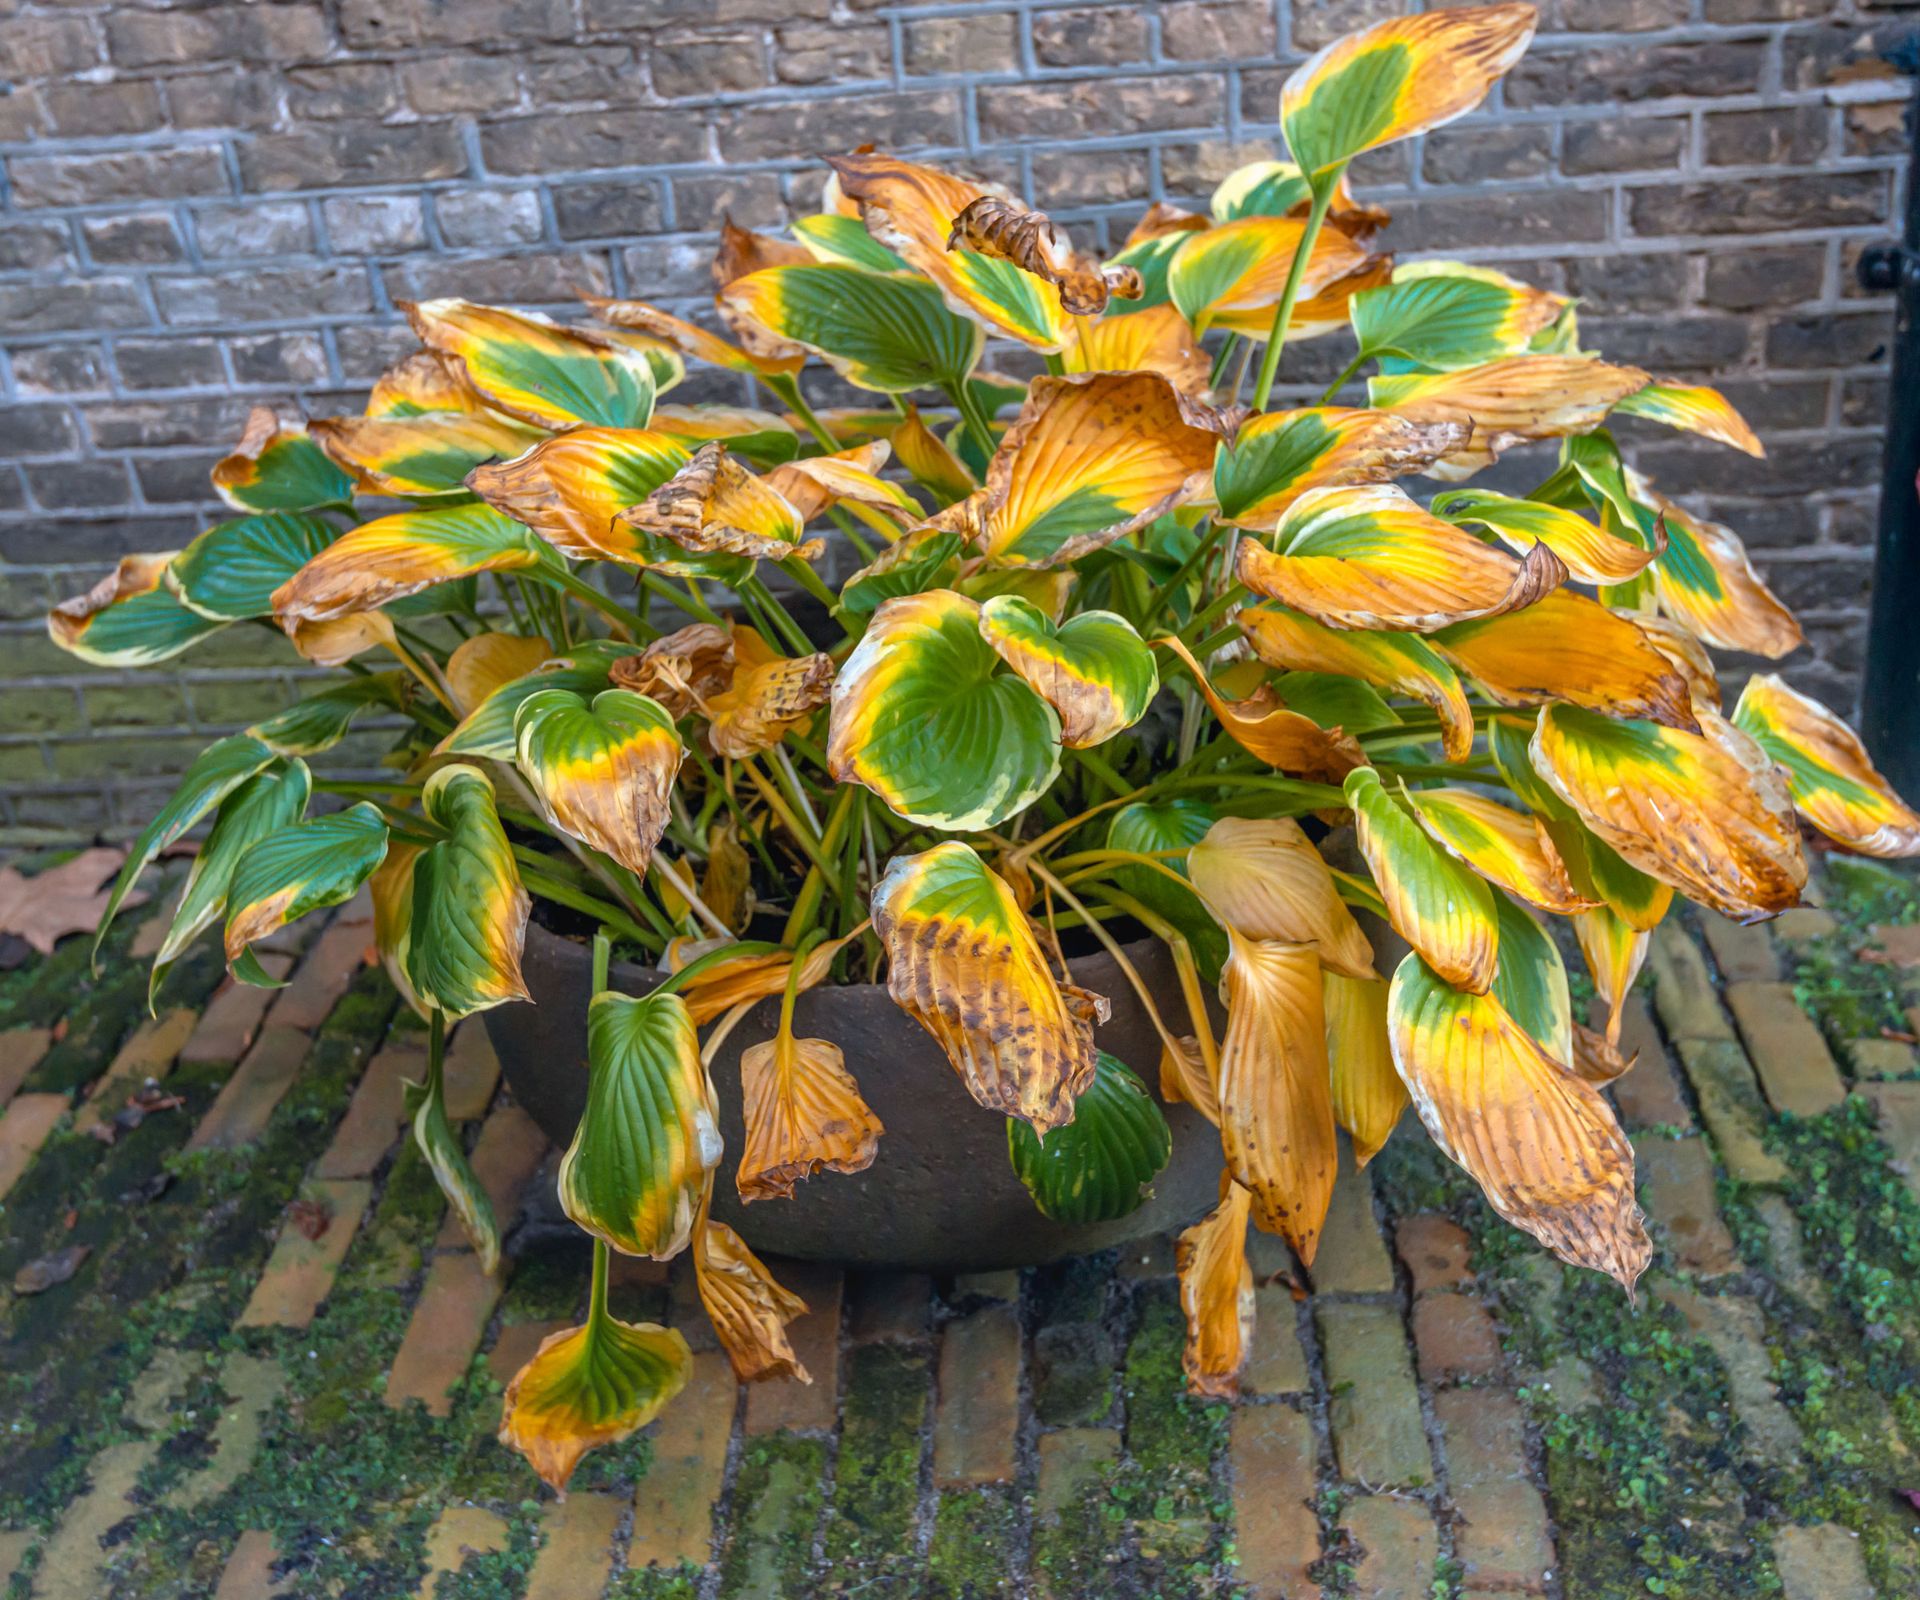
Growing hostas in pots and urns is a fantastic way to brighten up shaded patios and porches. However, container-grown hostas face higher winter risks. Because potted soil lacks the insulating mass of earth, roots can get colder much faster and plants are more vulnerable during dormancy. Extreme temperature swings can crack pots and kill dormant crowns. So it’s a good idea to protect and overwinter potted hostas.
If you are in zones 3-6, extra winter protection is essential. Once foliage dies back and soil cools, move dormant pots into an unheated garage, garden shed, or cold frame where temperatures stay between 25°F and 40°F (-4°C to 4°C). You can use rolling plant caddies to move heavier pots, such as the Bloem 12-Inch Terracotta Caddy, available from Walmart, which has 75lb capacity.
Where indoor storage space isn’t available, group pots tightly together against a warm house foundation. Wrap the exterior with bubble wrap or burlap, and top-dress with straw. Check potted soil once a month during winter, and apply a small splash of water if the soil becomes bone-dry, in order to prevent root desiccation.
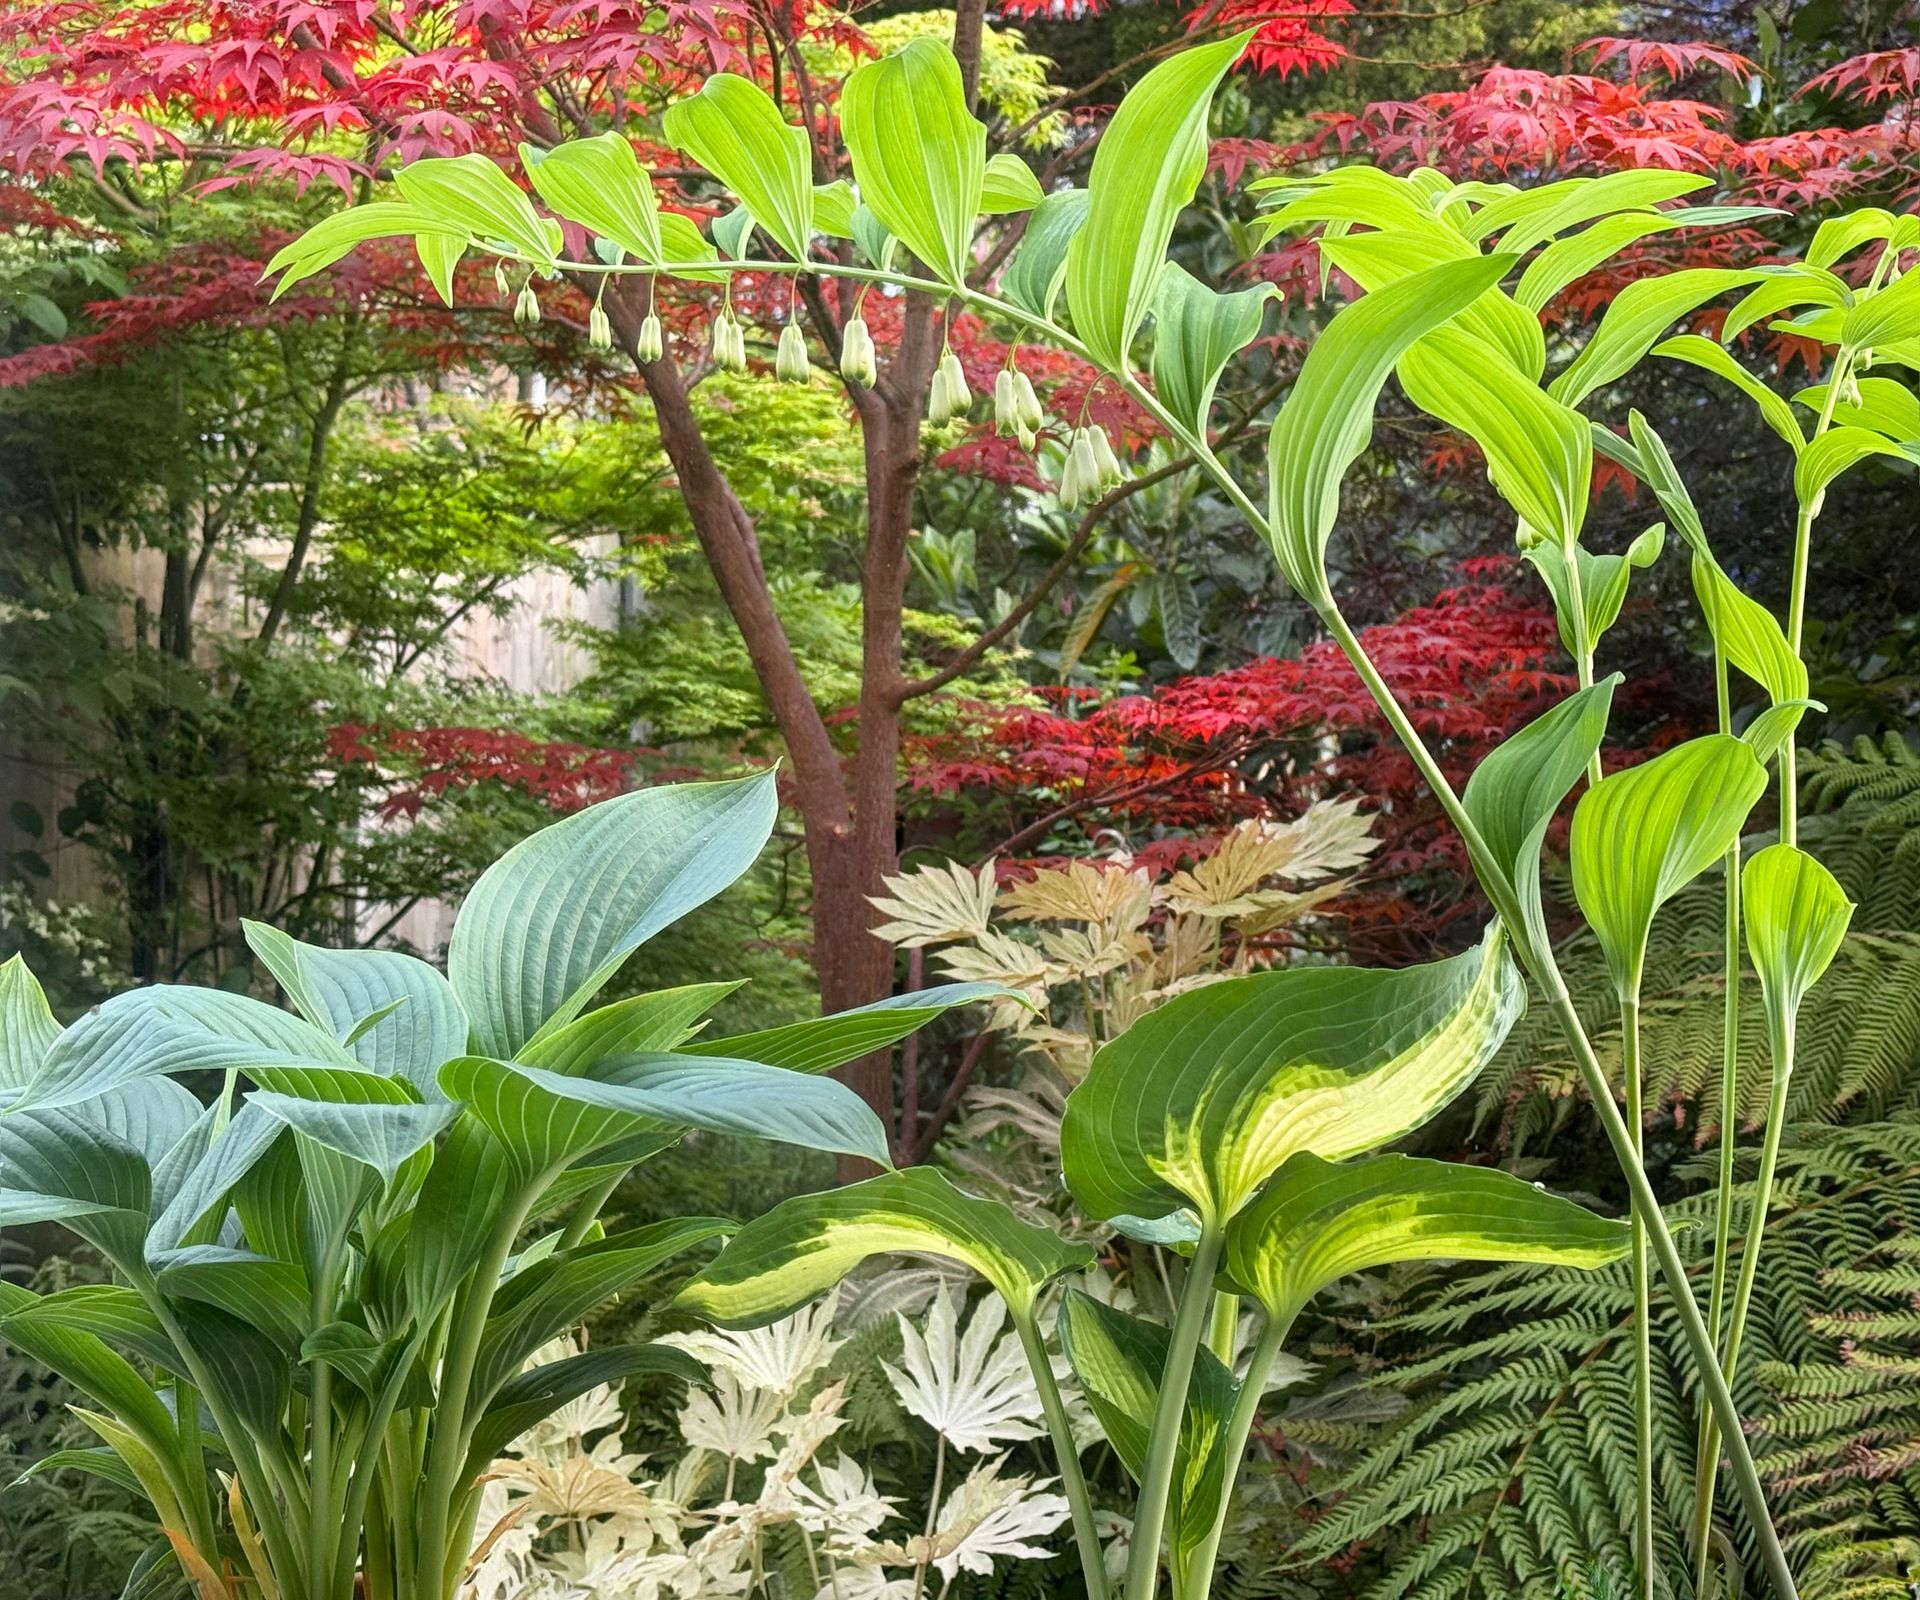
These fall tasks are essential for keeping your hostas healthy, protecting crowns from freezing winter weather, and eliminating pest and disease harbors. Just one crisp October afternoon tidying up your shade beds will do wonders for protecting your plants over winter and ensuring they break dormancy with lush leaves next spring.
Need more ideas for getting the most from your plants, indoors and out, and looking for the best seasonal expert advice delivered straight to your inbox? Sign up for the free Gardening Know How Newsletter!