
By J.D. Hendrick, Owner of RedWigglersFarm.com
Red worms (Red Wigglers) turn organic material into worm castings (you might have also heard it called vermicompost). Plants thrive in this natural fertilizer.
Soil Regeneration: We can all help the environment by composting. Our excess food ends up in the landfills.
How to Get Started with Worm Composting
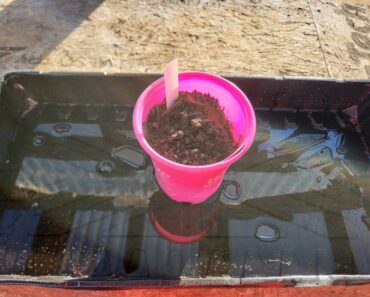
The simplest way is to start a compost in a bucket or plastic tote. You drill holes around the bottom of the bin to allow excess moisture to exit and air to enter.
- Add organic materials to the bin: (Any of these are good to start) Leaves, Grass Clippings, aged horse manure, peat moss.
- Moisten the material thoroughly. I even have some water stay in the bottom of the bin so the worms can get water at any time.
- Add the Red Worms to the bin. You can purchase worms by the pound at RedWigglersFarm.com I suggest starting with 1 Lb of worms.
- Place bin in a well lite area so the worms will want to go down into the materials.
- You can then add cut/shredded vegetable and fruit scraps to the top of the bin in moderation. Don’t overfed the bin because you will end up with a bunch of mush and fruit flies.
- Cover the bin with a top, and place in a moderate temperature area. 70 degrees is the best temperature. Although, the worms will survive in high and low temperatures. I have bins outside through the Winter in freezing conditions. The worms were dormant to survive, and now in the warmer weather they are getting more active.
I keep many bins outside in the Spring, Summer and Fall in a shady area. You don’t want your bin in direct sunlight.

It is very important to keep moisture in the bin. Worms are made up of fluid, and will dry out and die if they don’t have water.
The worms will go to work eating the materials in the bin. You will notice the materials becoming more and more black in color. You can sift some of the black soil (Vermi-Compost) out every now and then to sprinkle on your house plants or garden. You may want to start a second bin as the worms will be reproducing every 3-4 months.
If you have worms trying to escape the bin, you need to make some changes (of course). The Ph of the material may be too acidic. You can add a handful of Dolomite Lime to help get the Ph back to neutral. Dolomite Lime is usually in stock at Tractor Supply for under $5.00 a bag.
Also, worms try to escape if there is too much moisture, but also not enough moisture. I have also had them try to escape in the first few days when adding them to a new bin. Once they got used to their new habitat, they settled down.

What NOT to Feed Them?
I recommended that you avoid adding citrus fruits or peels to the bins. Onions are also considered undesirable to worms. Meat and dairy should be avoided as well.
I’ve covered the basics to get started. You will have a fun time watching the worms operate. You will learn a lot by trial and error. This is a reason I have numerous buckets with various materials in them to see what my worms really like and don’t like.
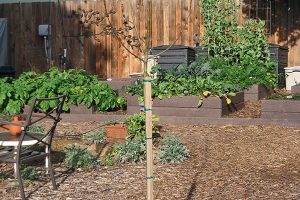
You can also do worm composting in your yard in a specific area. I made up a square space out of cinder blocks. I added the basic materials with the worms. I keep it moisturized and plenty of food. The worms will stay in that area as long as they have food and moisture. I have that compost right next to my garden so I can flip through the compost to get the best compost from the bottom to add to my garden.


You can find more detailed information at RedWigglersFarm.com, where you can also purchase worms if you want to start your own worm composting.
Have you ever composted with worms? Leave a comment and tell us about your experiences!
The post How to Improve Your Garden and the Environment by Composting with Red Worms appeared first on Gardening Channel.