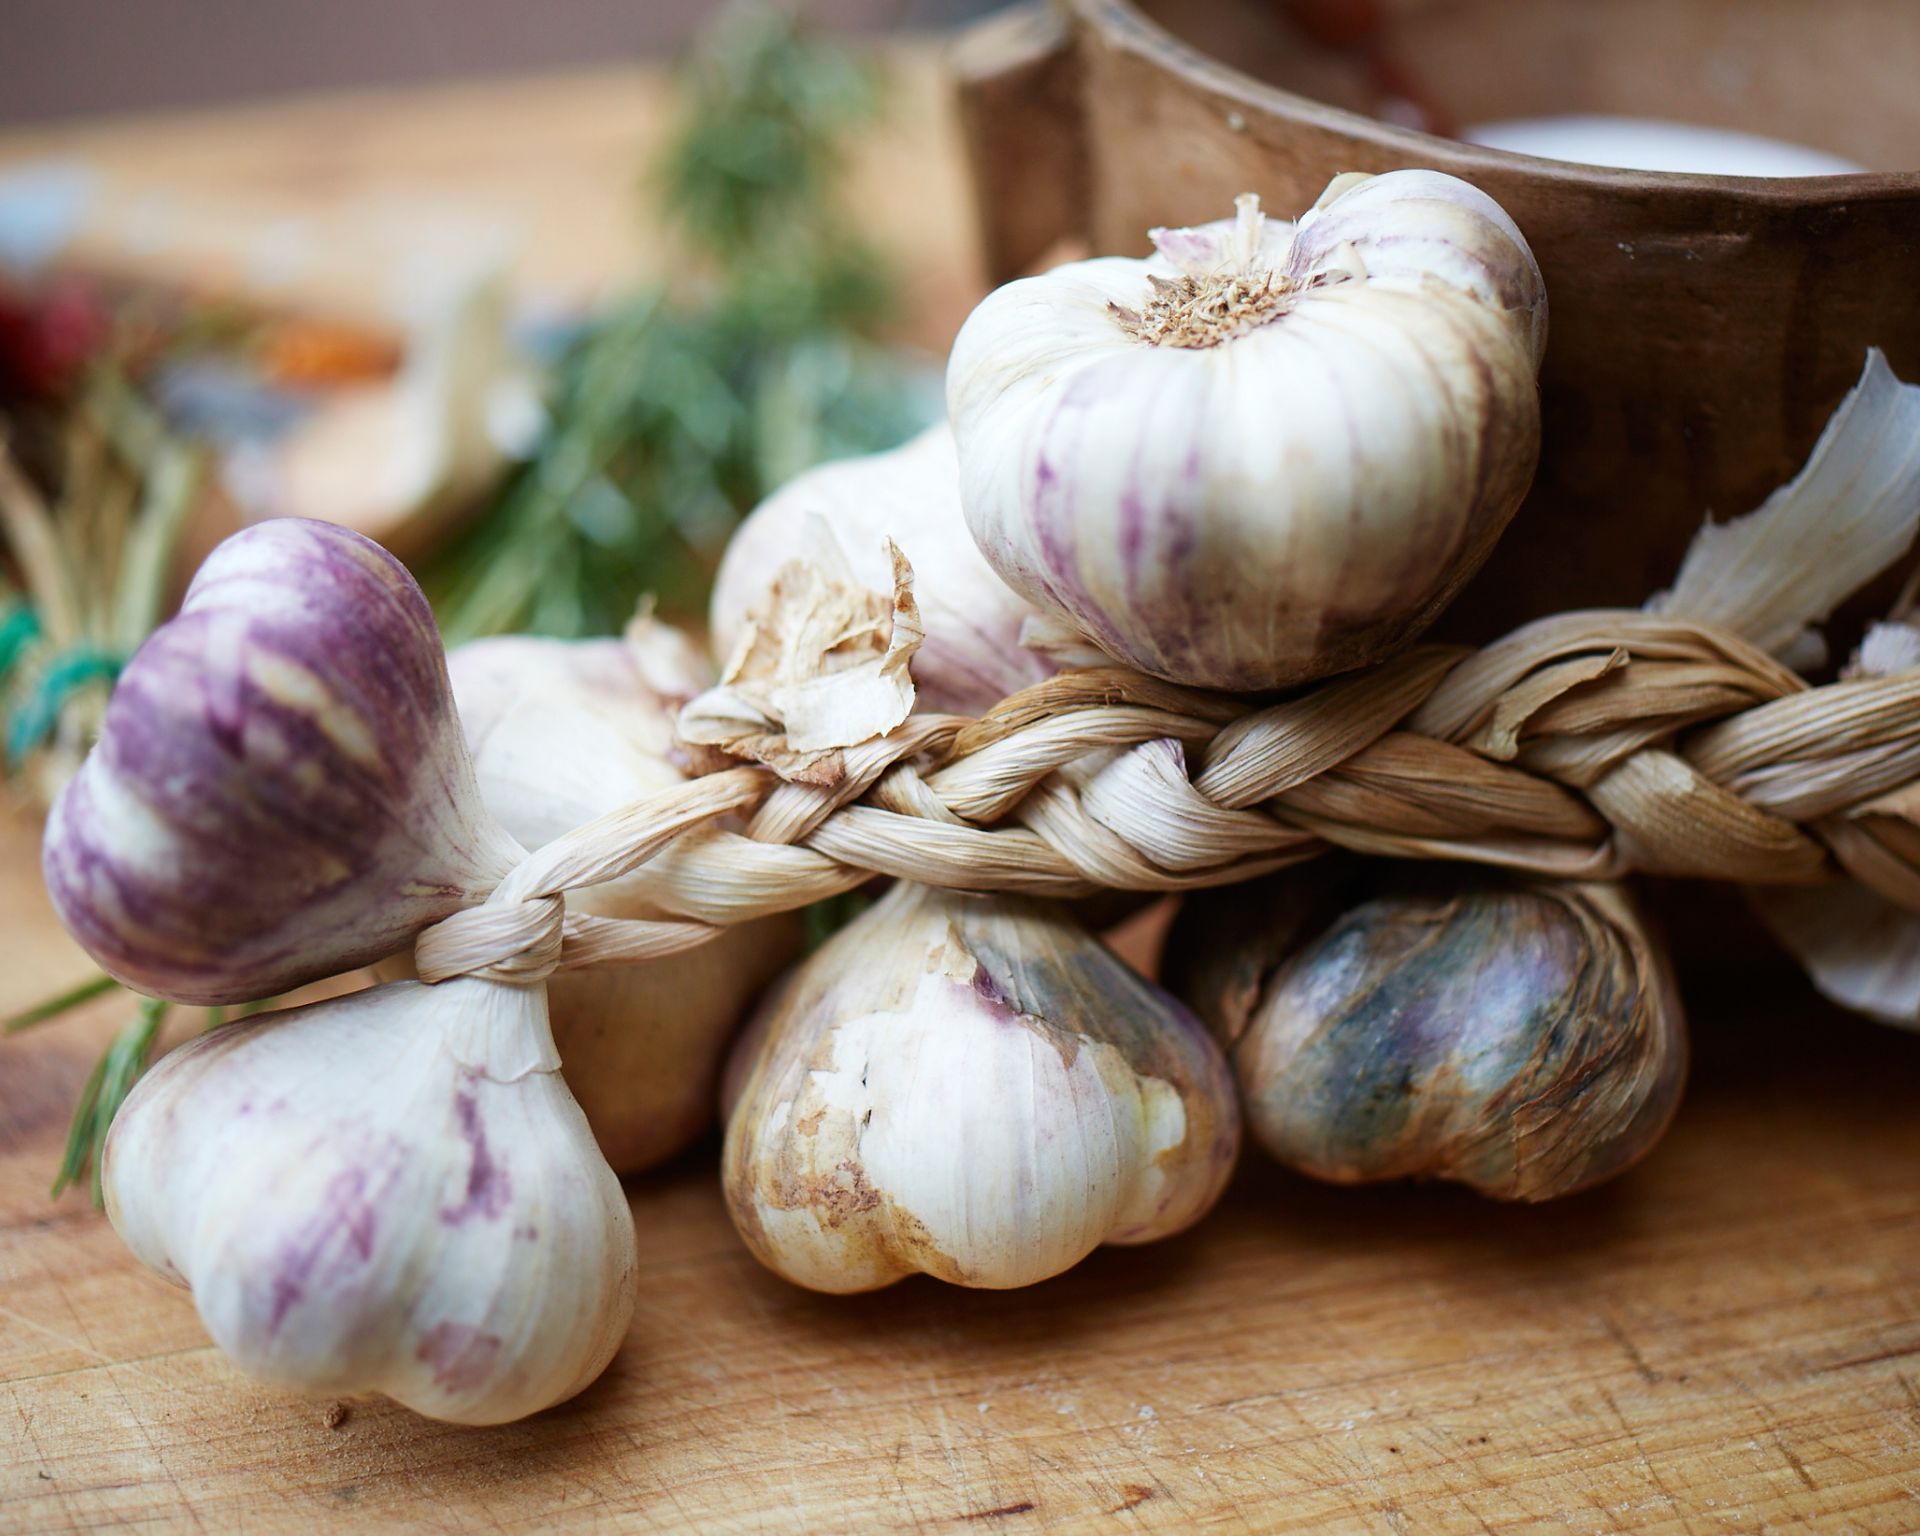
Garlic is such a satisfying home crop to grow, and switching up one simple element will bring you bigger bulbs. It’s such a no-brainer, yet it takes most gardeners a few years of growing garlic to realise this easy trick at planting time makes a huge difference to the size of harvested bulbs.
Traditional advice tells us to plant cloves knuckle-deep when we grow garlic, which equates to 1-2 inches. However, this rule-of-thumb hails from times when we all gardened in the ground, often in soil that sat wet through winter, so rotting cloves were a real risk. Today, in the loose, well-draining soil of a raised bed or in ground much-improved with compost, you can afford to plant cloves a little deeper, and that results in plumper bulbs.
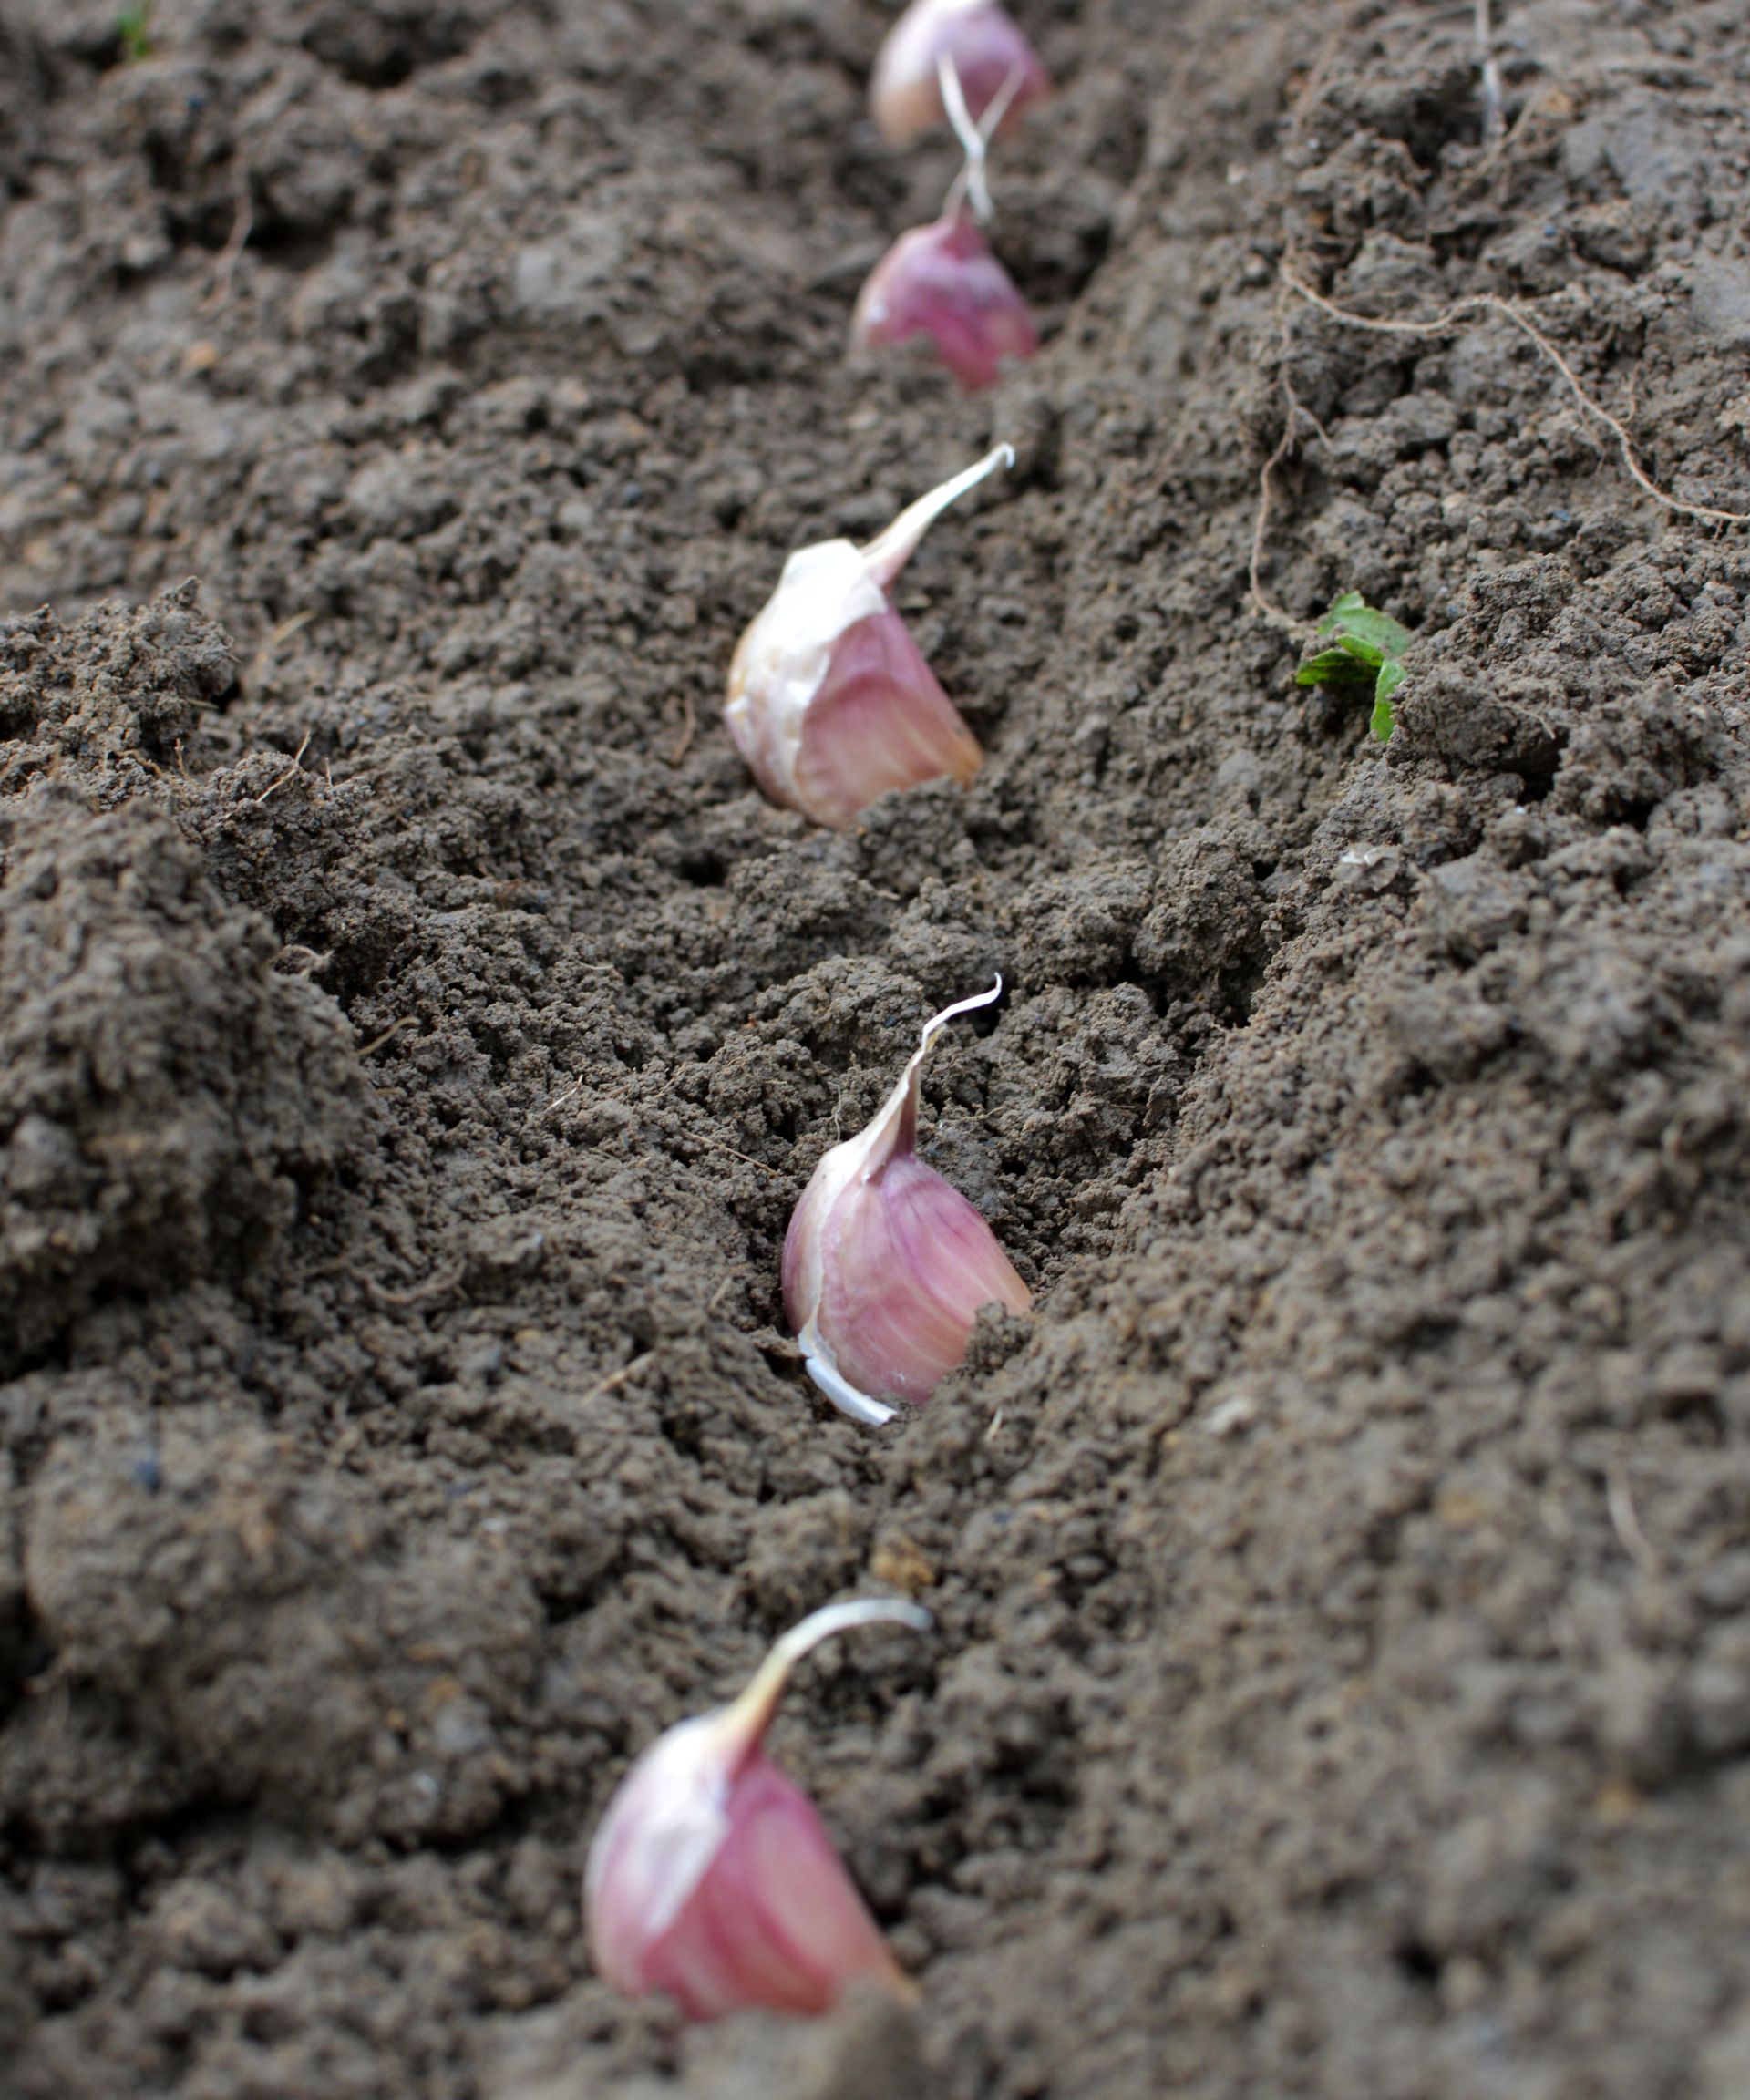
Why? With a couple more inches of soil above them, the cloves are better insulated from the weather above, allowing roots to carry on growing for far longer before they’re halted by freezing temperatures. This big root system will power strong growth in spring, resulting in fatter bulbs. A deeply-planted clove will resist frost heaving which can pop a shallow-planted clove right out of the ground, too. Ready to grow garlic with bigger bulbs? Here’s exactly what to do.
1. Prep the Soil for Great Drainage
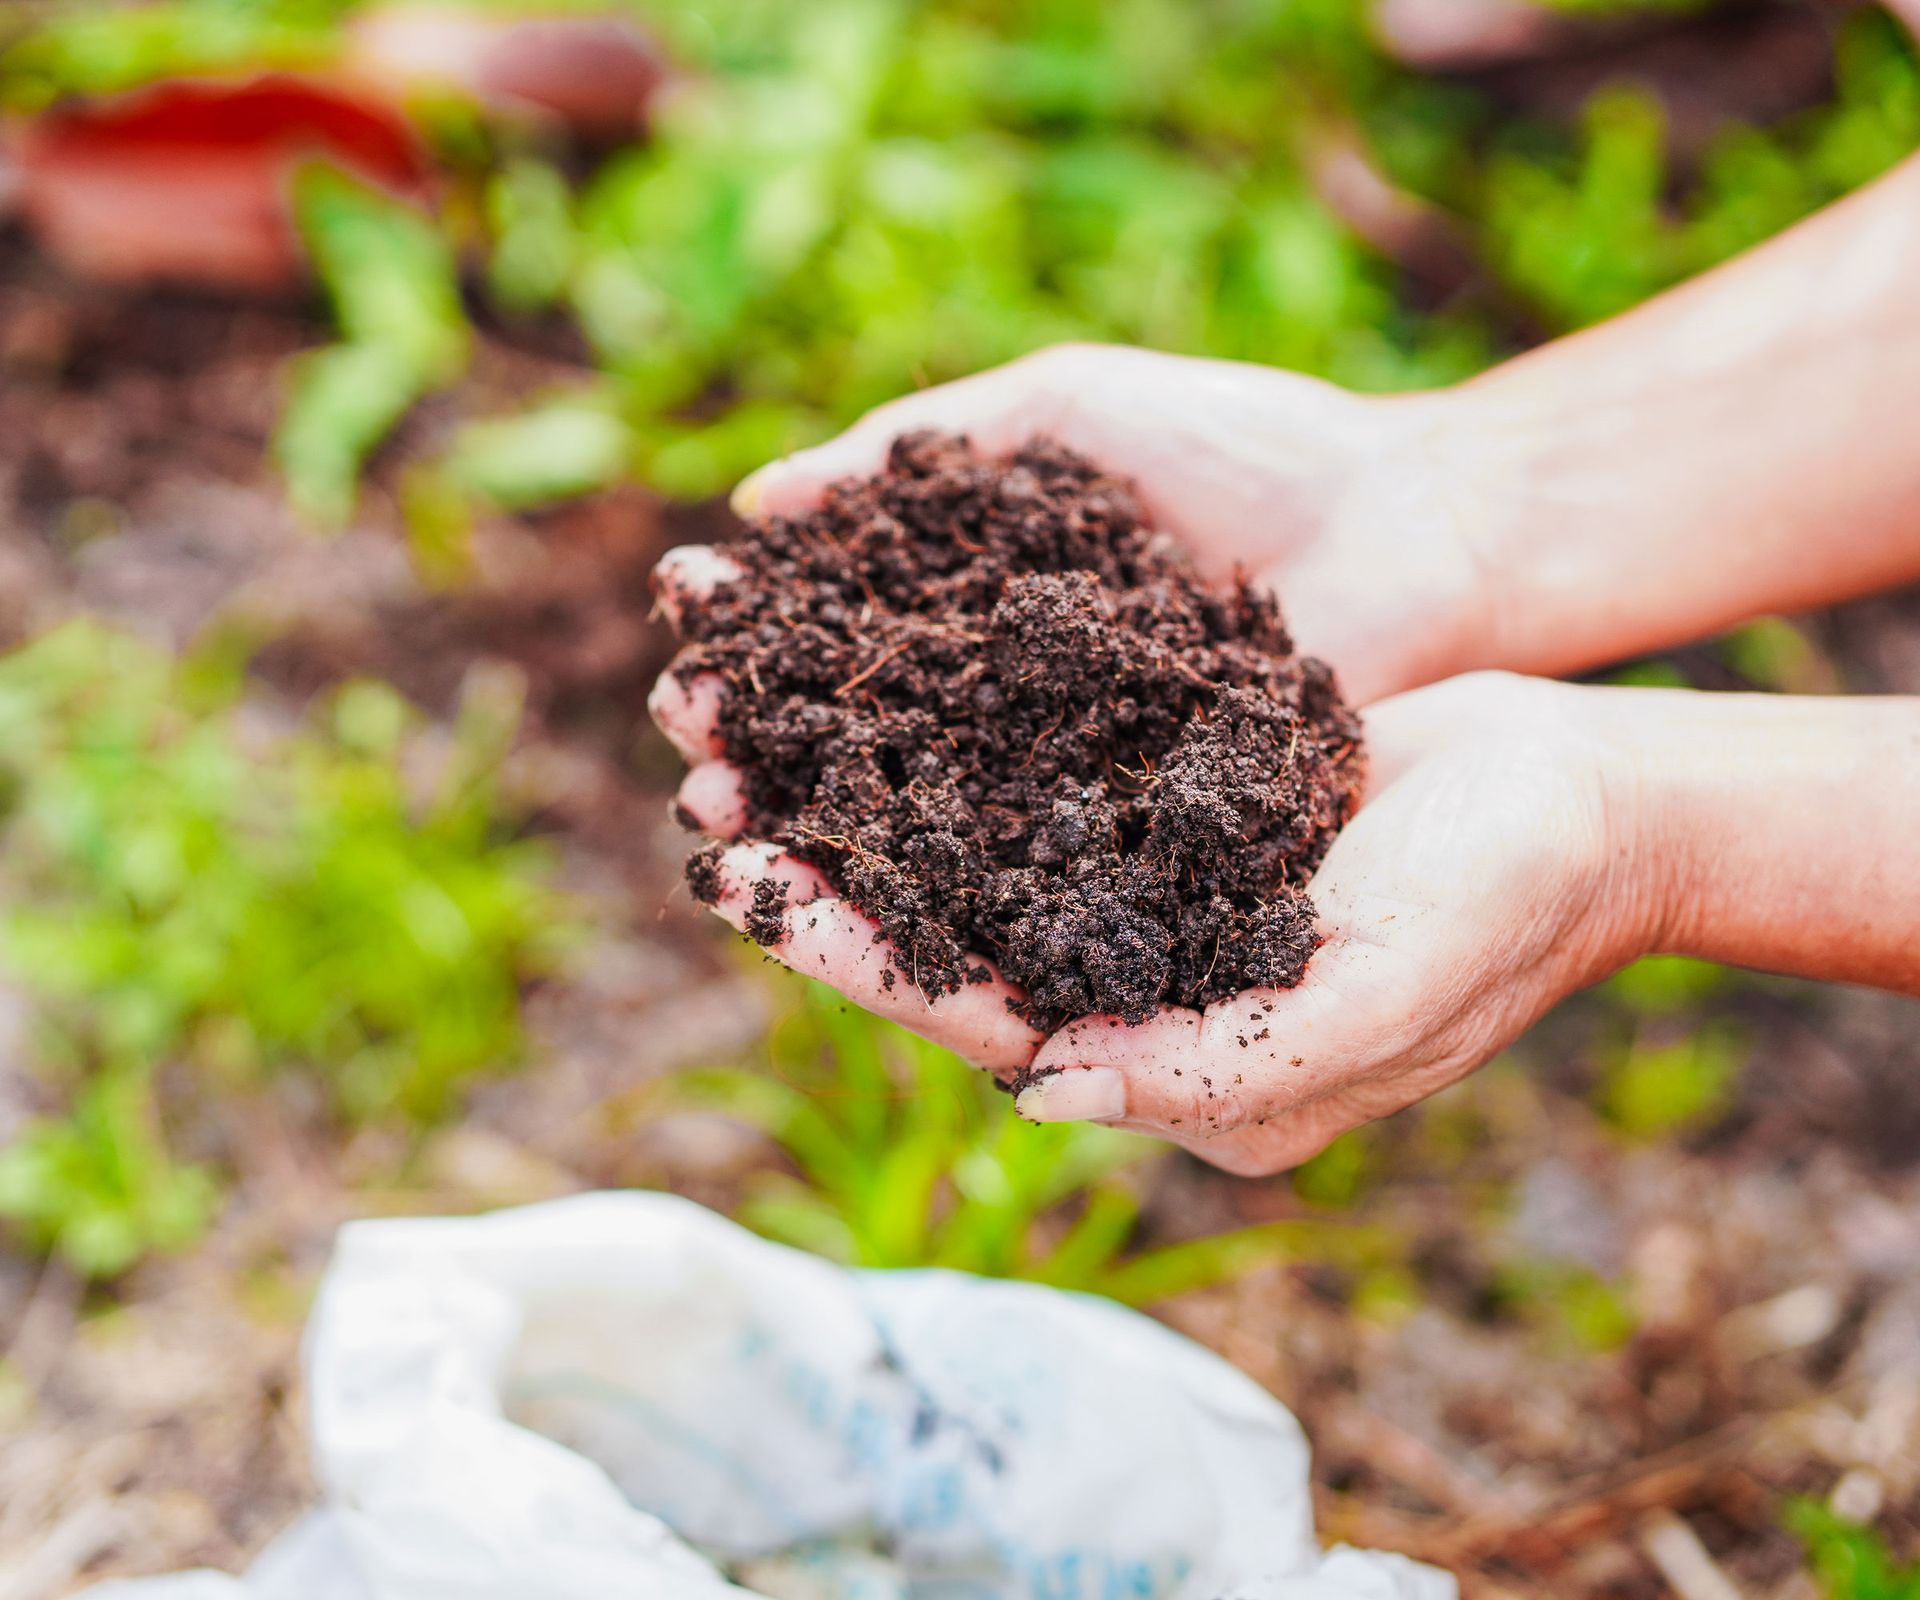
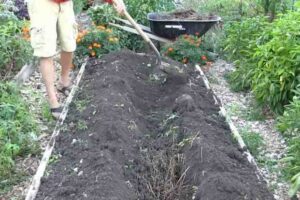
If you want to know how to grow garlic with bigger cloves, it’s important to realise that you can only plant garlic cloves deeply in soil that’s loose and well-drained. Try this trick in heavy, wet soil and if the cloves don’t rot over winter, the plants will waste energy pushing shoots through the dense ground that they could have ploughed into bulb expansion. So, only plant garlic this way if you have a raised bed which naturally gives good drainage, or you’re lucky enough to have loamy, free-draining soil.
Either way, improve the soil’s structure and drainage some more by digging in compost. If you make your own garden compost, great. If not, use a manure-free plant-derived compost like Back to the Roots Organic Compost, available from Walmart.
If you have already-fertile soil, the compost will also supply all the nutrients the garlic needs to grow plump bulbs. In poorer soil, or if you’re growing in a veg bed that’s been full of crops all summer, replenish nutrients before you plant with a slow-release fertilizer that’s high in phosphorous to boost root growth: Down to Earth Fish Bone Meal from Amazon is ideal.
2. Time Planting Just Right
To get the biggest bulbs, you want to get your cloves planted early enough to allow them plenty of time to grow a strong root system before winter, but not so soon that they move onto sending lots of shoots above ground that may be hit by freezing weather. The sweet spot to plant garlic cloves for big bulbs is around three weeks after your first frost, depending on your USDA zone.
So, tailor the time you plant garlic in fall to the conditions in your garden. In zones 1-6, you’ll want to plant garlic in October; in zones 7-8 you may need to wait till the end of October; and in zones 9-10, you’re perhaps looking at November.
Most garlic varieties need an 8-10 week period below 45°C to trigger cloves to split and form bulbs, a process known as vernalization. So, in zones 10+, you’ll need to pop your garlic into the fridge, in a paper bag or a lidded jar, for a couple of months to mimic this cold period before planting.
3. Only Plant the Biggest Cloves
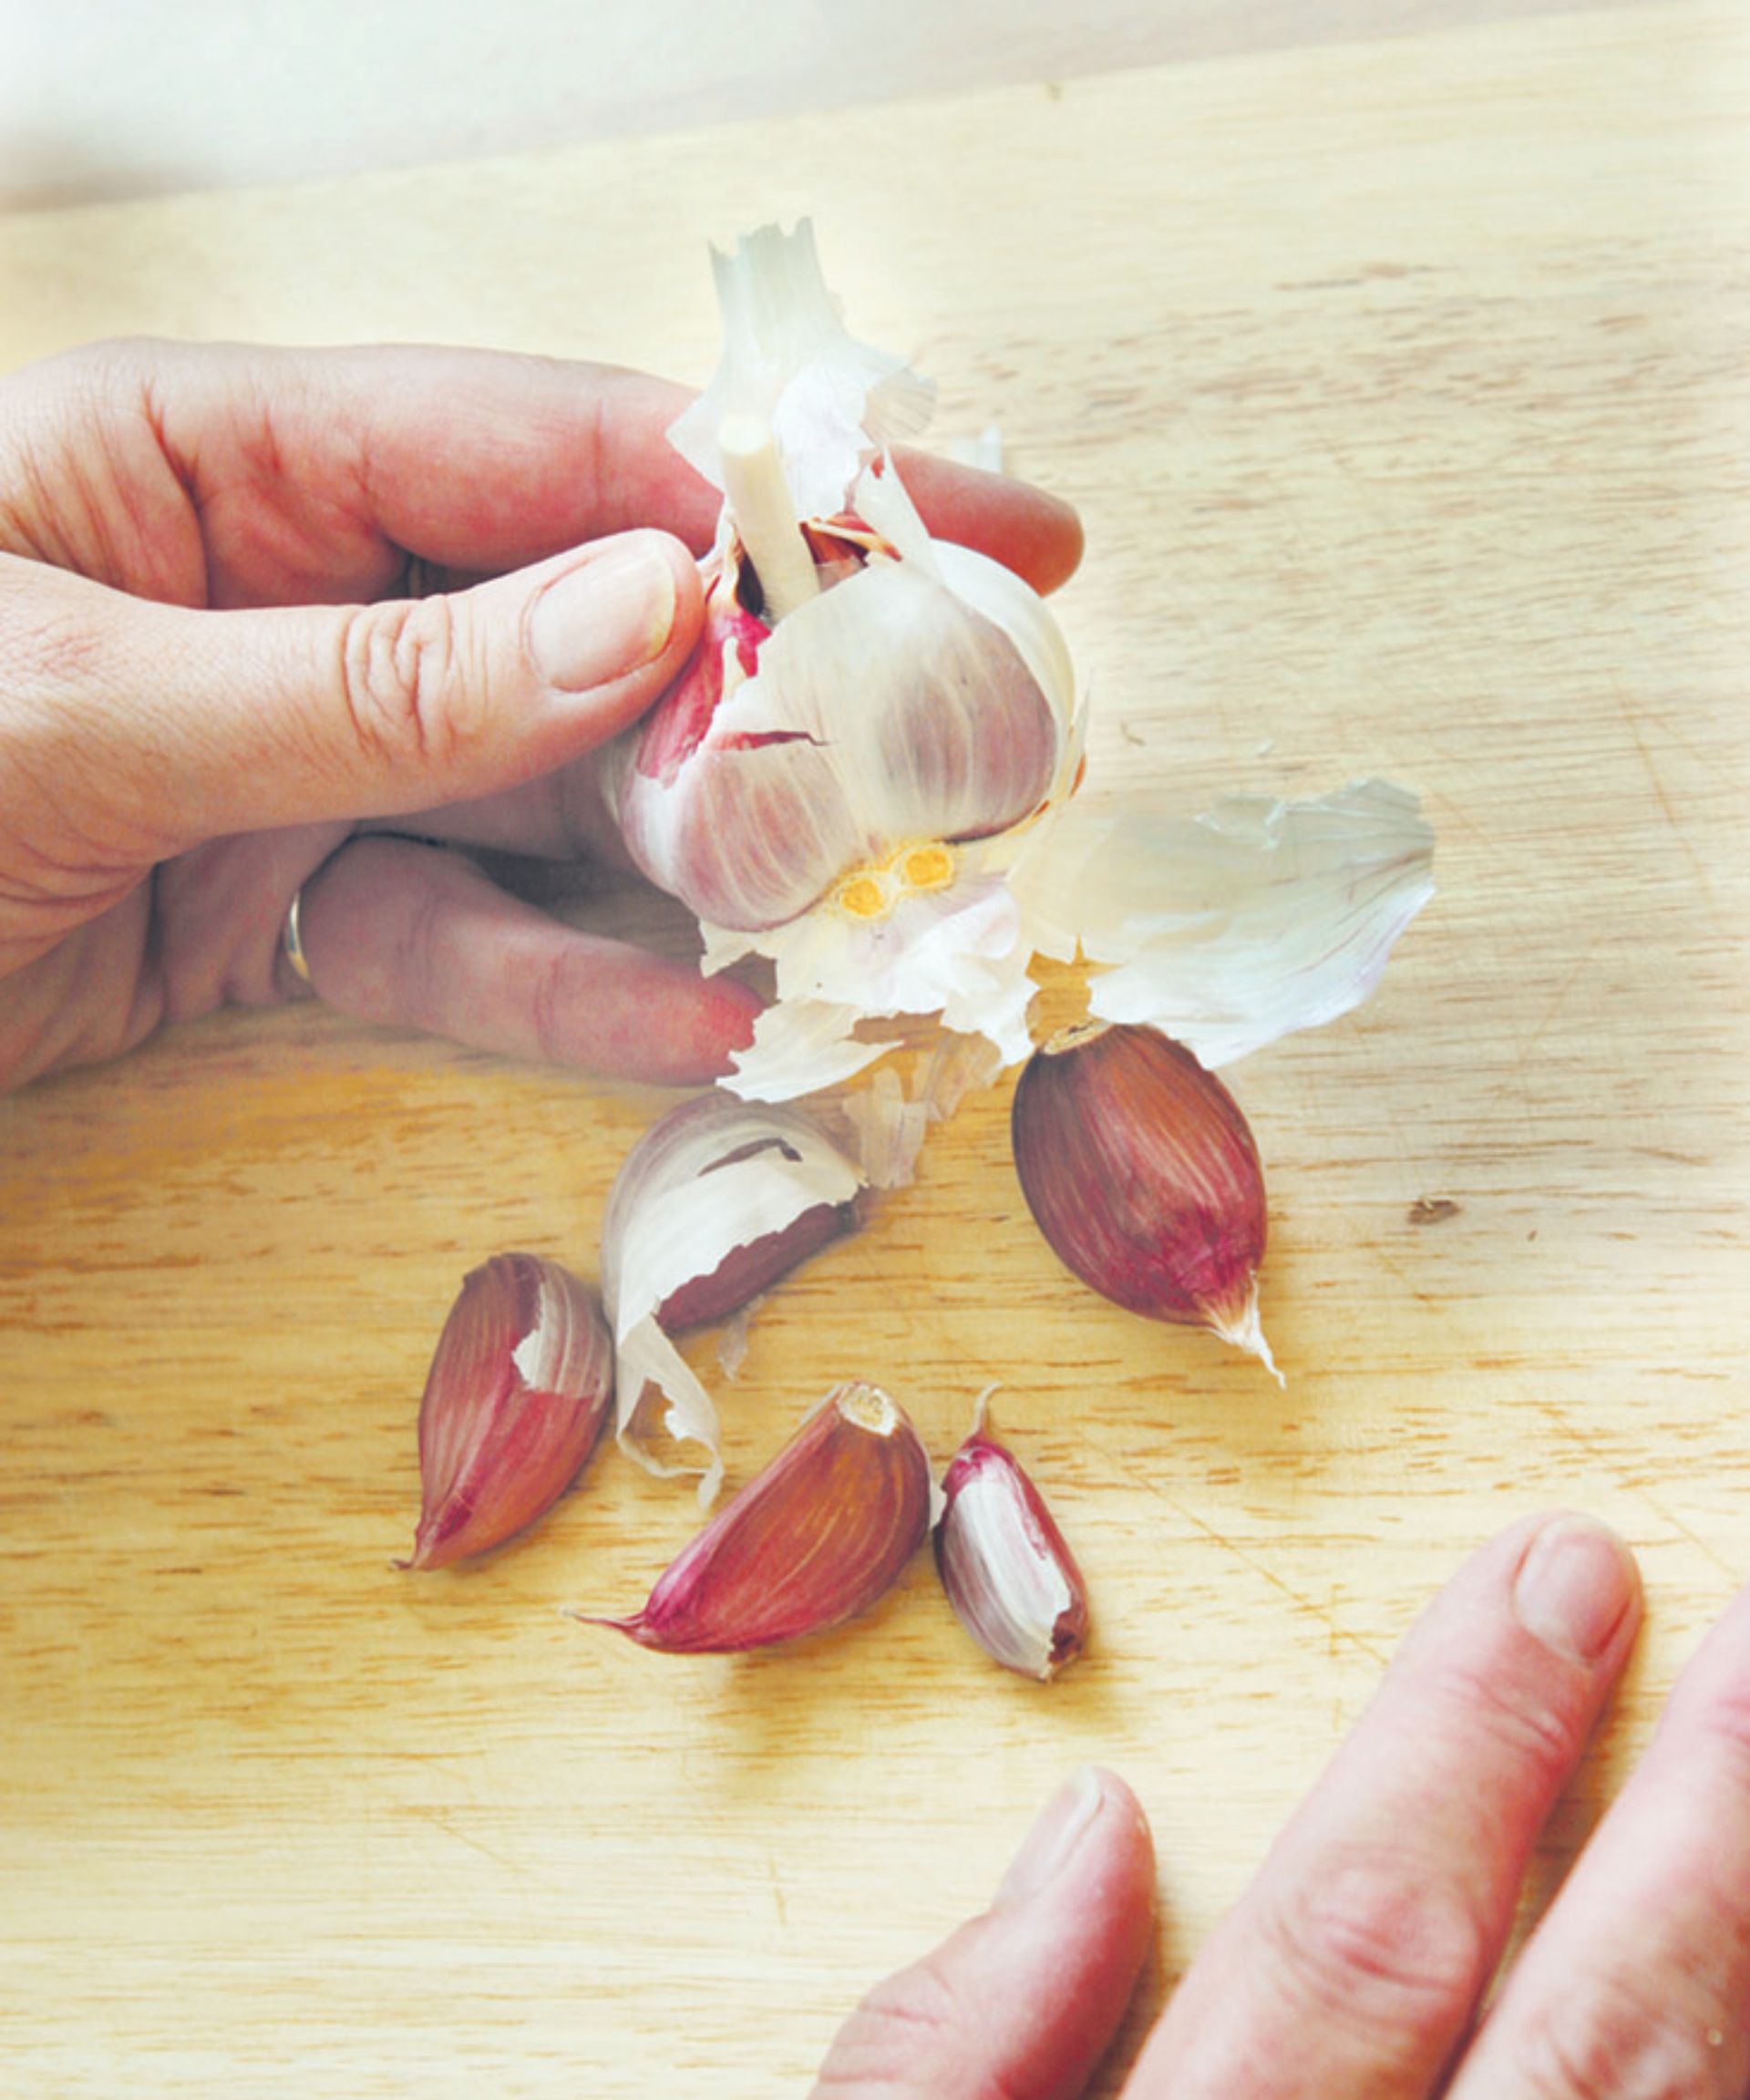
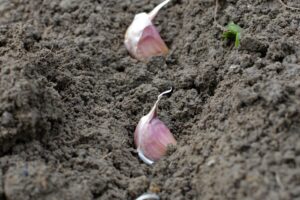
When you split open your garlic bulbs, discard any smaller cloves as research shows bigger cloves grow bigger bulbs. Now your soil is loose and fast-draining, you can safely plant the cloves around 4 inches deep, using a dibber such as this Hand Hole Digger from Amazon to create planting holes.
Space holes 6 inches apart, because good airflow around the leaves will help prevent fungal diseases such as rust that can slow bulb growth. Then drop a single clove into each hole, pointy end up, and push that lovely loose soil over the top.
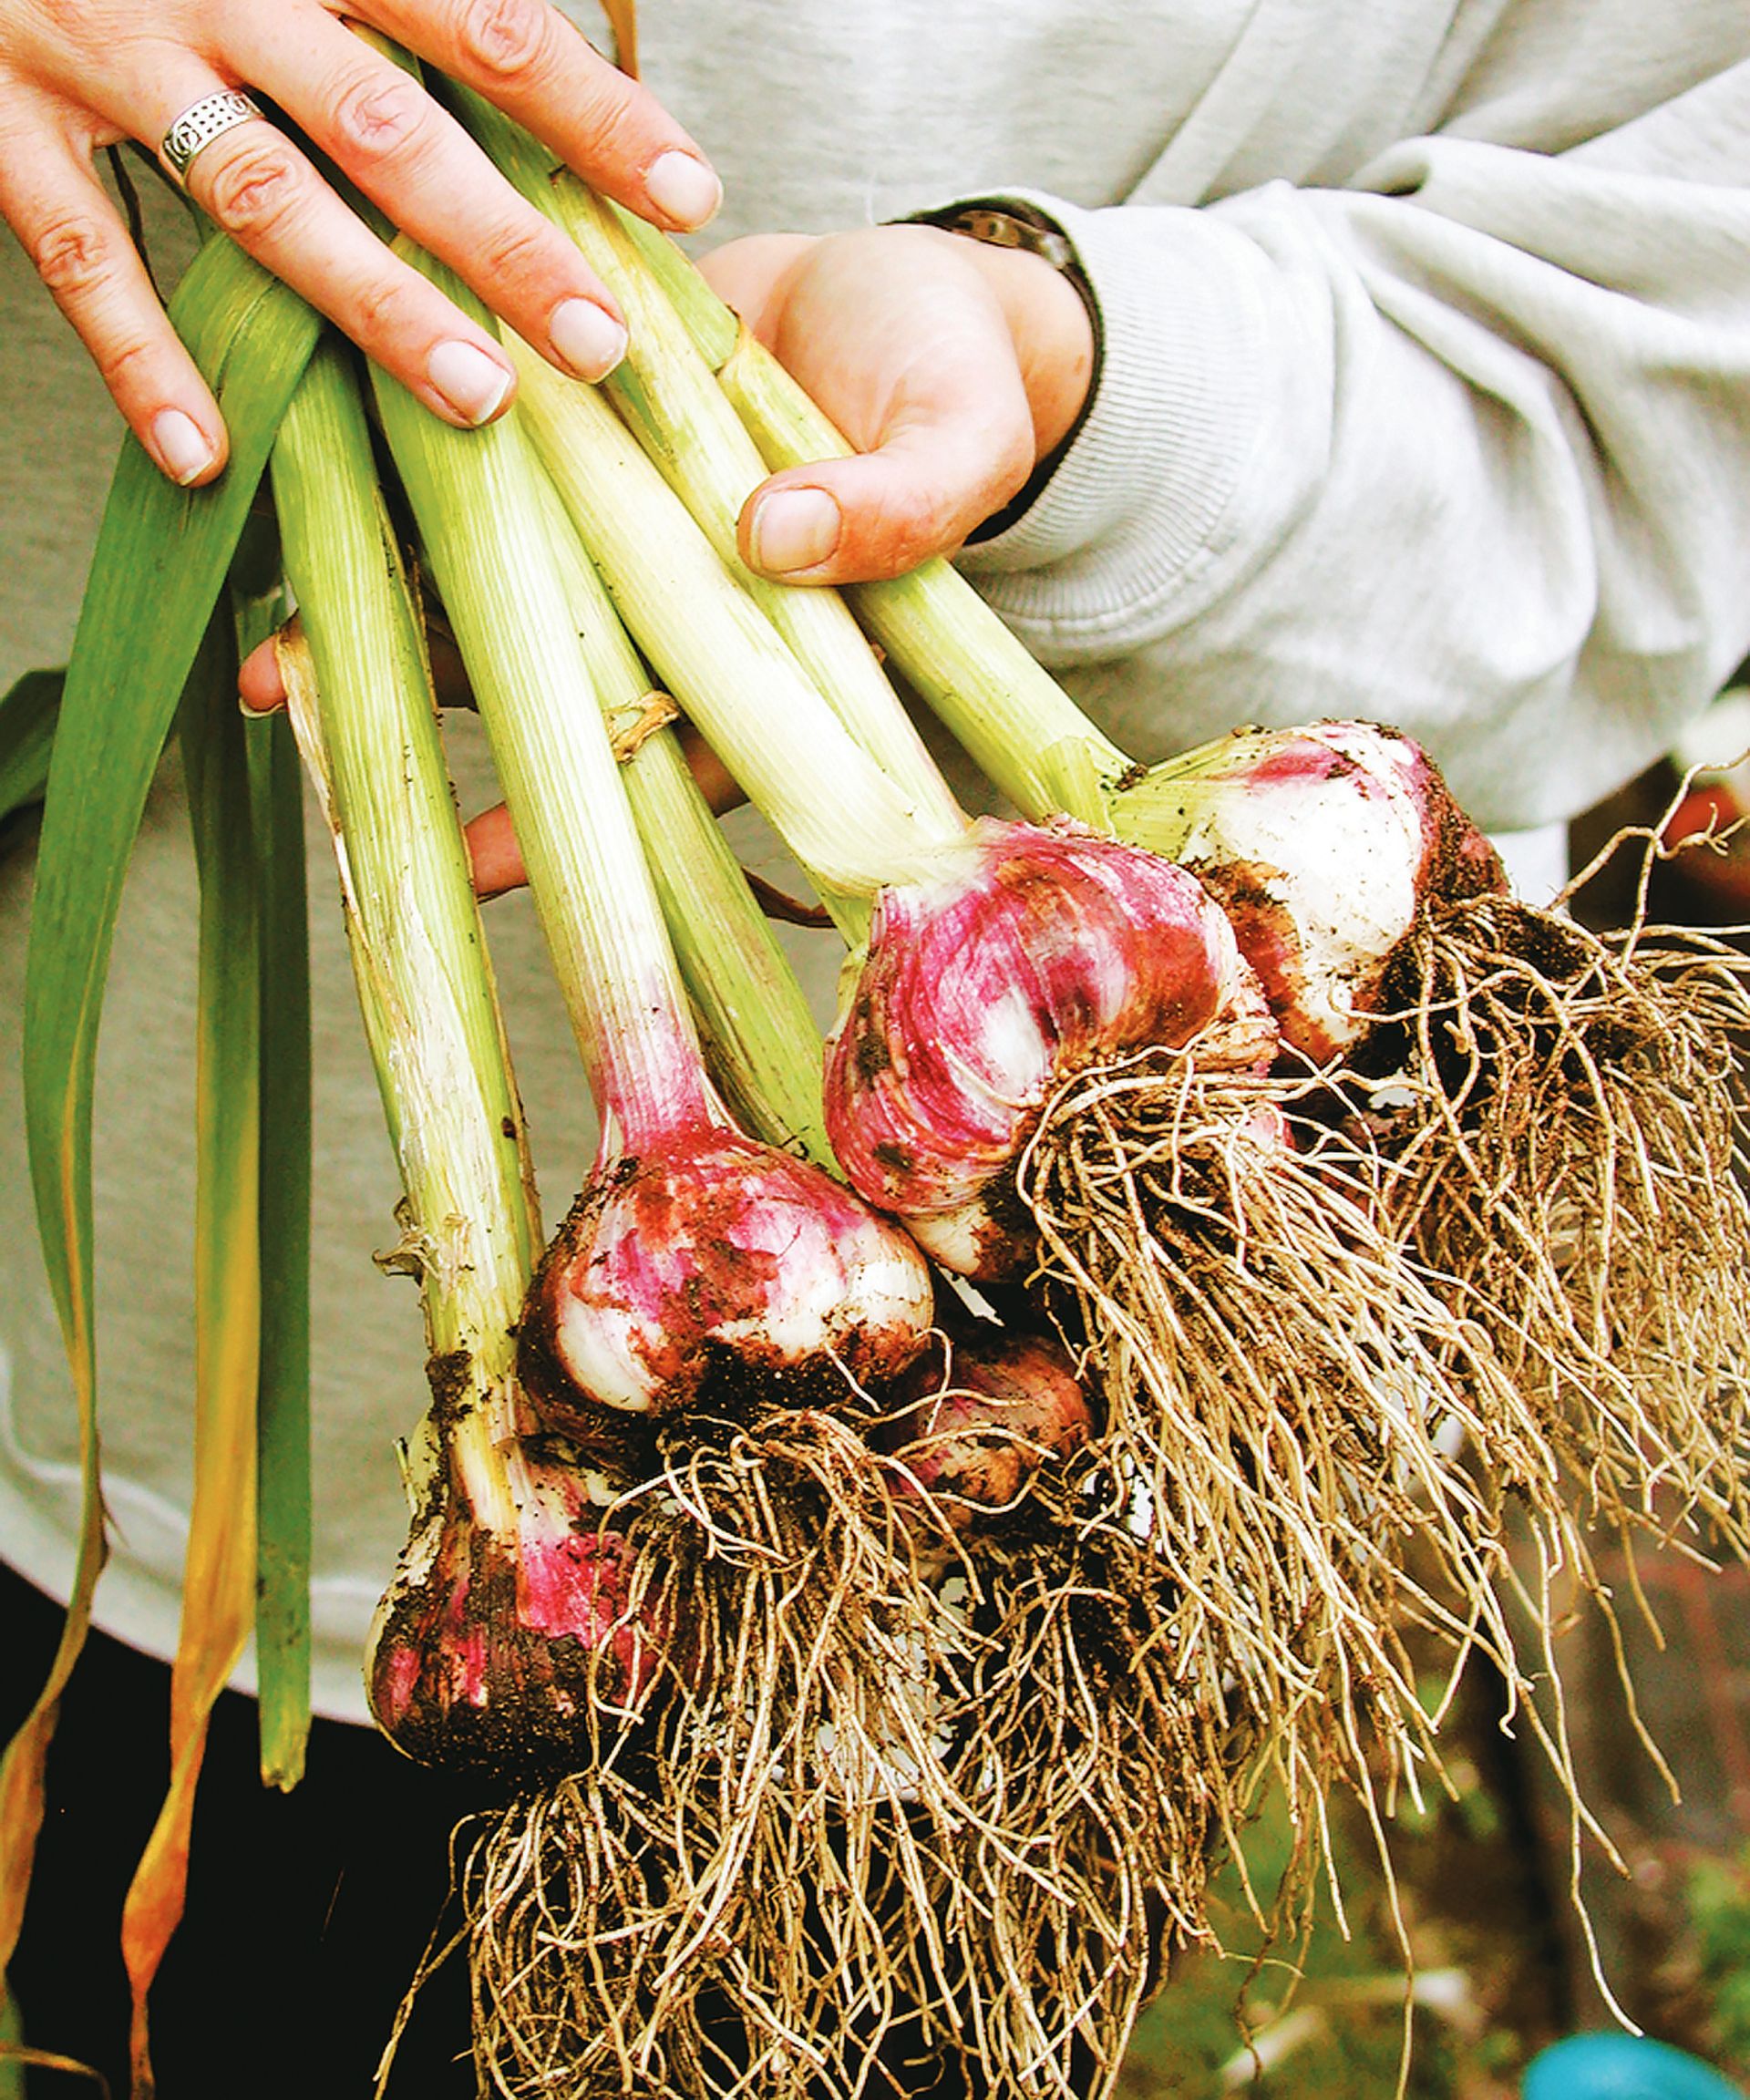
And that’s all you need to do to double the size of your homegrown garlic bulbs! You see, the expert secret to growing big garlic bulbs is to grow big root systems. Kept cosy beneath that extra couple of inches of soil, with all the nutrients they need, the cloves you planted will quickly get busy growing deep roots through fall. While root growth will pause in frozen soil, as soon as temperatures creep back above 41°F it will resume, off and on, all through winter.
When spring arrives, that strong root network gives plants access to plenty of moisture and nutrients to grow lots of foliage. And because you’ve planted your garlic in a sunny spot, all those leaves act as solar panels to generate energy to fuel plumper bulbs. The loose soil you created will also allow bulbs to easily expand to their full potential.
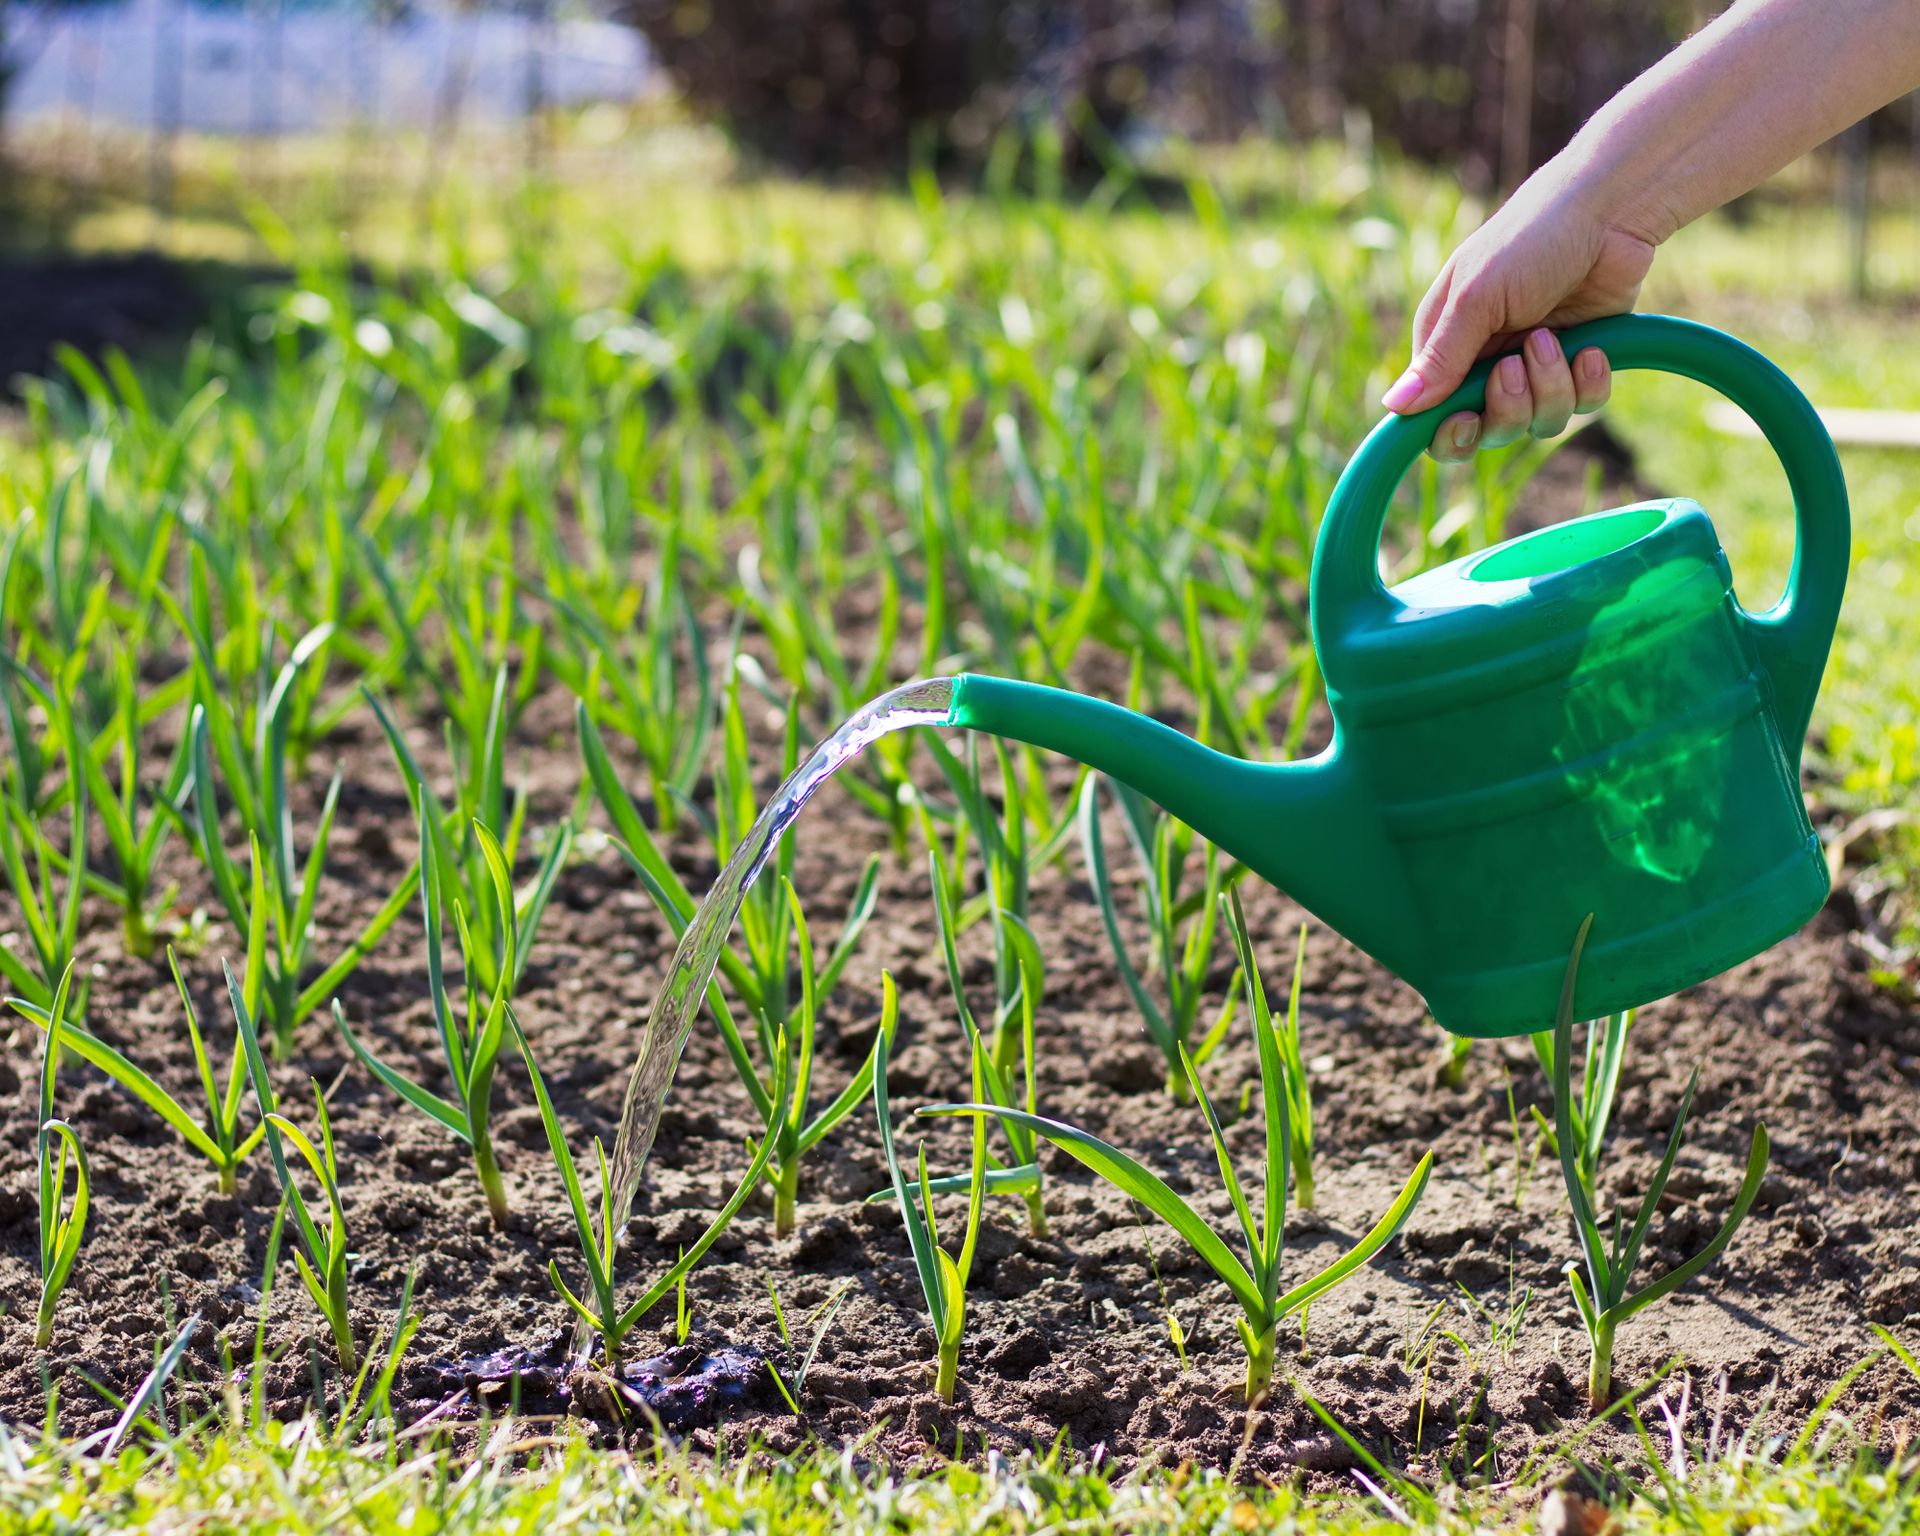
Make sure you water the soil through any dry spells in spring and early summer when bulbs are swelling, then slow once the bulbs are fully formed – you’ll know when to stop because the foliage will start to yellow – and you’ll be harvesting garlic that’s grown into showstopper bulbs.
Which Garlic is Best for Home Growing?
If You Garden in a Colder Zone
In zones 1-8, opt for hardneck garlic varieties as they’re much hardier and won’t mind sub-zero temperatures a jot. Hardneck garlic bulbs have fewer but bigger cloves, strong flavor and store for 4-6 months.
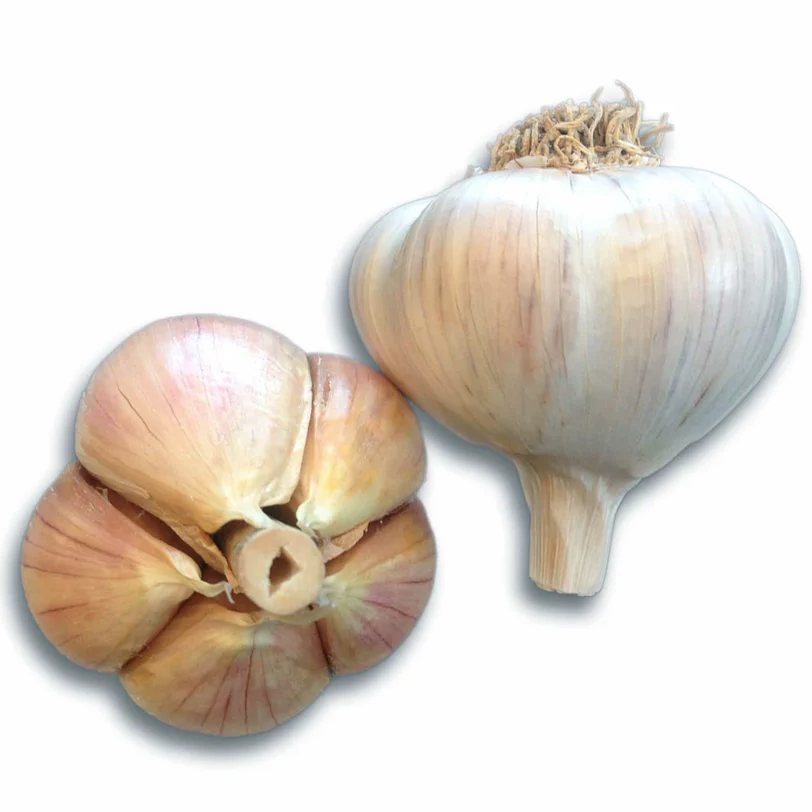 Huge Cloves
With a pleasing flavor and pretty pink tones, this variety grows 4-7 jumbo easy-peel cloves even in colder climates.
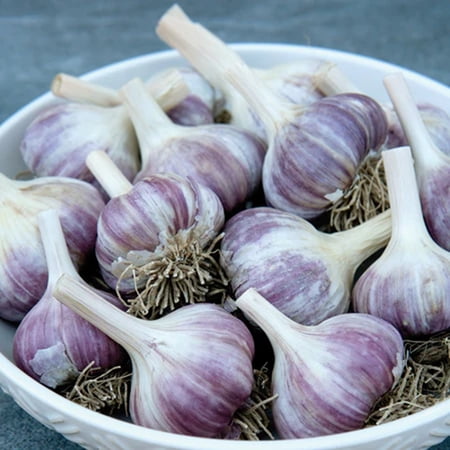 Health Benefits
This variety is less pungent than most hardnecks and has a high concentration of immune-boosting allicin.
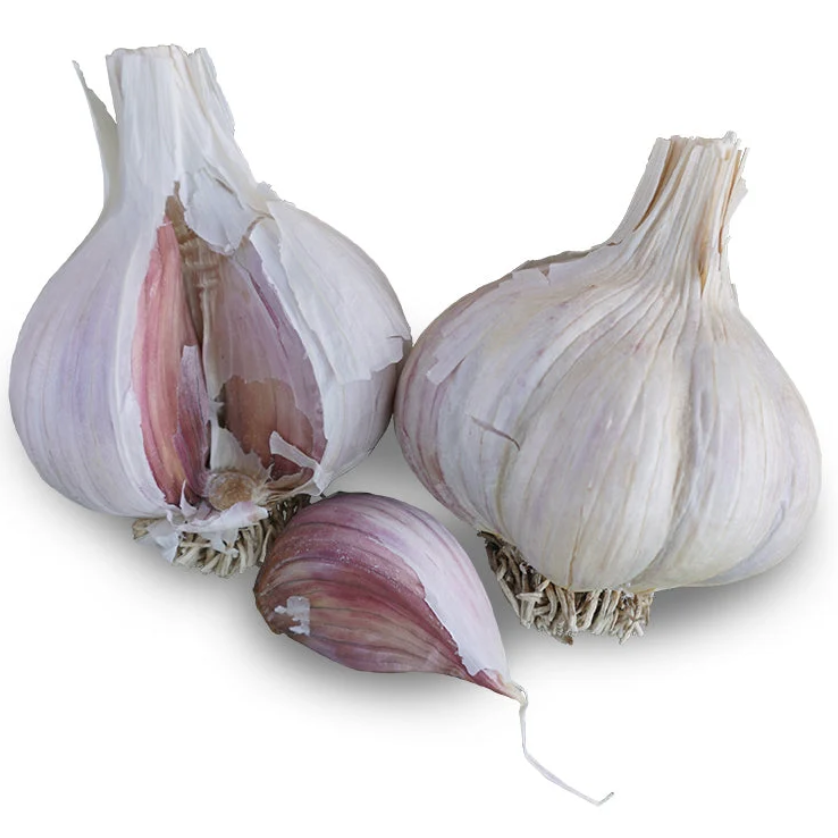 Gourmet Flavor
Adapted to flourish in colder zones, this variety produces plump cloves with a buttery flavor enjoyed raw or cooked.
If You Garden in a Warmer Zone
Choose softneck garlic in zones 6 and above, because it copes far better in warmer temperatures. Softneck garlic tastes milder, typically has lots of smaller cloves, and stores well for up to a year.
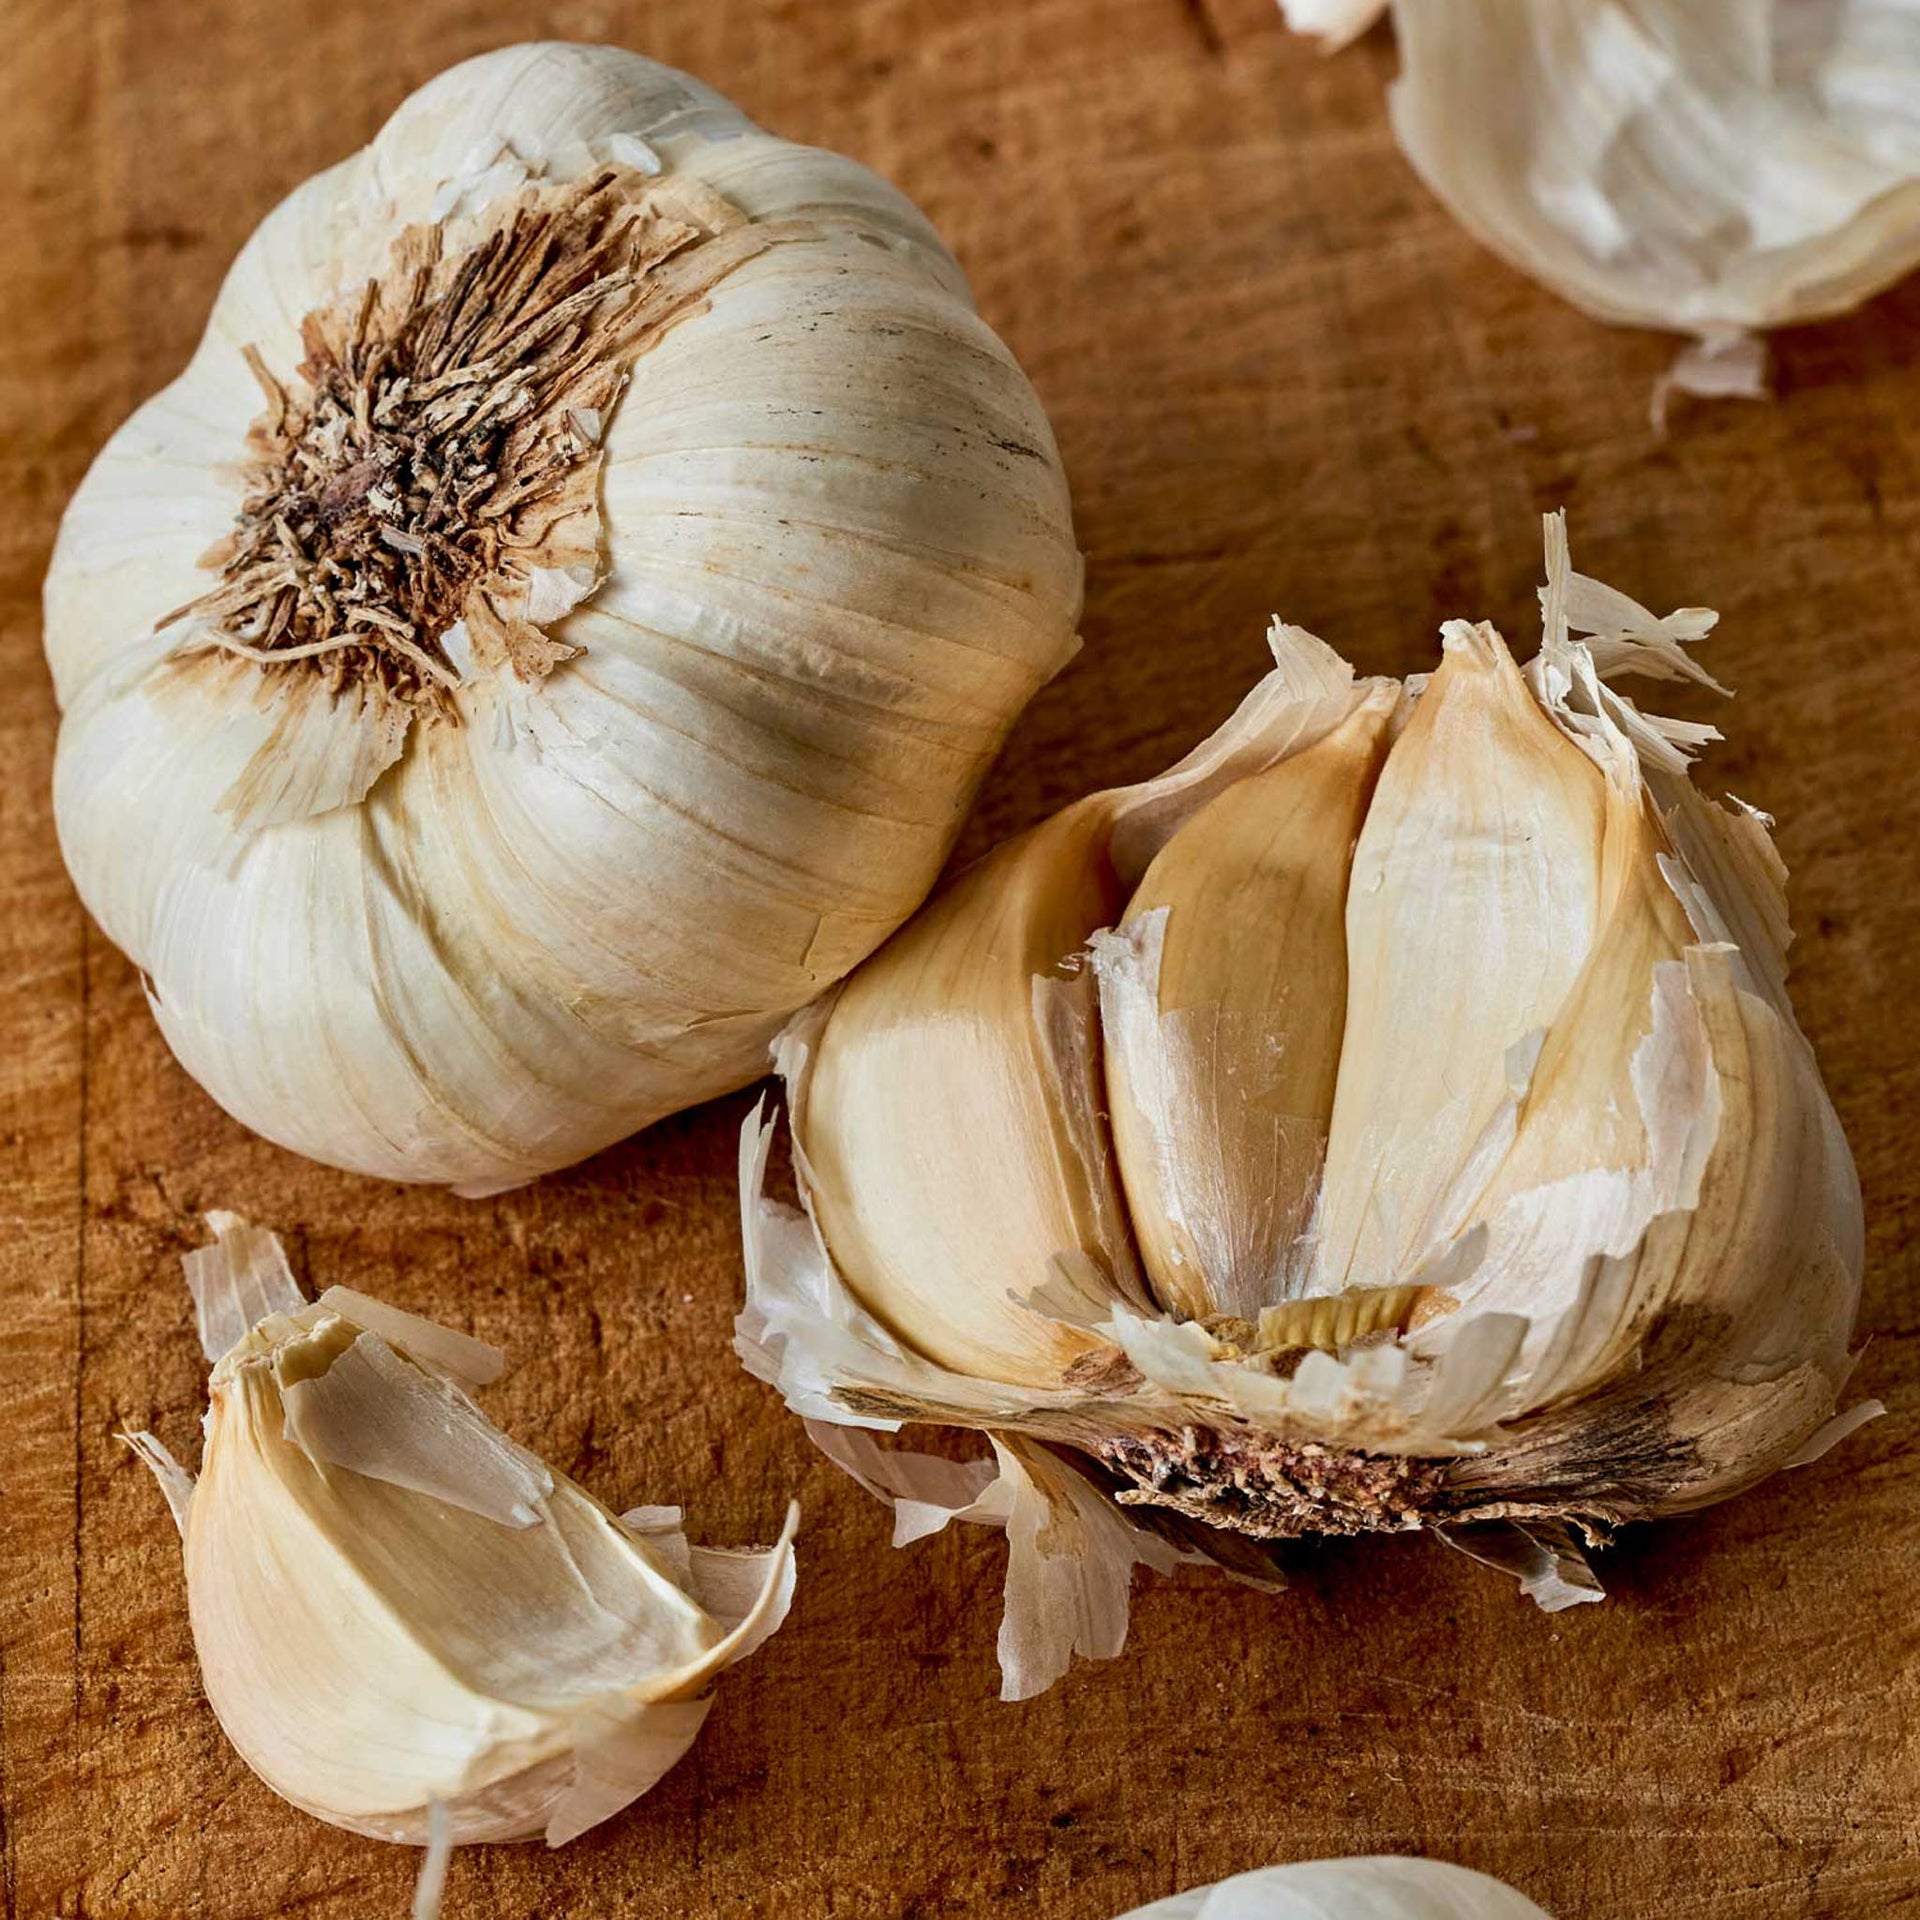 Hot-Zone Survivor
Producing bigger cloves than most softnecks, this sweet-tasting variety crops before mid-summer heat arrives.
 Foolproof Harvest
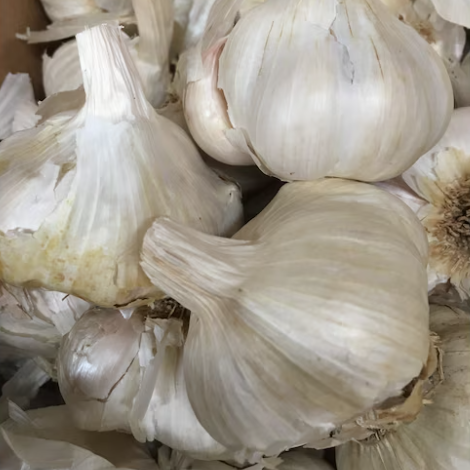
With creamy-white cloves and a crowd-pleasing flavor, this productive variety is particularly easy to grow.
 Incredible Taste
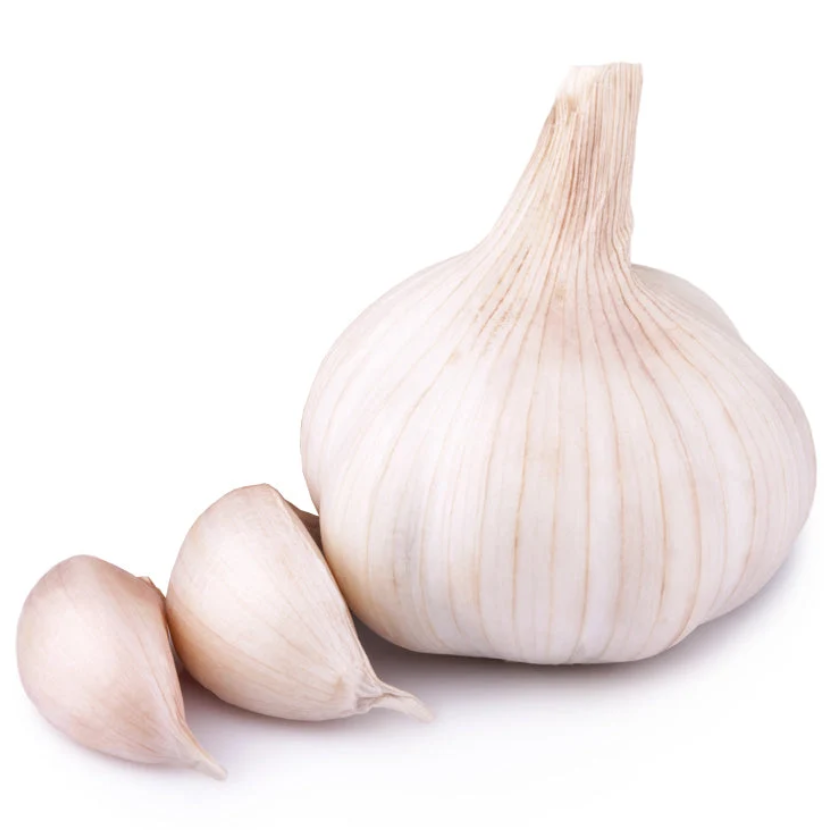
Producing unusually big cloves, this variety regularly wins taste tests with its rich, layered flavors.