As October arrives and fall weather settles in, your focus may naturally shift towards fall cleanup and preparing the yard for winter. While spring clean-up may get more attention, October tasks are just as vital for maintaining healthy, robust shrubs. This is especially true for garden workhorses like hydrangeas. The care they receive during these crisp, shifting fall weeks can directly determine performance next year.
Hydrangea care in October is a happy mix of strategic actions, requiring as many “don’ts” as “do’s” for safeguarding plant health. Knowing what yours needs before the cold weather settles in will help shield vulnerable roots and protect stems from frost damage. Thankfully, completing these essential fall maintenance steps takes very little time, while paying massive dividends when the warmer weather returns.
Taking time to care for your hydrangeas now ensures they emerge from winter dormancy in peak condition. Whether you grow bigleaf mopheads, lacecaps, cold-hardy panicles, or dramatic oakleaf hydrangeas, these easycare steps can protect your shrubs, safeguard dormant buds, and guarantee a breathtaking, bloom-filled display next summer.
Helping Hydrangeas in October
Preparing hydrangeas for winter now requires a clear understanding of how soil, moisture, and light conditions change as daylight shortens. While fall rain can often reduce the need for daily watering, you still need to make sure that your shrubs enter winter with adequately moist soil. Cold, icy winds can dehydrate plant tissue, and well-hydrated roots withstand freeze-thaw cycles far better than they do when dry. So continue watering deeply during dry spells until the ground freezes.
What you do in October will depend on which type of hydrangea you are growing. Panicle (H. paniculata) and smooth (H. arborescens) hydrangeas bloom on new wood produced in spring, making them very cold-hardy and forgiving. Conversely, bigleaf (H. macrophylla), mountain (H. serrata), and oakleaf (H. quercifolia) types set their flower buds on old wood in late summer. For these old-wood bloomers, it’s important to protect overwintering stems and terminal buds from harsh frosts.
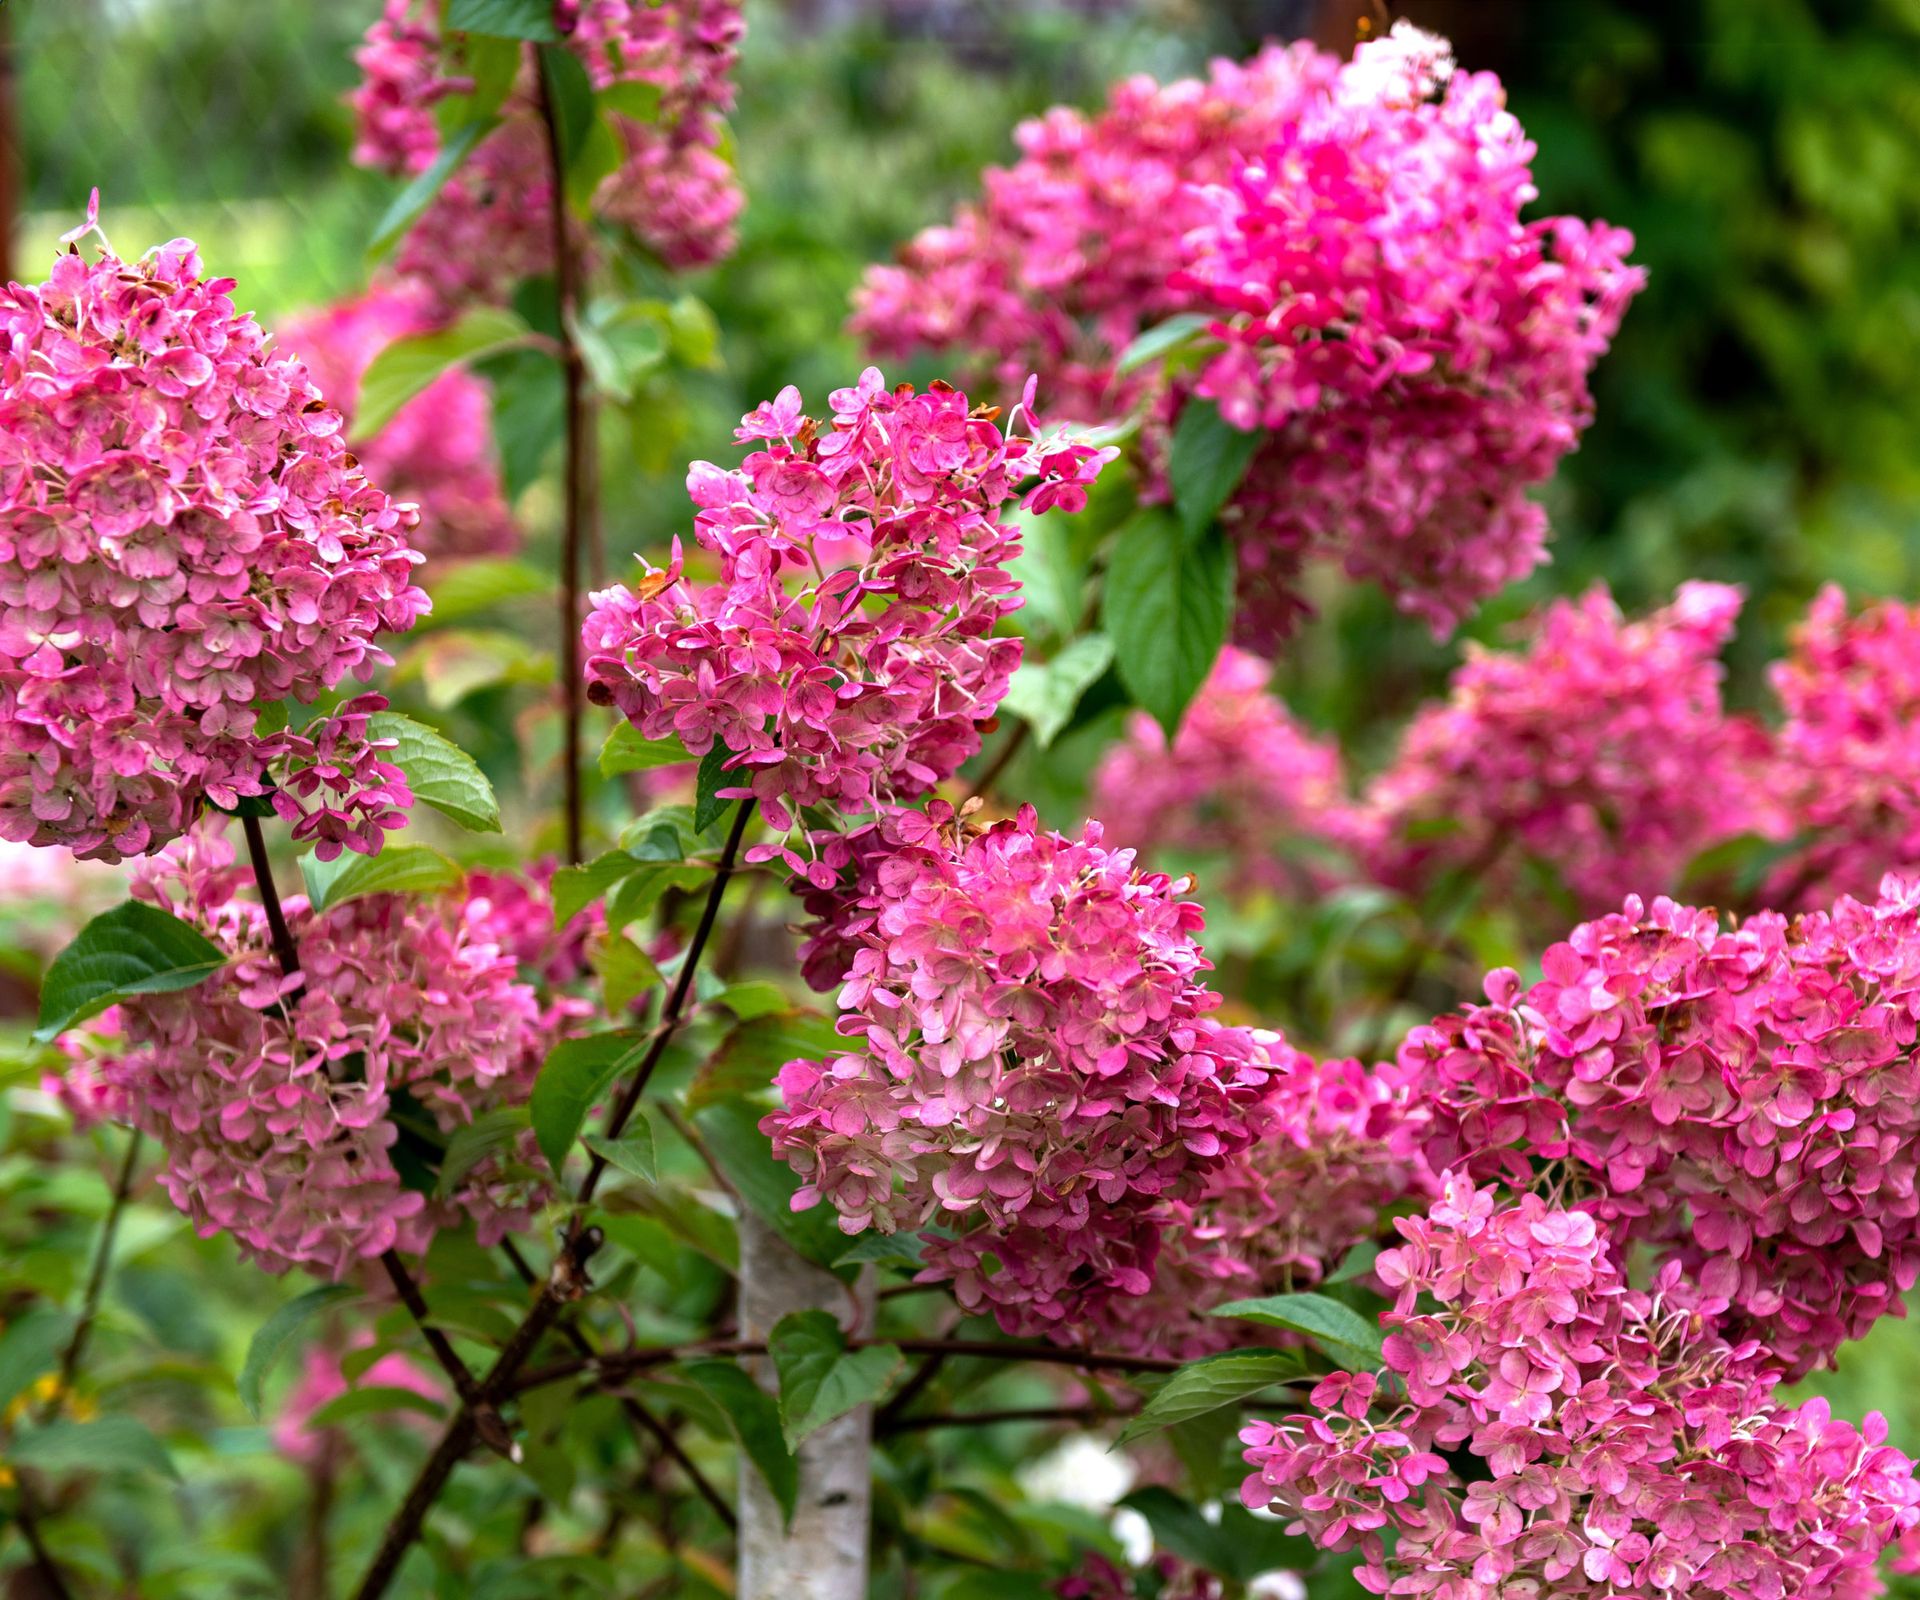
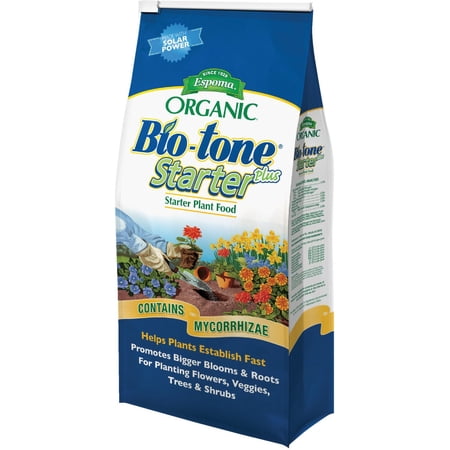
Regional climate variations will also have some bearing. In northern regions (USDA zones 3-5), it’s important to prioritize root insulation and wind protection before hard freezes set in. Sprinkling a handful of Espoma Organic Bio-Tone Starter Plus, available from Walmart, around the base of your hydrangeas can strengthen roots ahead of winter. In the south (zones 7-9), it’s best to focus on gentle soil conditioning and light debris removal Here’s what you need to do this month to get your hydrangea ready for even bigger blooming displays next year…
1. Halt All Fertilizer Applications
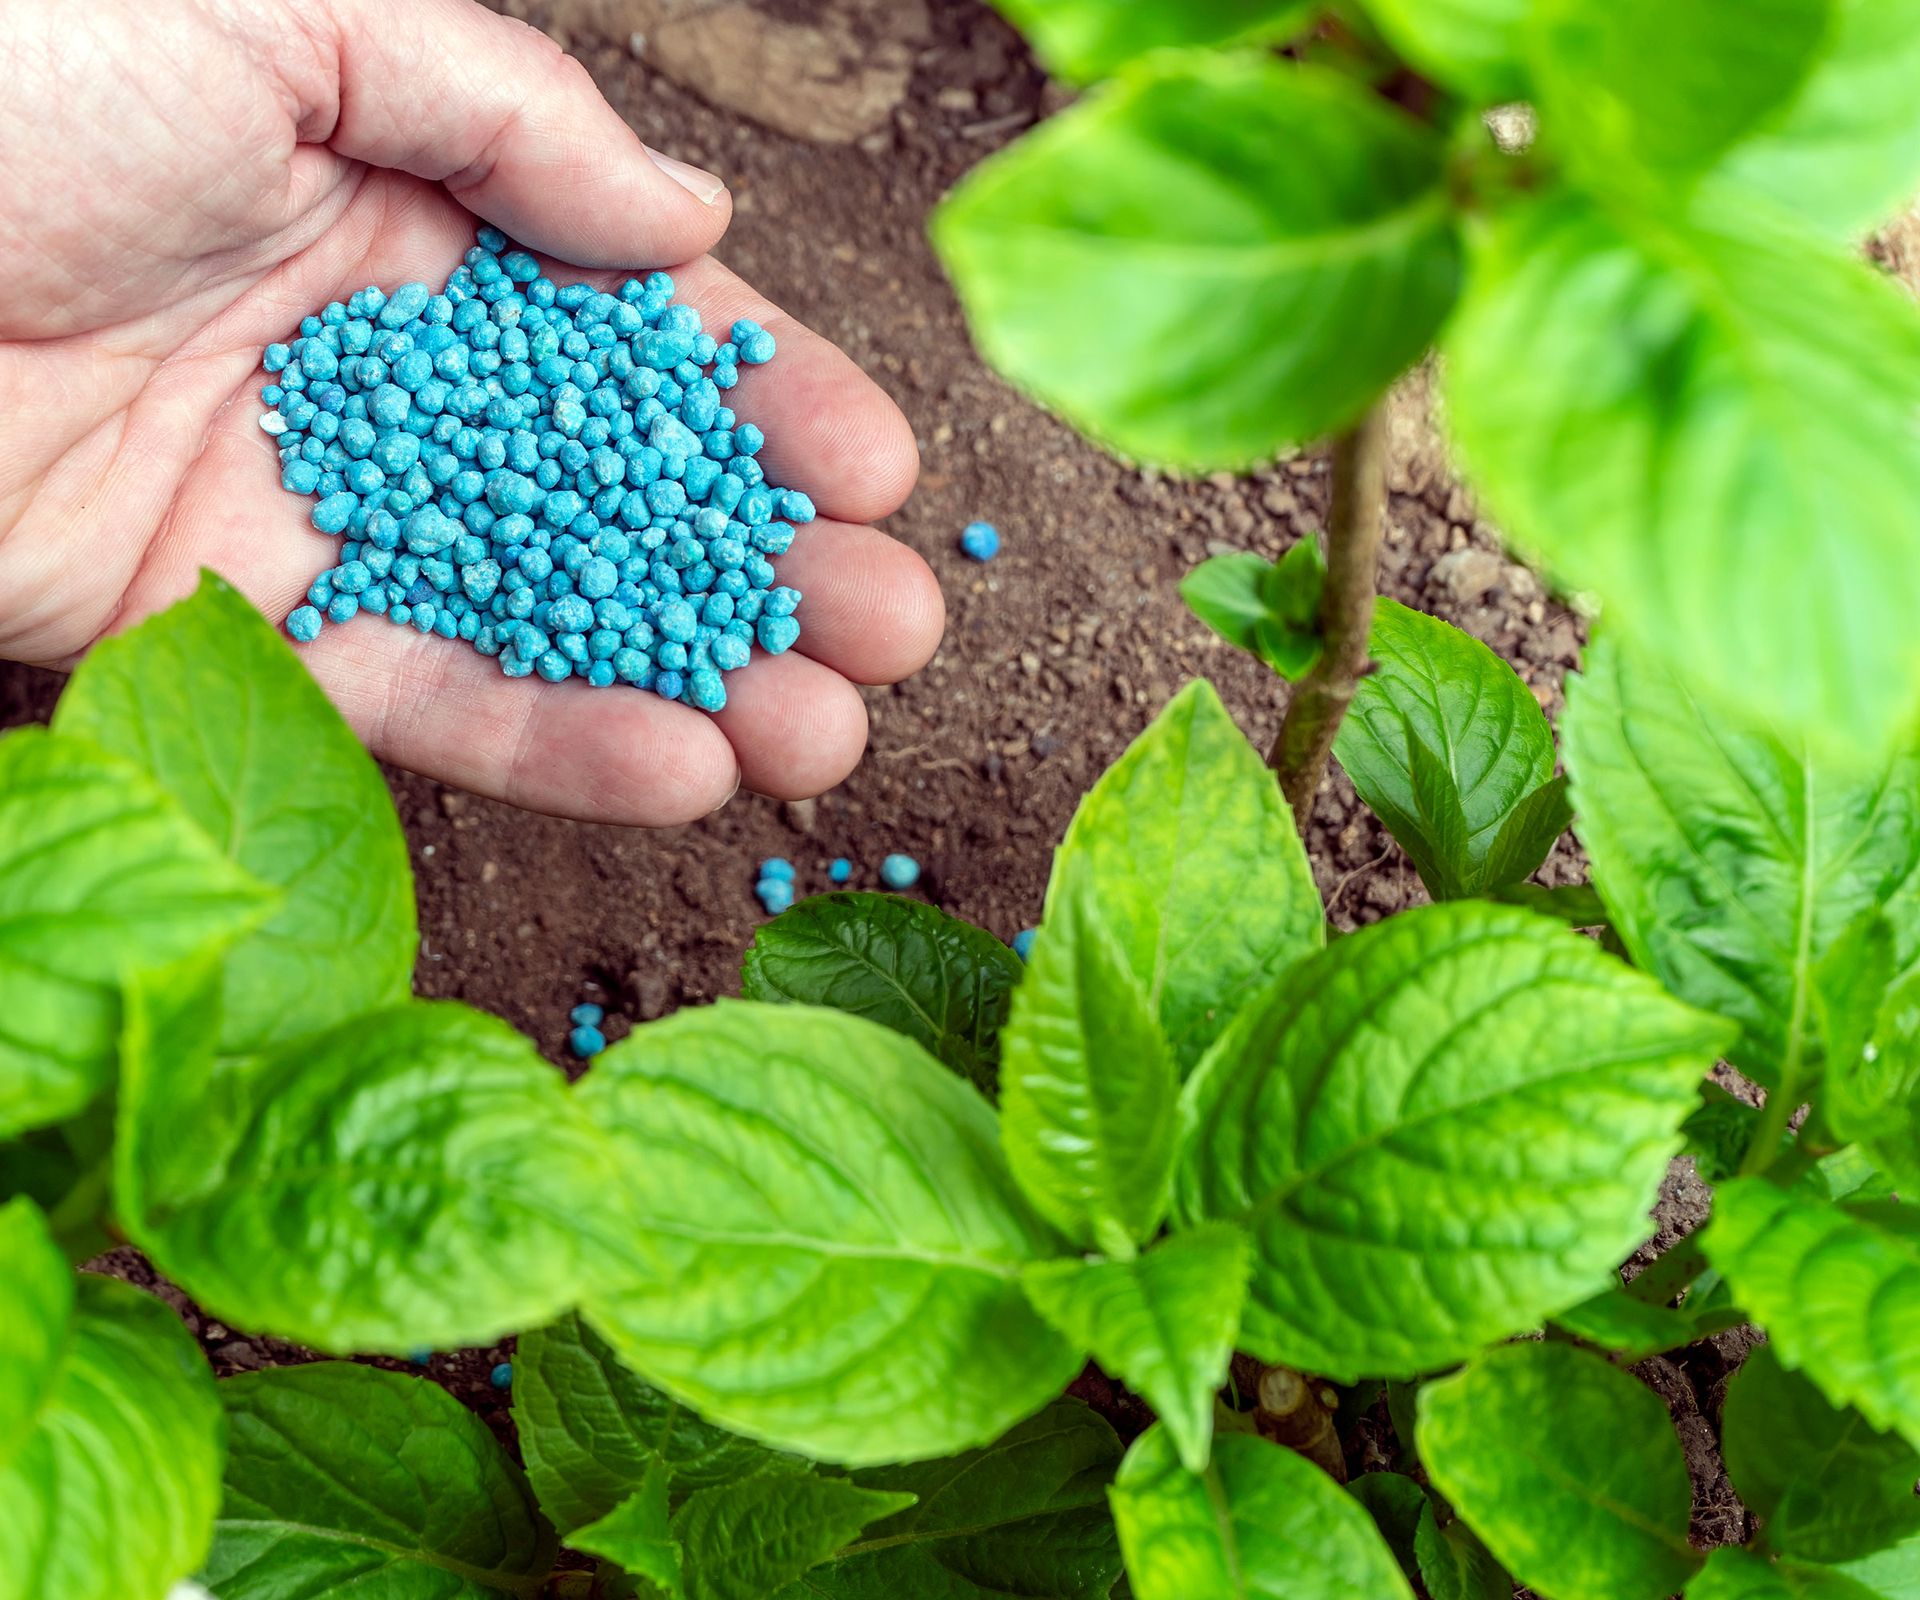
Start your October hydrangea checklist with the easiest task of all: a complete hold on fertilizing. If you have been applying monthly fertilizer to boost foliage and flower size, now is the time to stop. Simply resist the urge to feed your hydrangeas as the weather cools. This pause is vital for health. The purpose of feeding is to encourage new shoots and foliage. But any tender new branches produced now will die in the winter weather, leaving the plant vulnerable to stem dieback and fungal infections.
This rule applies to all hydrangea types, whether old-wood mopheads or new-wood panicles. Ceasing fertilizer allows the shrub to shift its energy into natural dormancy, hardening its bark and storing carbohydrate reserves in its root system. Instead of feeding foliage now, top-dress the soil with a clean organic amendment like kelp meal to quietly support root health without forcing unwanted top growth. Down to Earth Organic Kelp Meal, available from Amazon, gives soil health a natural boost. This potassium-rich seaweed meal improves cold hardiness.
2. Rake Up and Clear Fallen Debris
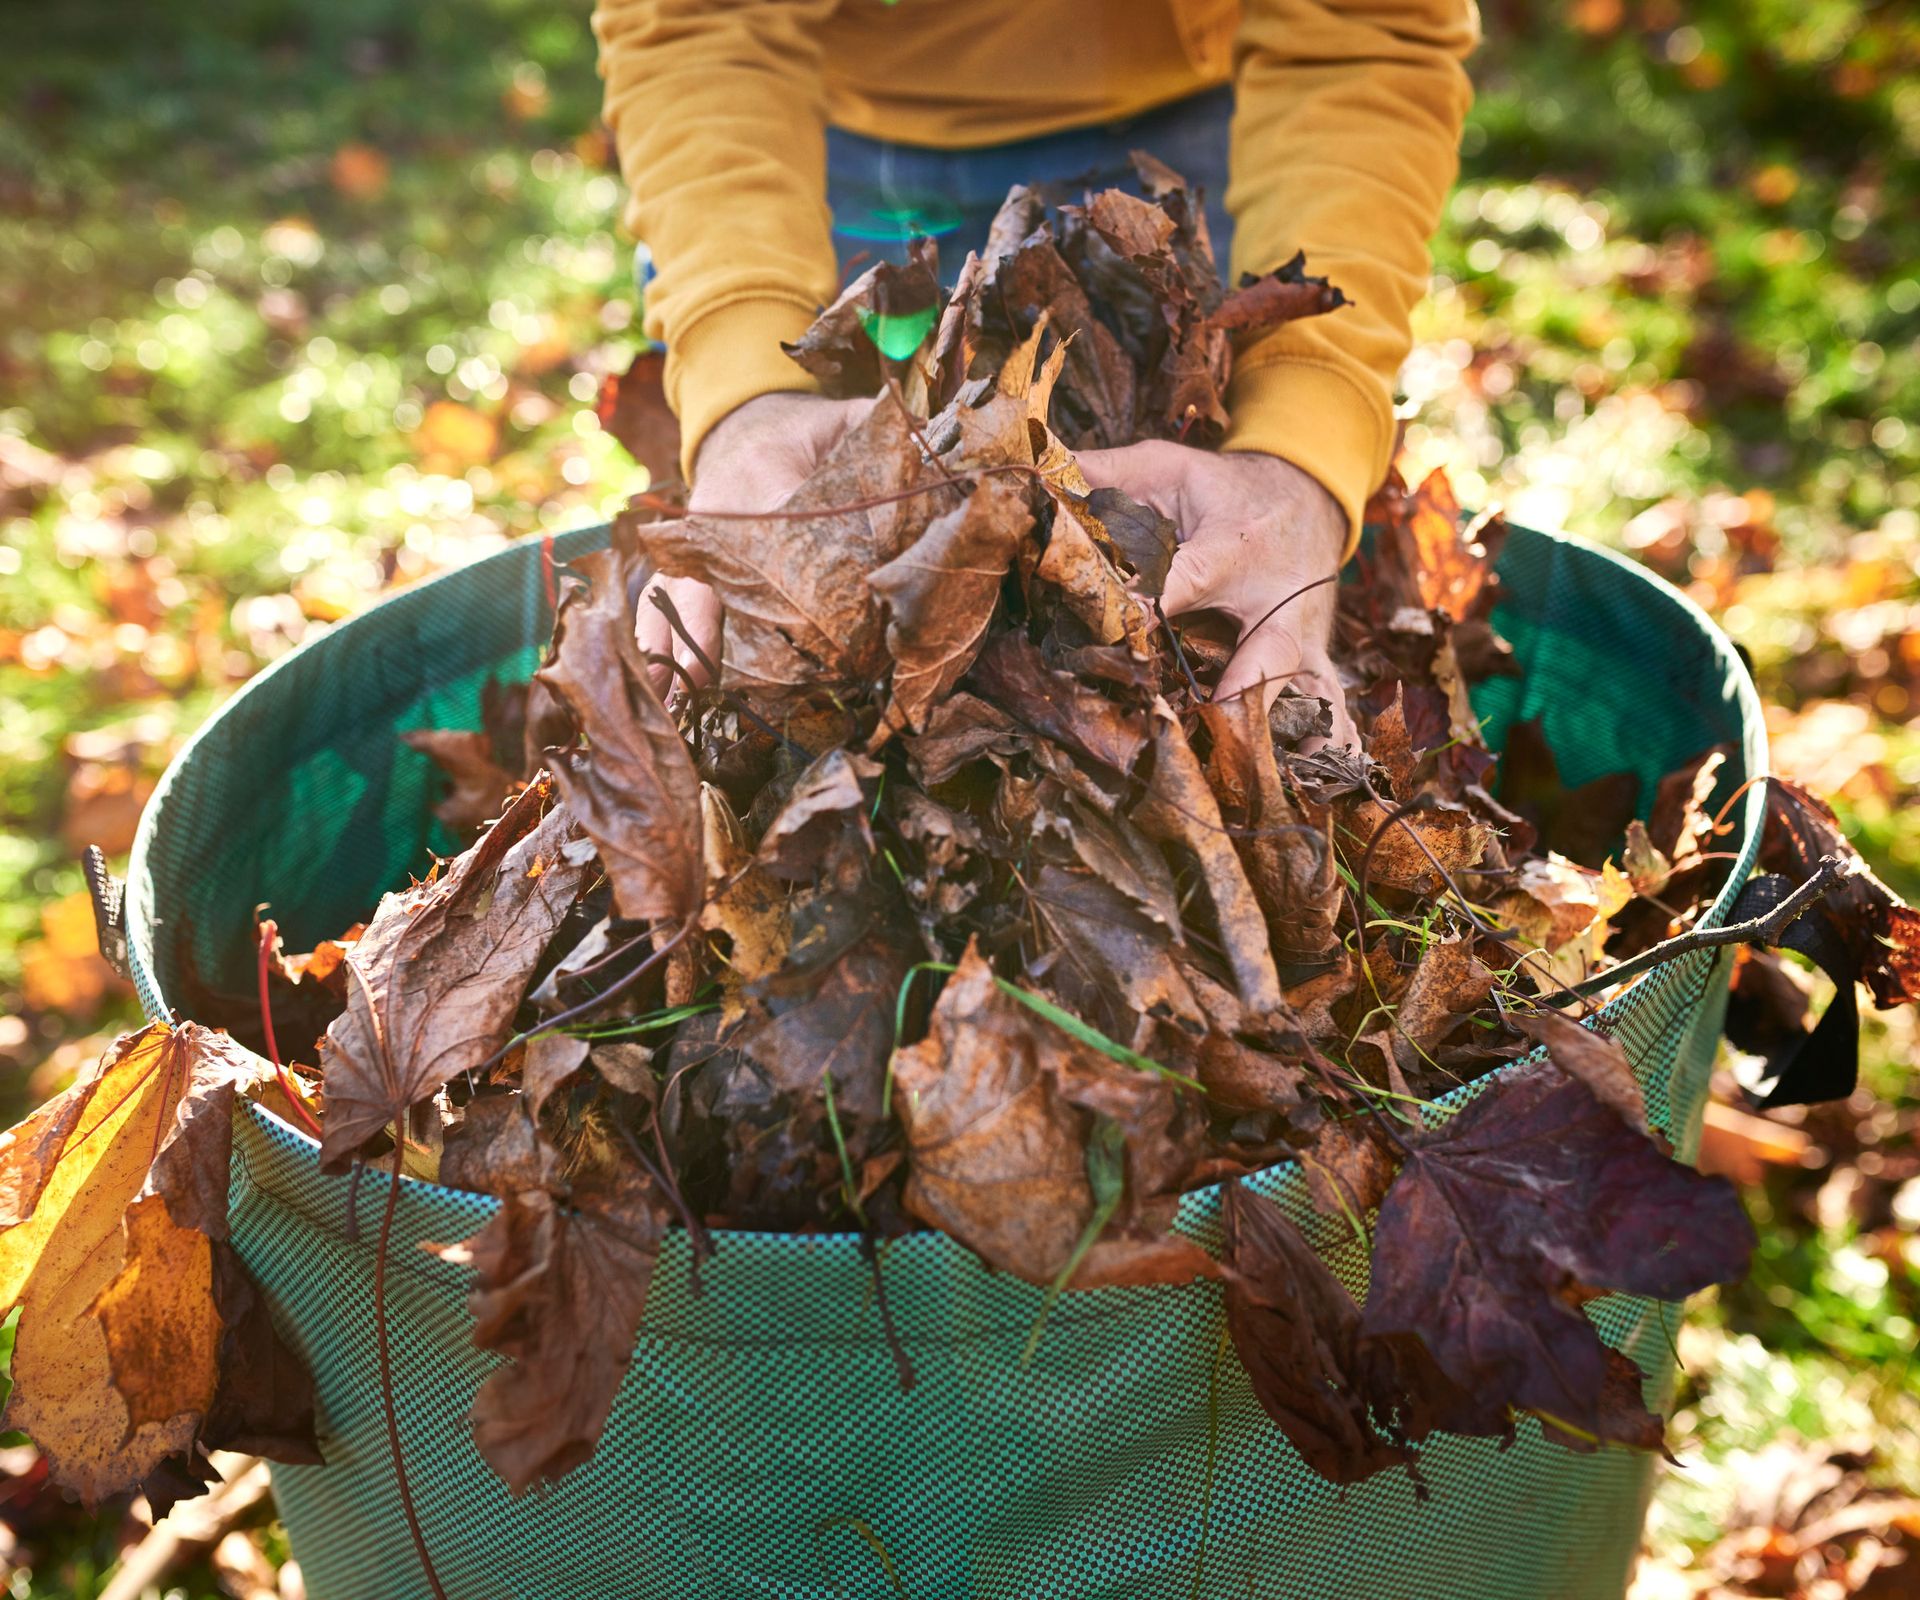
Falling tree leaves blanket garden beds, while hydrangeas begin dropping their own yellowing foliage. A scattered layer may seem harmless, but thick mats of soggy plant debris beneath your hydrangeas can create disease and pest issues. Common fungal diseases like leaf spot, powdery mildew, and botrytis blight produce spores that survive in damp, decaying leaf litter. When spring rains arrive, these spores splash back up onto emerging shoots, re-infecting the shrub before it finishes leafing out. Clearing fallen leaf litter is a key defense against overwintering pathogens.
Oakleaf and bigleaf hydrangeas are especially susceptible to leaf spot. Use a light hand rake or leaf claw to clear away spent foliage. The excellent compact Gardena Combisystem Hand Rake from Amazon is perfect for clearing debris around delicate shrub bases without damaging stems. Place diseased leaves straight into popup garden waste bags rather than your home compost heap. Collapsible options like the Fiskars Kangaroo 10-Gallon Collapsible Vinyl Garden Bags from Walmart are really durable and make gathering and transporting soggy leaves effortless.
3. Apply a Protective Layer of Organic Mulch
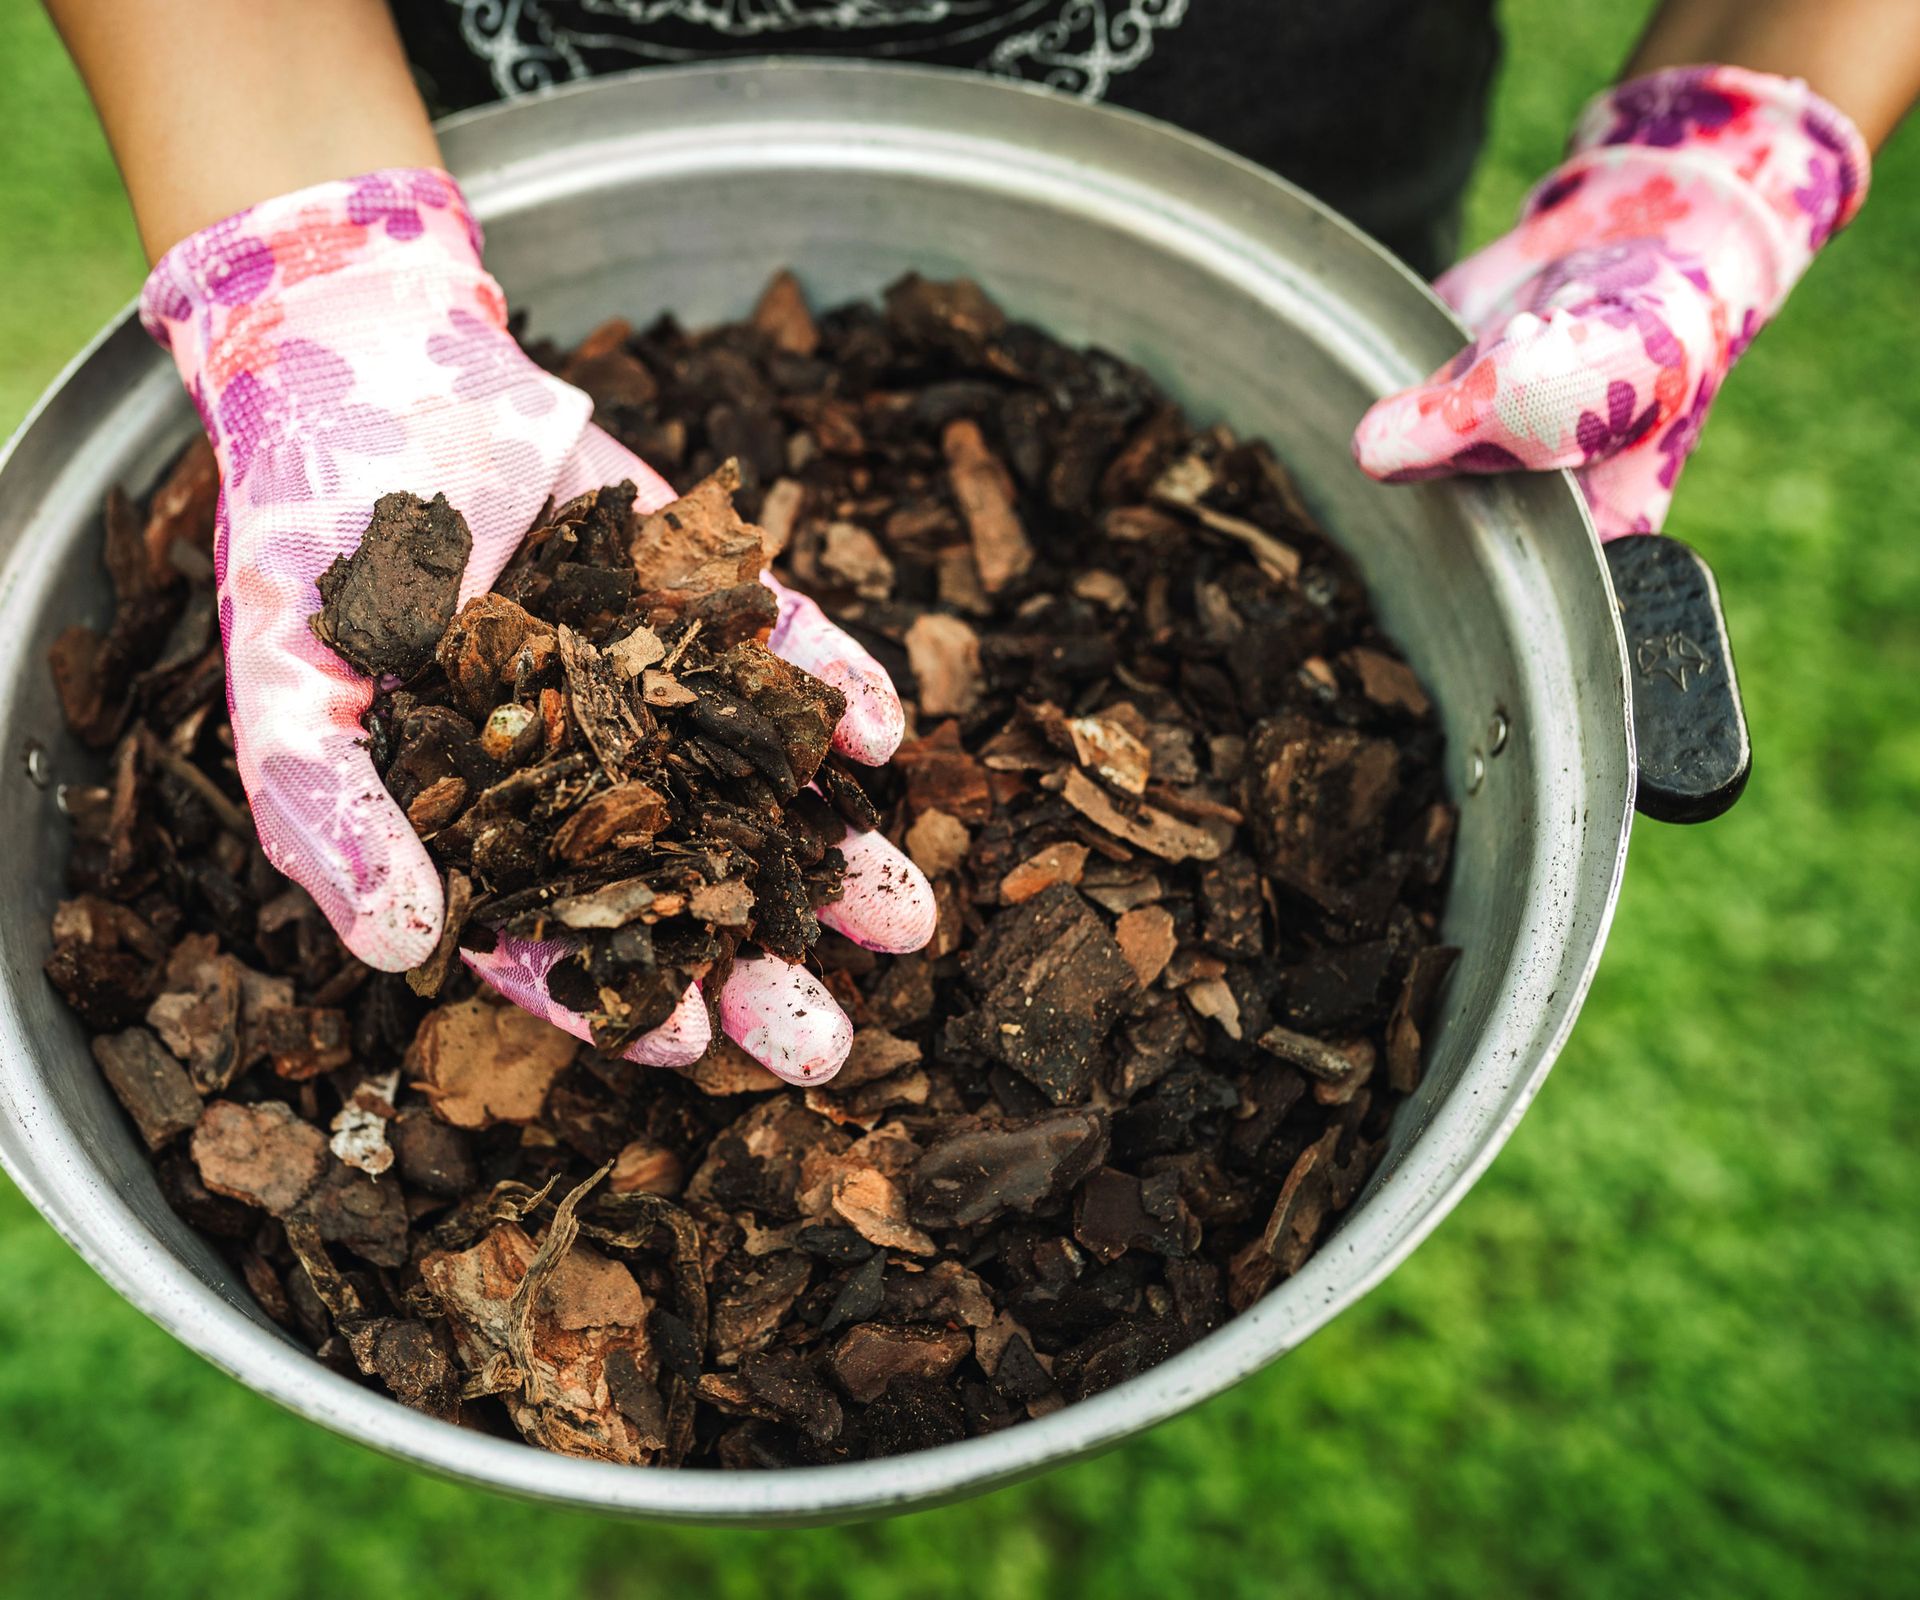
Applying a fresh blanket of organic mulch is one of the most effective ways to shield hydrangeas from winter weather. Mulching keeps soil cool on hot days in fall and warm on cooler days in winter. It also holds moisture into the soil and stops weeds appearing. Choose high-quality organic mulches, such as shredded hardwood, bark chips, pine straw, or well-rotted leaf mold. You can buy Back to the Roots Organic Premium Bark Mulch from The Home Depot. This chemical-free hardwood mulch insulates shallow roots against hard freezes. Organic materials gradually break down, enriching the surrounding soil.
In moderate climates (zones 7-9), a 2-3-inch (5-8cm) layer provides ideal protection. If you live in a cold northern climate (zones 3-6), double the thickness to 4-5 inches (10-12cm). Always pull mulch 2-3 inches (5-8cm) away from the main stems, creating a donut shape around the base. Stacking mulch directly invites stem rot and provides mice or voles with a sheltered spot to chew on tender bark. If your region gets truly cold in winter, double the mulch layer. You can also add some Espoma Natural Mushroom Blend, available from Walmart, which is ideal for layering beneath mulch to enrich tired fall soil.
4. Deadhead Selectively Based on Habit
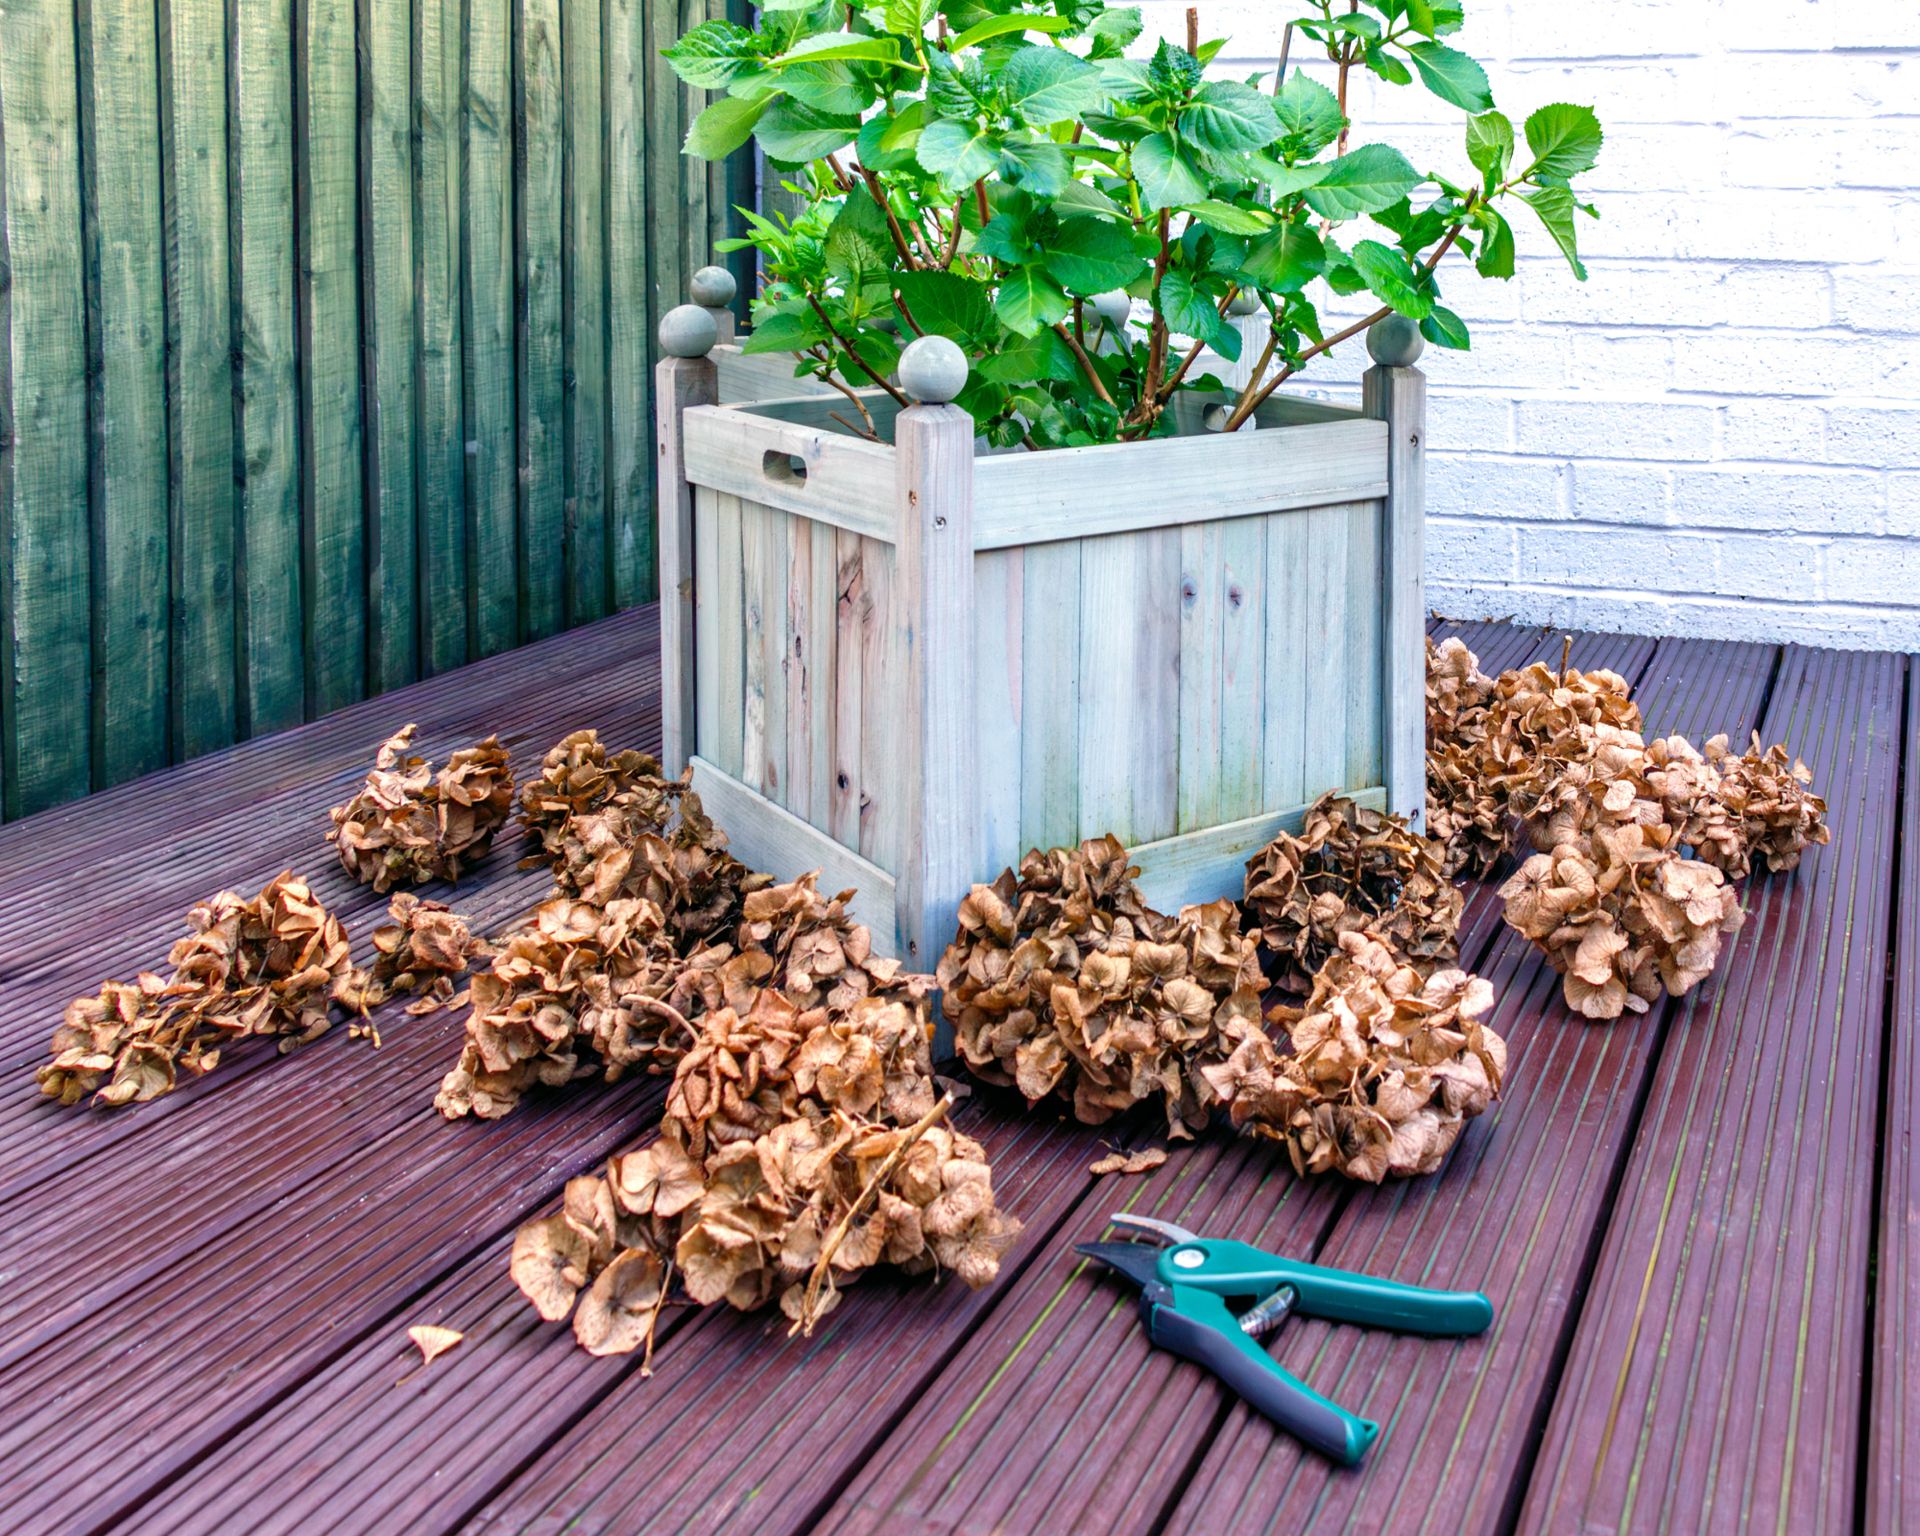
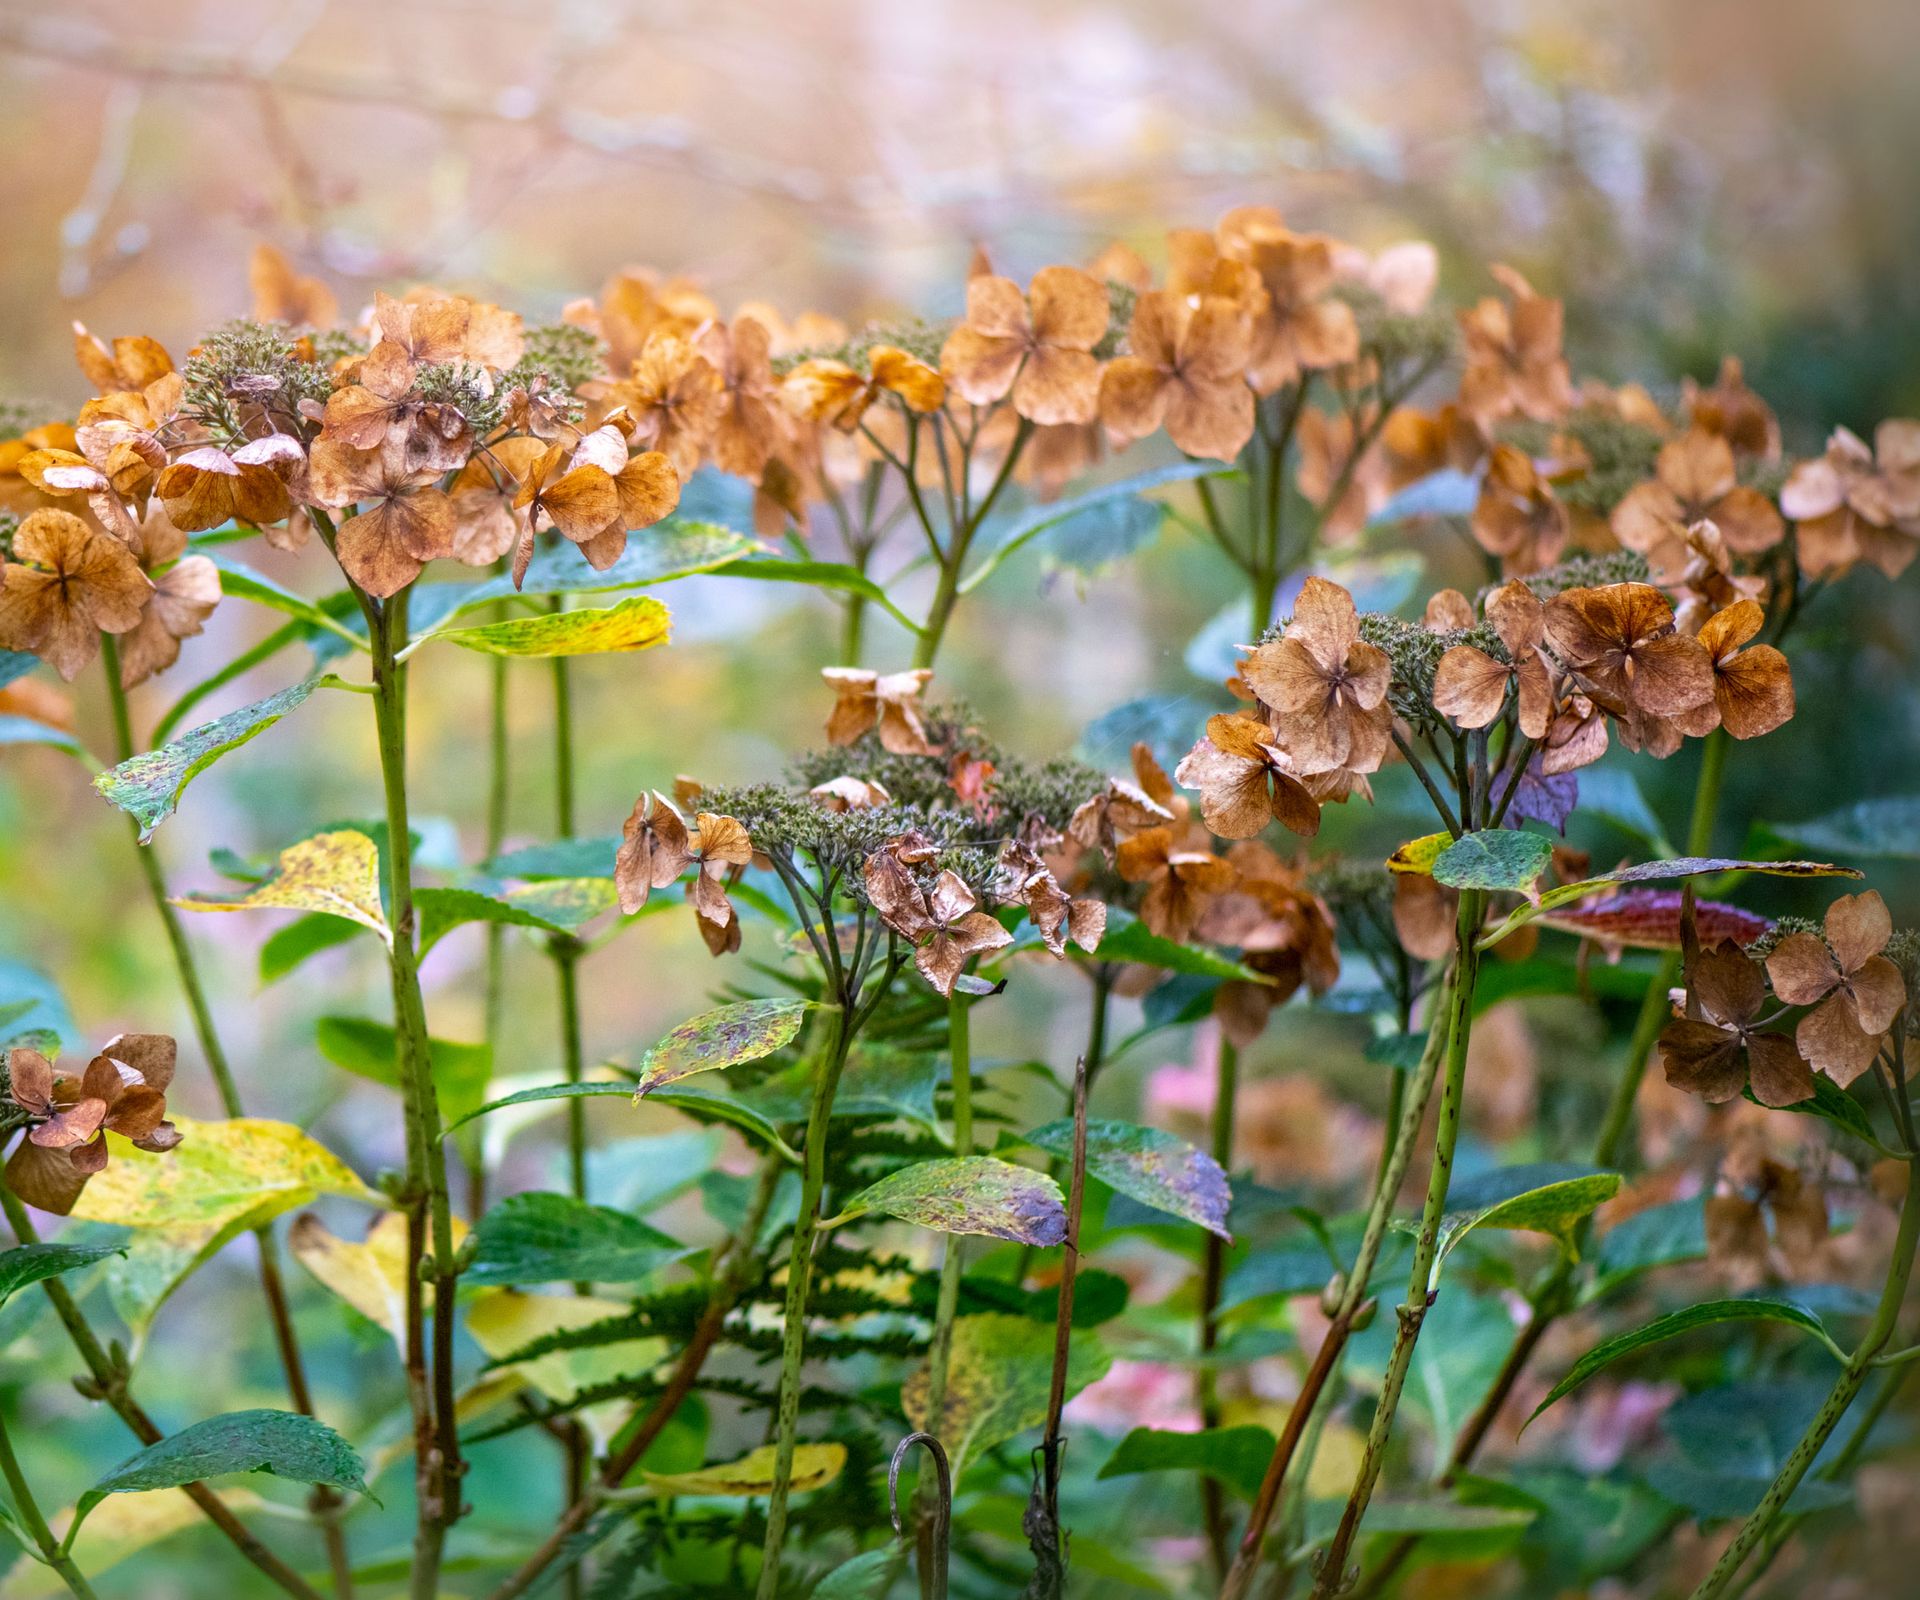
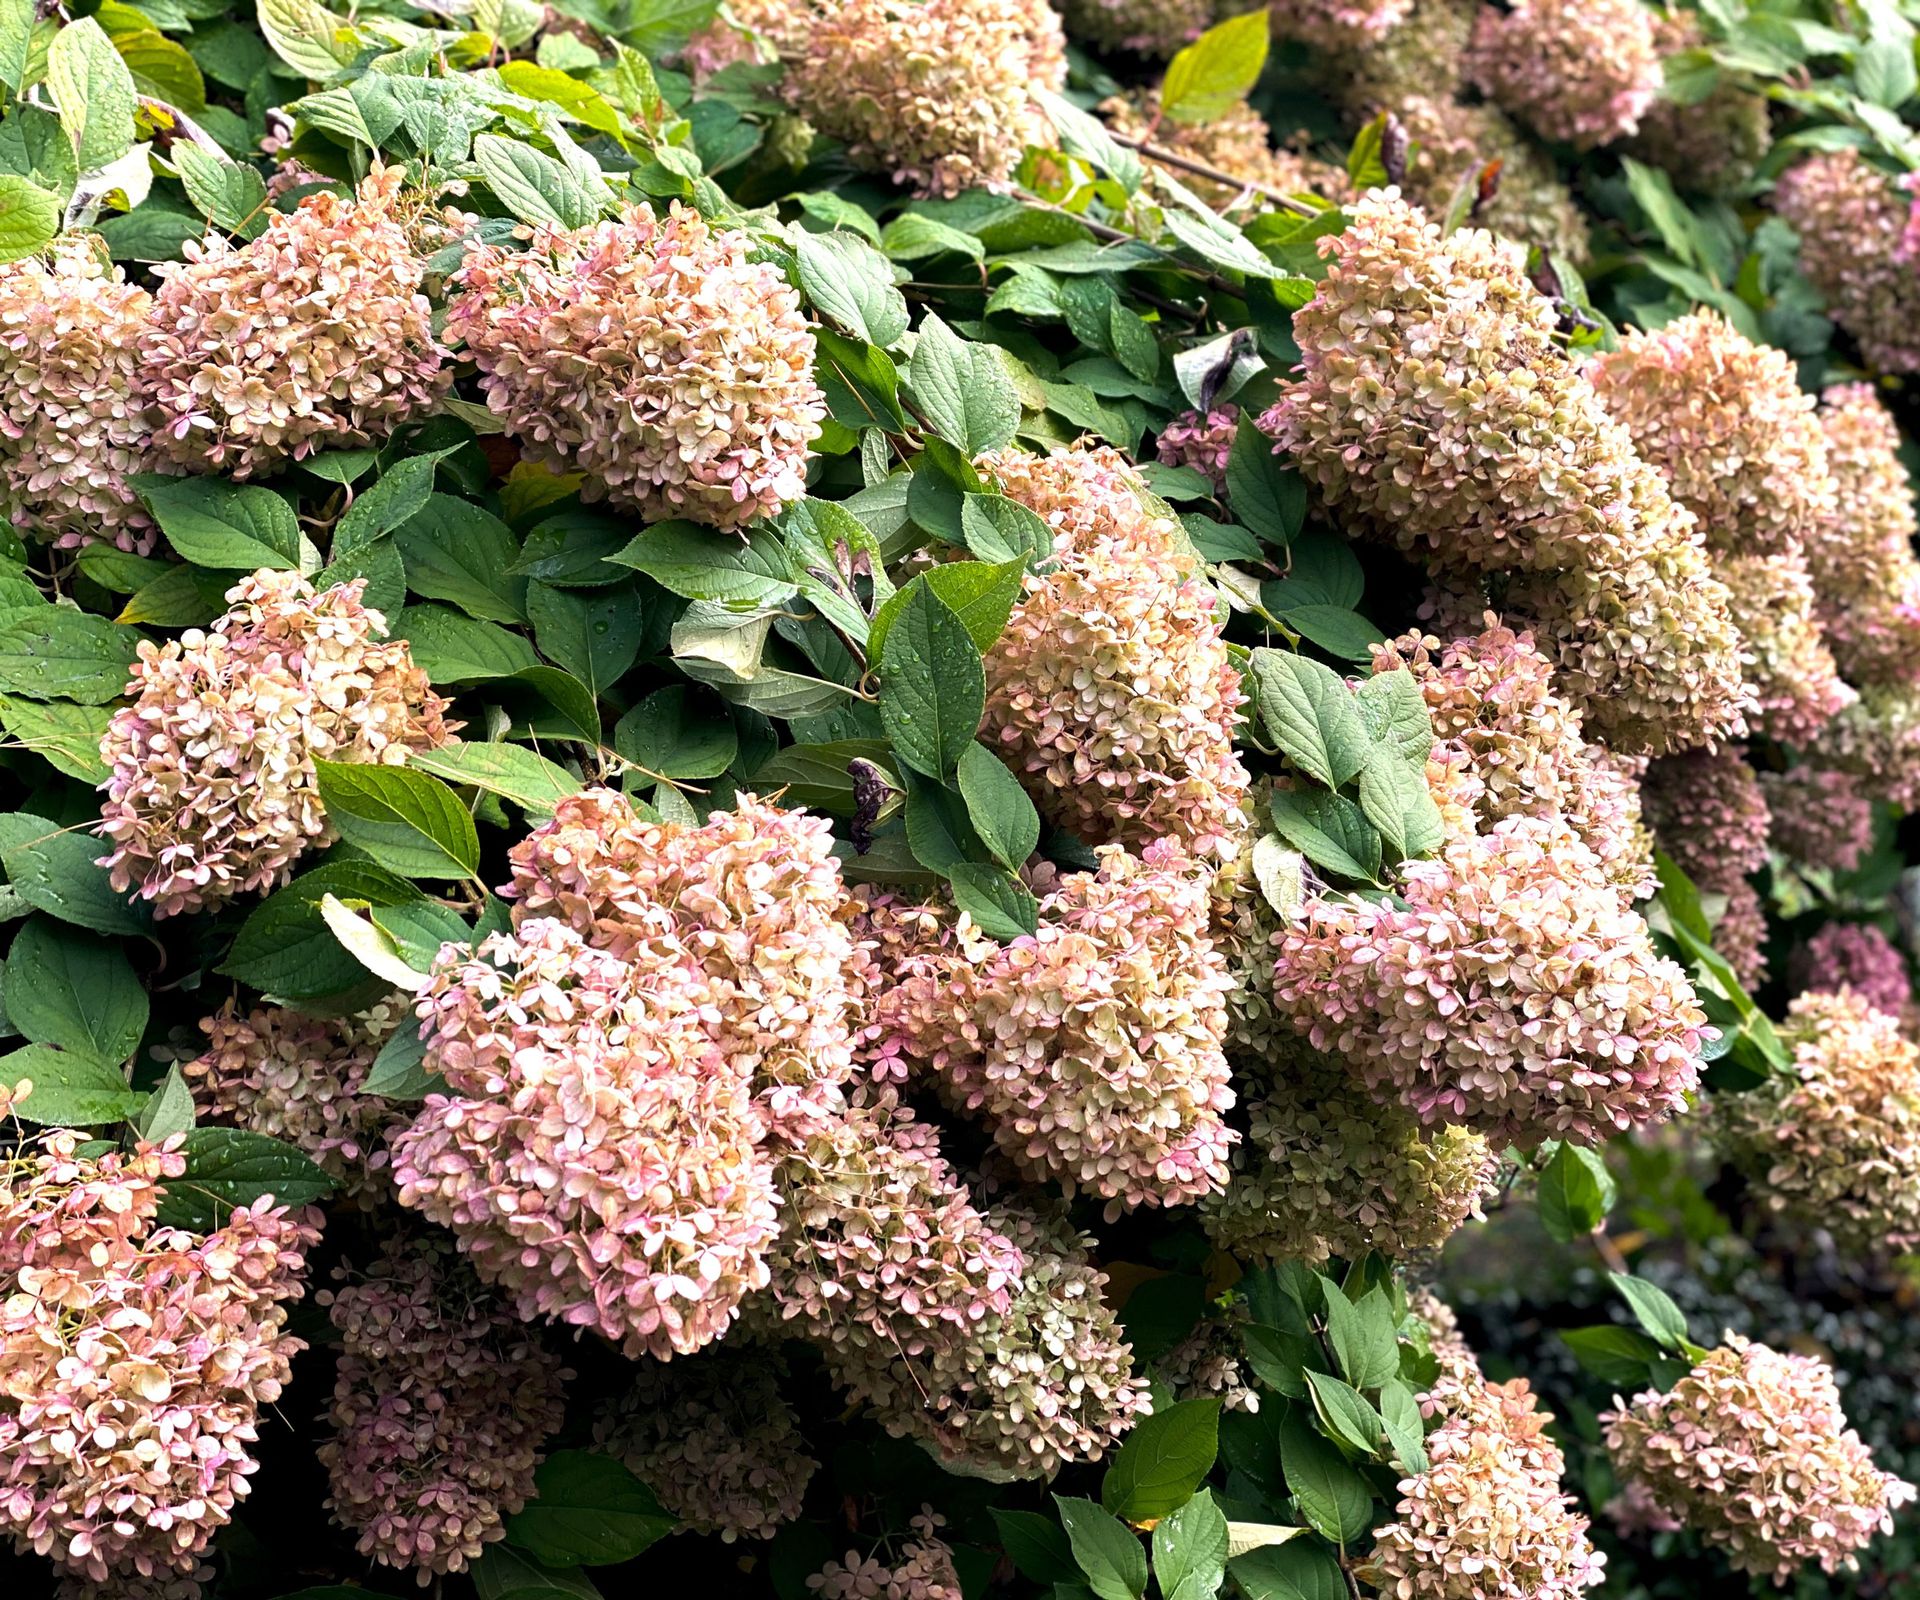
Deciding whether to snip off faded flowerheads in October depends on which type of hydrangea you grow, as well as your personal taste. Dried hydrangea blooms can fade into gorgeous antique parchment tones, offering striking textural beauty. Some hydrangea varieties bloom on new growth, some bloom on old growth.
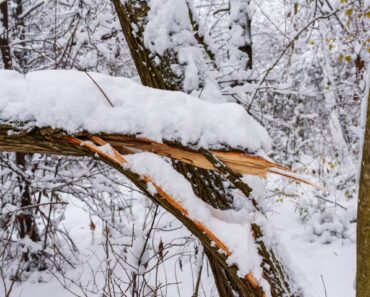
For hydrangeas that bloom on new wood, such as smooth hydrangeas like Annabelle and panicle hydrangeas like Limelight, you can deadhead spent flower clusters in early October. This can prevent snow and ice from accumulating, which can cause brittle stems to bend or snap. Snip the stem just below the spent cluster, using pruning snips like highly rated Fiskars Micro-Tip Pruning Snips from Amazon. However, don’t do this in late October, as it can make the hydrangea vulnerable to winter damage.
If you grow old-wood bloomers like bigleaf mopheads, lacecaps, or oakleaf, it is too late to deadhead. These varieties set their winter flower buds directly below the existing blooms in late summer. So deadheading in October risks cutting off next summer’s flowers. If in doubt, leave the dried blooms intact through winter: they serve as natural protective caps shielding the fragile top buds from icy winds. Come spring, you can snip off any of the old hydrangea flowers that overwinter.
5. Prune Lightly or Postpone Until Spring
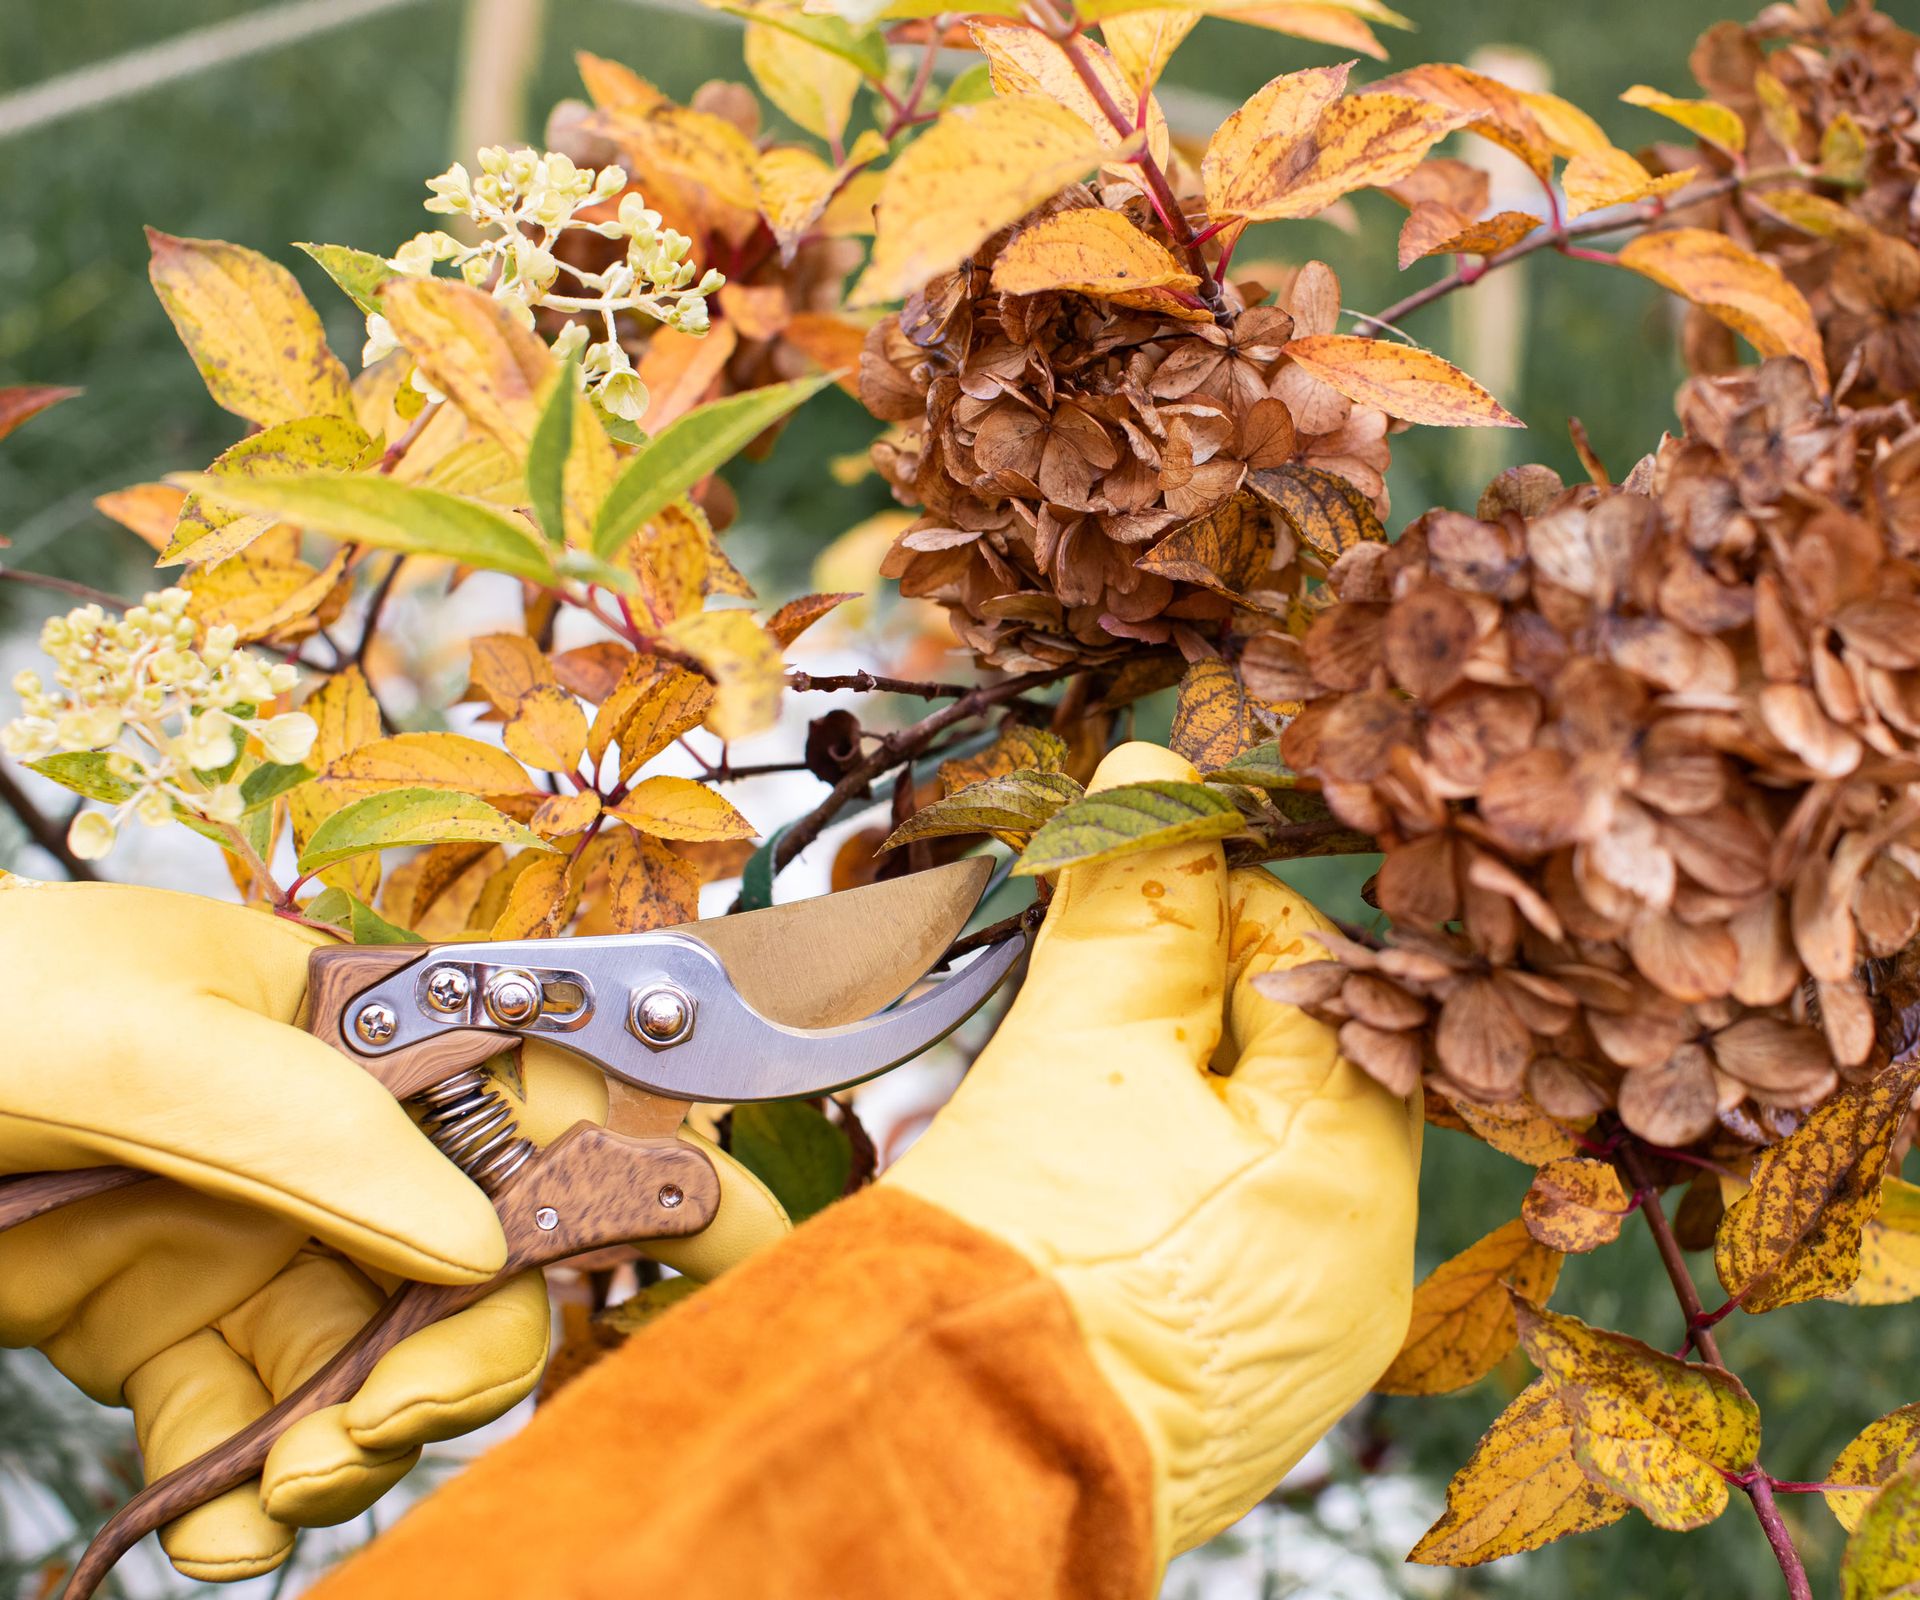
Pruning is another October task that only applies to hydrangeas that bloom on new wood. So take care, because pruning hydrangeas unnecessarily now can eliminate next season’s flower display. If you grow old-wood varieties like bigleaf or oakleaf hydrangeas, do not prune in October. To do so is to remove the buds that produce those fabulous blooms. Major structural pruning should be put on hold until early spring when shrubs are fully dormant. Limit any cuts strictly to removing dead, diseased, or damaged branches (otherwise known as the 3Ds).
If you grow new-wood types like panicles or smooth hydrangeas, you can perform light shaping once foliage drops. However, even with these tough cultivars, hard pruning is best delayed until late winter. Lightly trim crossing stems or awkward branches using bypass pruners, cutting at a 45-degree angle. If you want the best of the best, Felco 2 Classic Bypass Pruners from Amazon slice cleanly through thicker branches and come with a lifetime guarantee. Clean blades with isopropyl alcohol or diluted neem to prevent cross-contamination. If in doubt, this doesn’t have to be done now. You can put it off until late winter if you prefer.
6. Protect and Relocate Potted Hydrangeas
There is another big distinction between key hydrangeas. Yes, some bud on old wood and some on new. But an even more basic difference is where they were planted. Hydrangeas in the ground are fairly cold hardy, and most can survive winter’s worst within their growing zones. But container-based hydrangeas are more vulnerable to freezing temperatures that can crack pottery and freeze root balls solid.
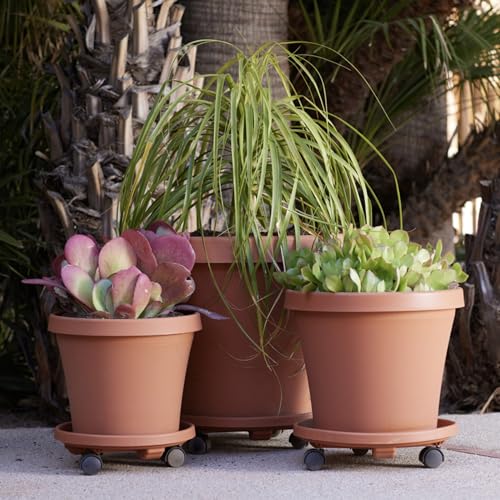
October is your chance to prepare potted hydrangeas for winterizing before severe cold snaps hit. In milder areas (zones 7-8), group pots together against a sheltered house wall or unheated porch, wrapping the pots in burlap to protect roots. In colder northern regions (zones 3-6), they should be moved into an unheated garage or shed once the plant drops its leaves and starts to enter dormancy. This is to keep roots safe from drying, icy winds. For heavier containers, use caddies to relocate your hydrangeas, such as Parsagi’s 20-Inch Metal Plant Caddies from Amazon.
Water dormant potted hydrangeas sparingly (about once a month), just enough to keep the root ball from drying out. Blending in a handful of perlite or coarse sand can help to maintain optimal drainage. Adding a little Plantonix Perlite Bliss Premium from Walmart to potting mixes help to maintain hydrangea health through winter.
Shop Hydrangea Essentials
Now you have your October action plan, you just need a few key items to help see your shrubs through the colder months. To help your hydrangeas thrive and emerge strong in spring, make a little room in your shed for these essential container buddies, tools, and soil amendments, to keep your maintenance tasks stress-free.
Hydrangea Care Trio
 Root Boost
This premium starter fertilizer strengthens roots without forcing tender new leaf growth. It’s a lovely organic blend for conditioning soil around newly planted or transplanted hydrangeas before the ground freezes.
 Container Carrier
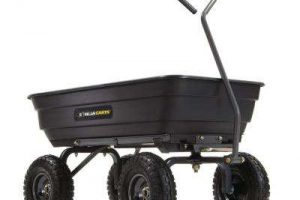
If you need a rugged, weather-resistant rolling planter base to convey heavy ceramic and terracotta pots, this carrier makes the transition smooth and takes the backbreak out of moving potted hydrangeas into winter shelter.
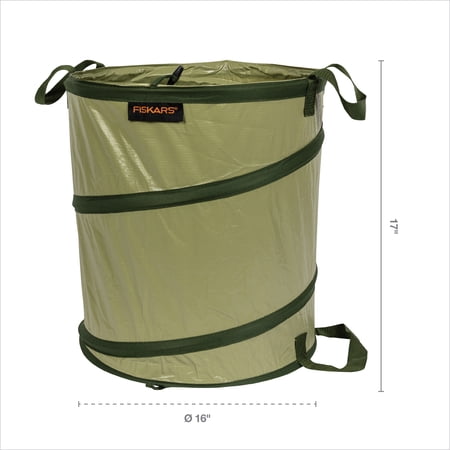 Garden Tidy
These bags are worth their weight in gold and can be used over and over in fall. These durable garden buddies make collecting damp leaf litter effortless, and can be stored flat in your shed or garage when cleanup is finished.
Need more ideas for getting the most from your plants, indoors and out, and looking for the best seasonal expert advice delivered straight to your inbox? Sign up for the free Gardening Know How Newsletter!