Now I’m using old cardboard boxes to mulch my vegetable patch this summer, my plants are flourishing despite the heat, I spend far less time watering and weeding, and I don’t have to deal with cat poop. It took an hour to do, and didn’t cost me a penny. And even though I only mulched this raised bed a week ago, I’ve already saved more time than it took to lay the cardboard. So from now on, I’ll be making cardboarding an essential part of growing vegetables in my garden – and yes, I do think this brilliant DIY gardening trick deserves a new word.
As a gardening editor, I get to read piles of garden articles and my feeds spill with greenery and gardening hacks. I read an article about using cardboard boxes to smother weeds and start new beds; then I read another about using cardboard as a mulch to lock moisture in the soil, and I was intrigued.
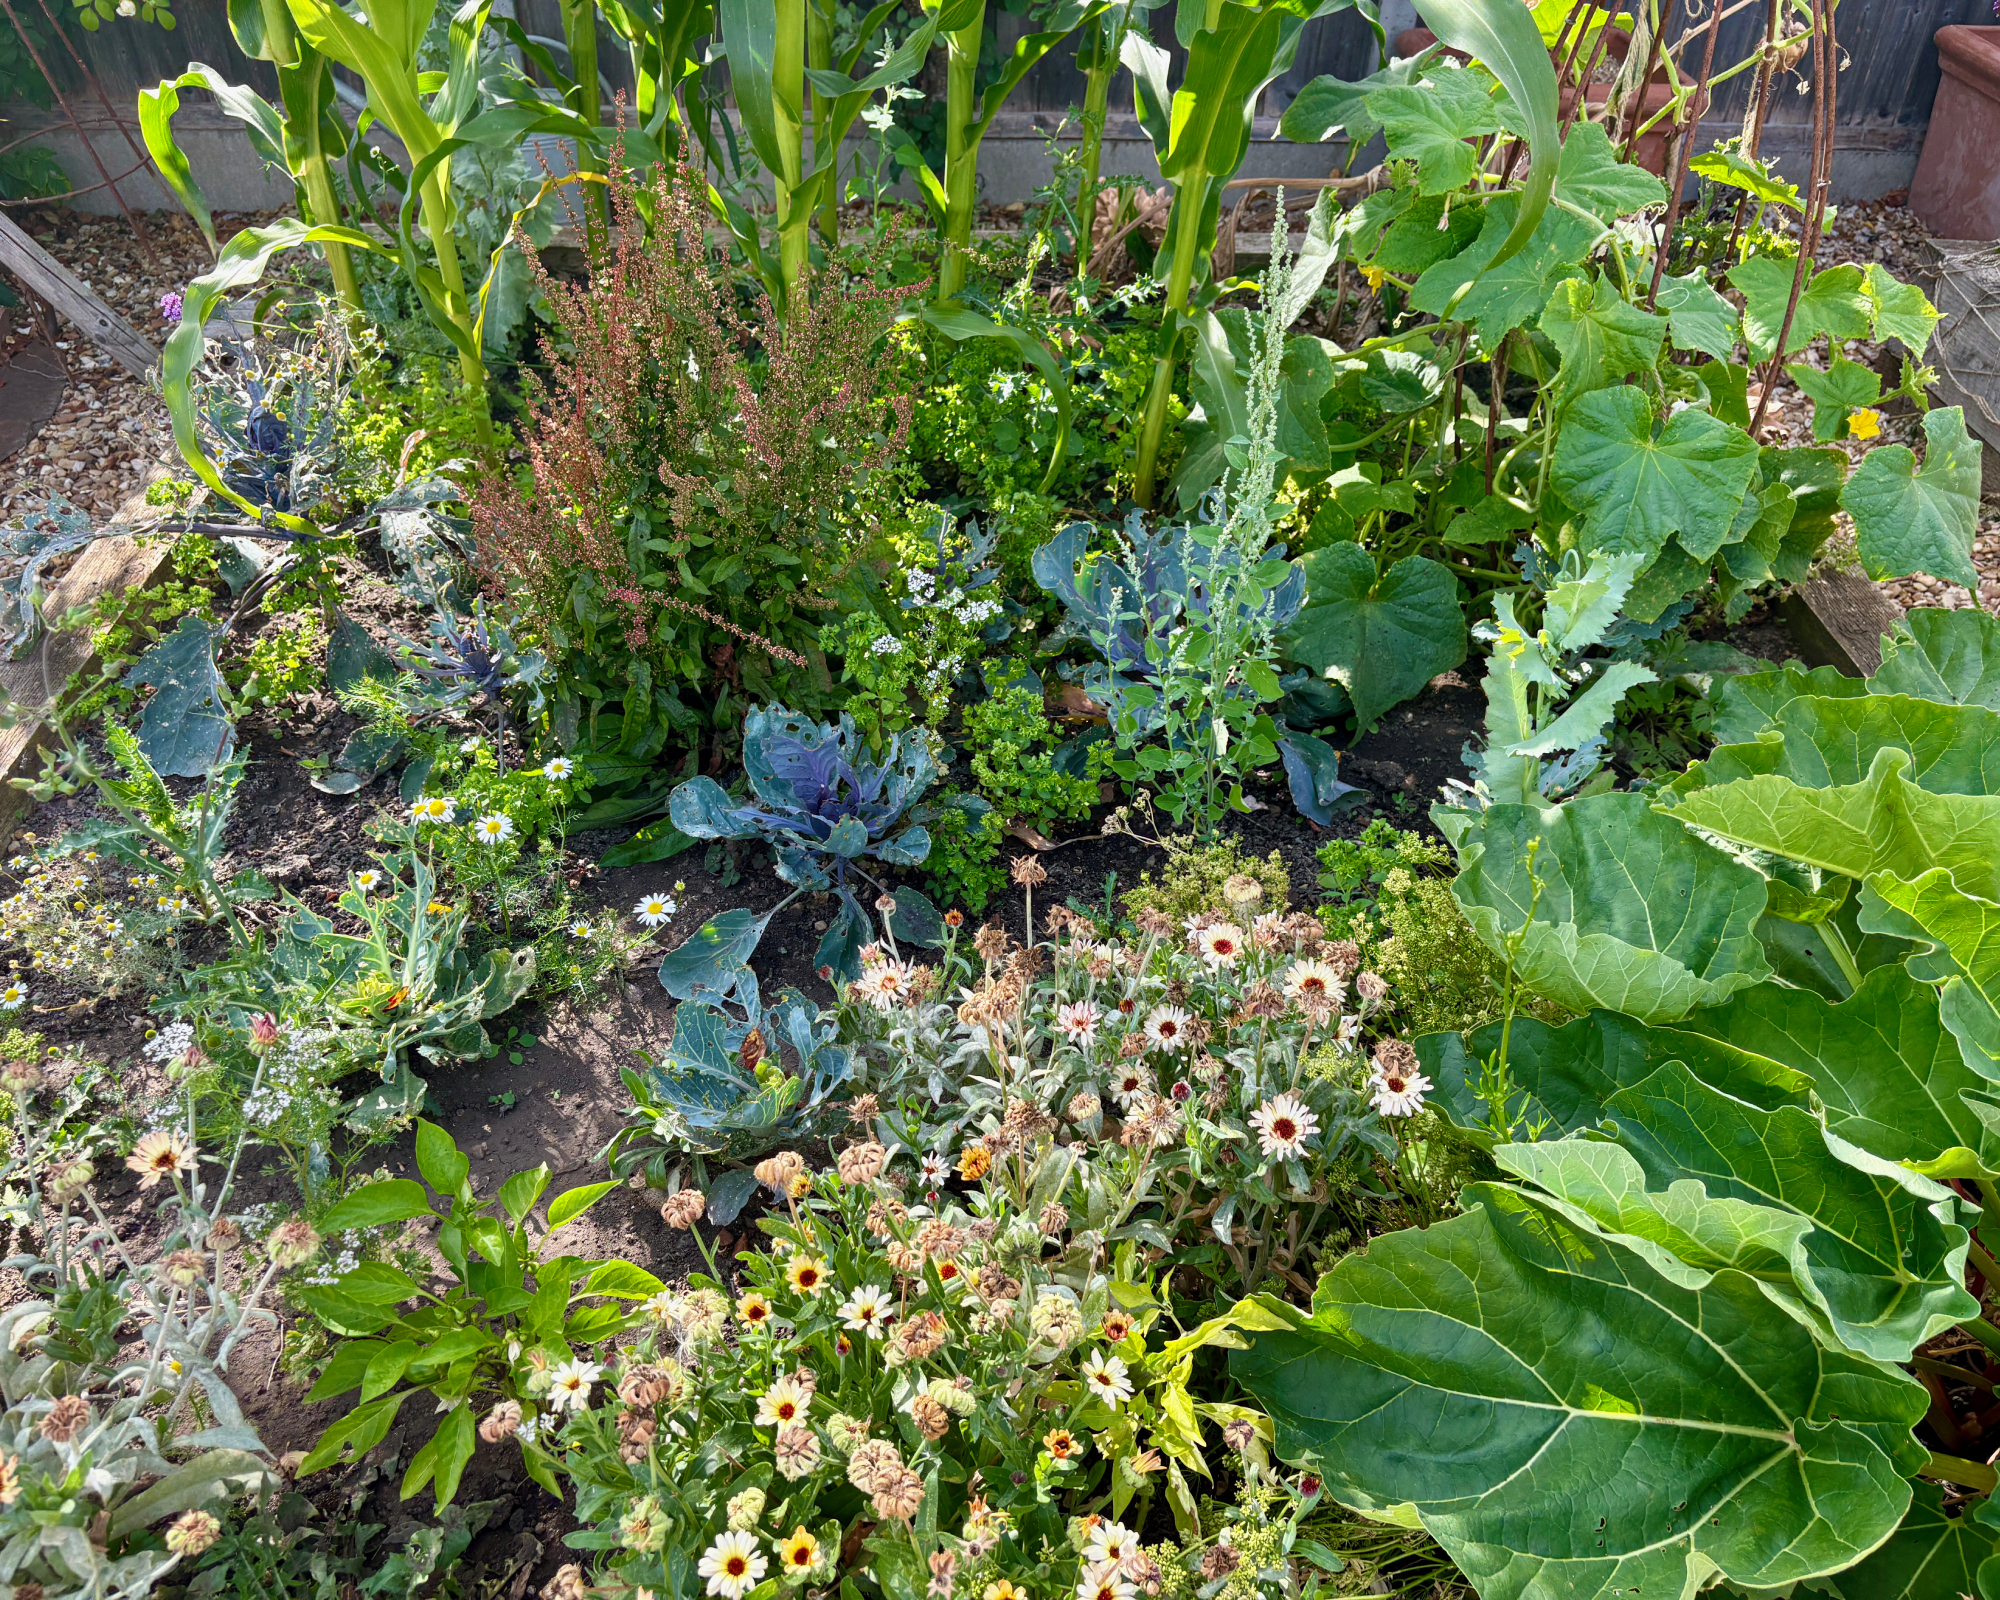
You see, my veggie bed was in dire need of help this El Niño summer. Exposed and south-facing, my garden had withstood 8 weeks with zero rainfall and was reliant on my irrigation which, 2 weeks into a hosepipe ban, had become more erratic than ever. I’d been so busy that, in my vegetable patch, weeds had grown so tall they were flowering and seeding. And the one area of bare earth? My cats had adopted it as their favorite poop spot.
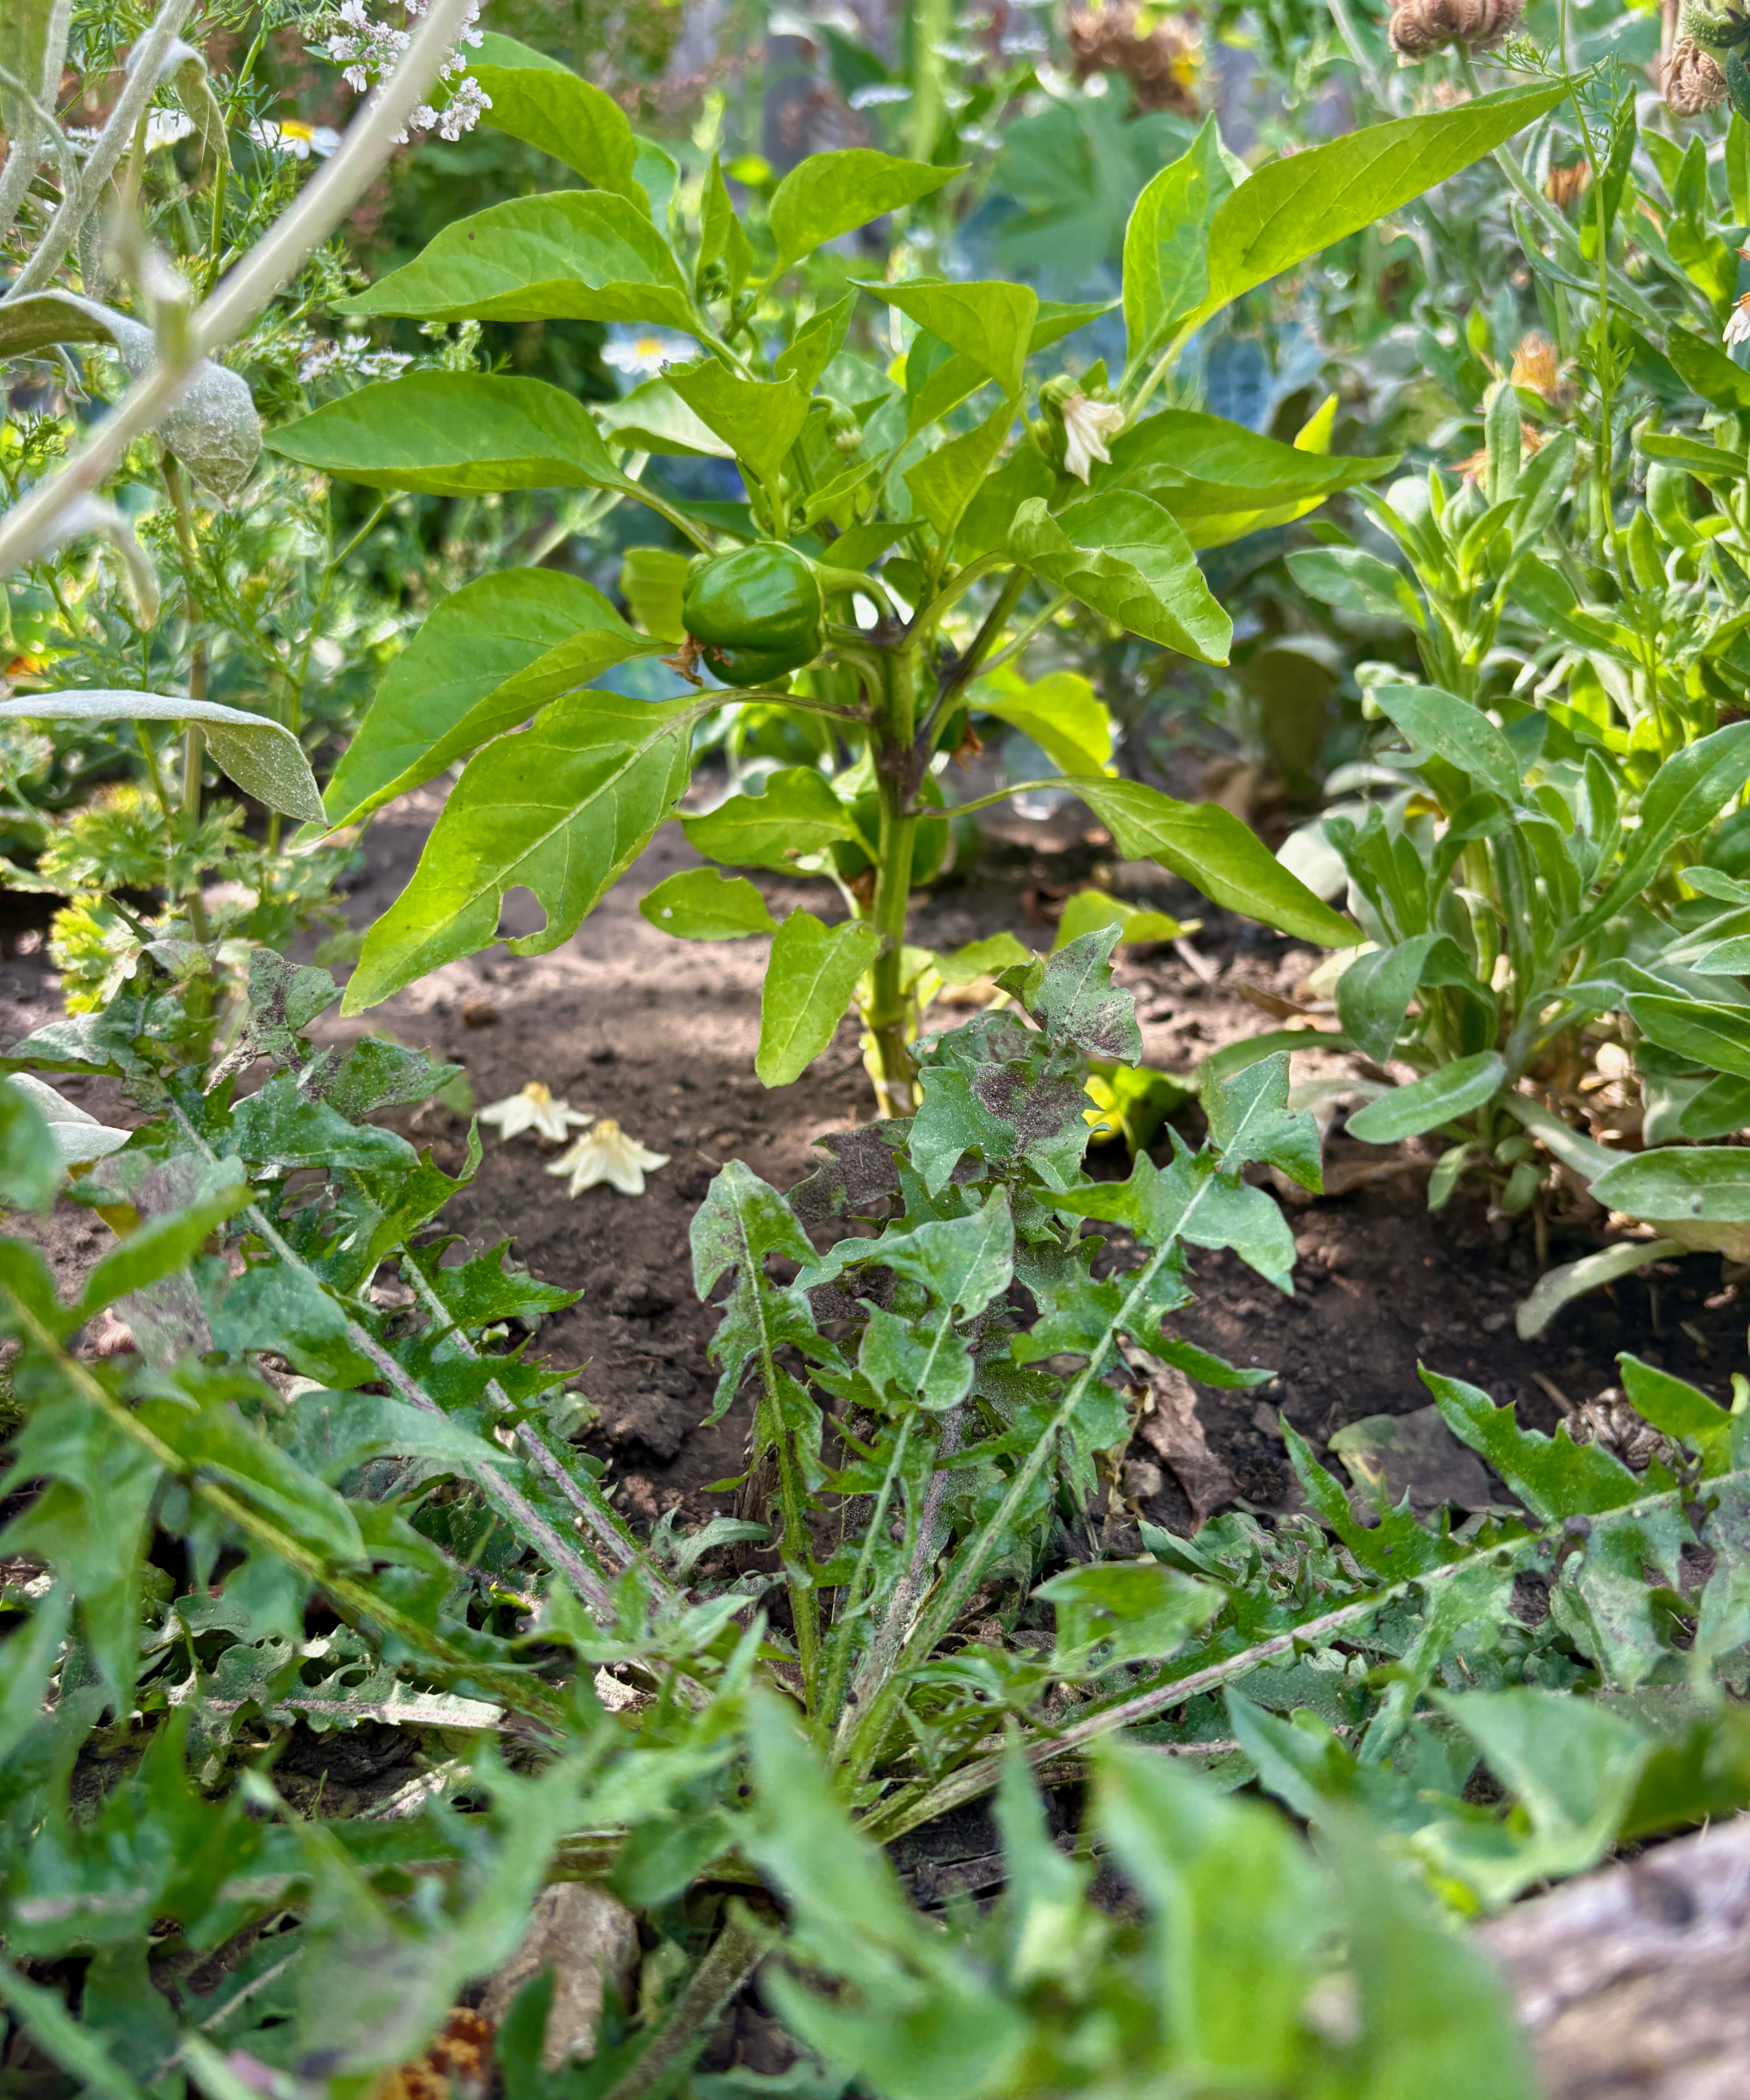
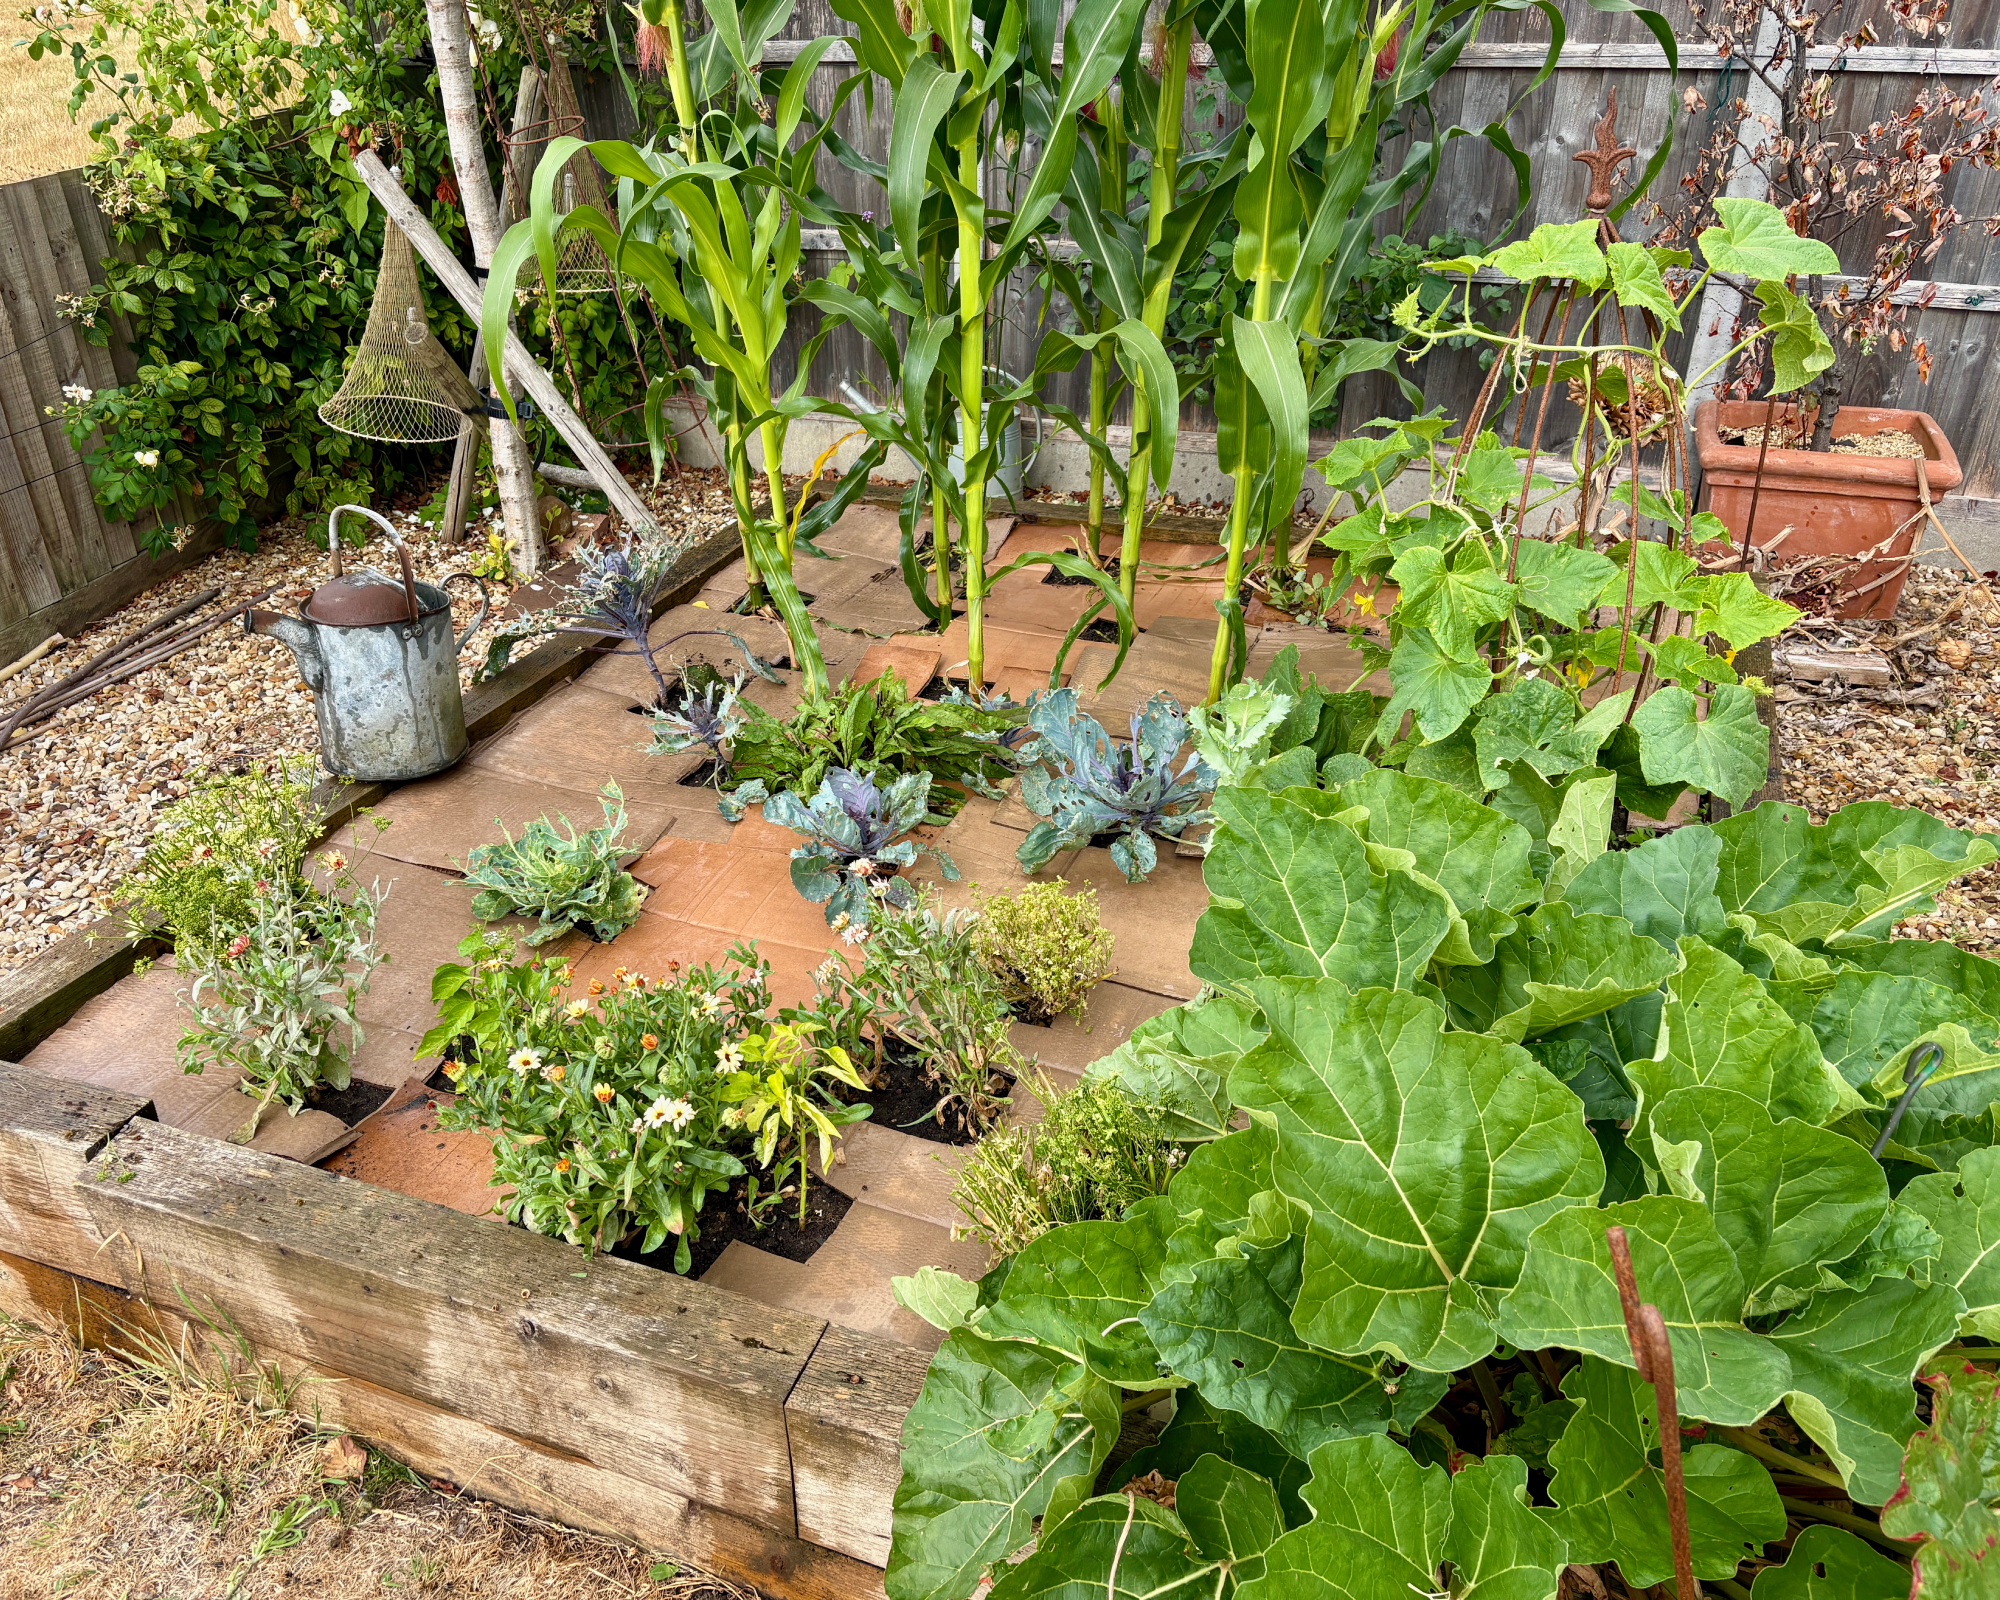
I had a bunch of cardboard boxes waiting to be recycled, so I decided to give this eco-friendly, biodegradable mulching idea a go. And honestly, laying a cardboard mulch is the best thing I’ve done all summer. As well as the expected benefits, the cardboard layer means I can (literally) throw buckets of water onto the veggie bed without worrying about washing soil away, so it (literally) takes me a minute to irrigate the entire patch. Earth has already accumulated around the necks of holes cut to accommodate plants, creating pools that hold water so more gets to the roots where it’s needed. My free mulch looks pretty good, too.
I’m sharing exactly how I did it, because I reckon you should, too – honestly, it’s been a game-changer for growing vegetables in a hot summer.
1. Pull Out the Worst Weeds
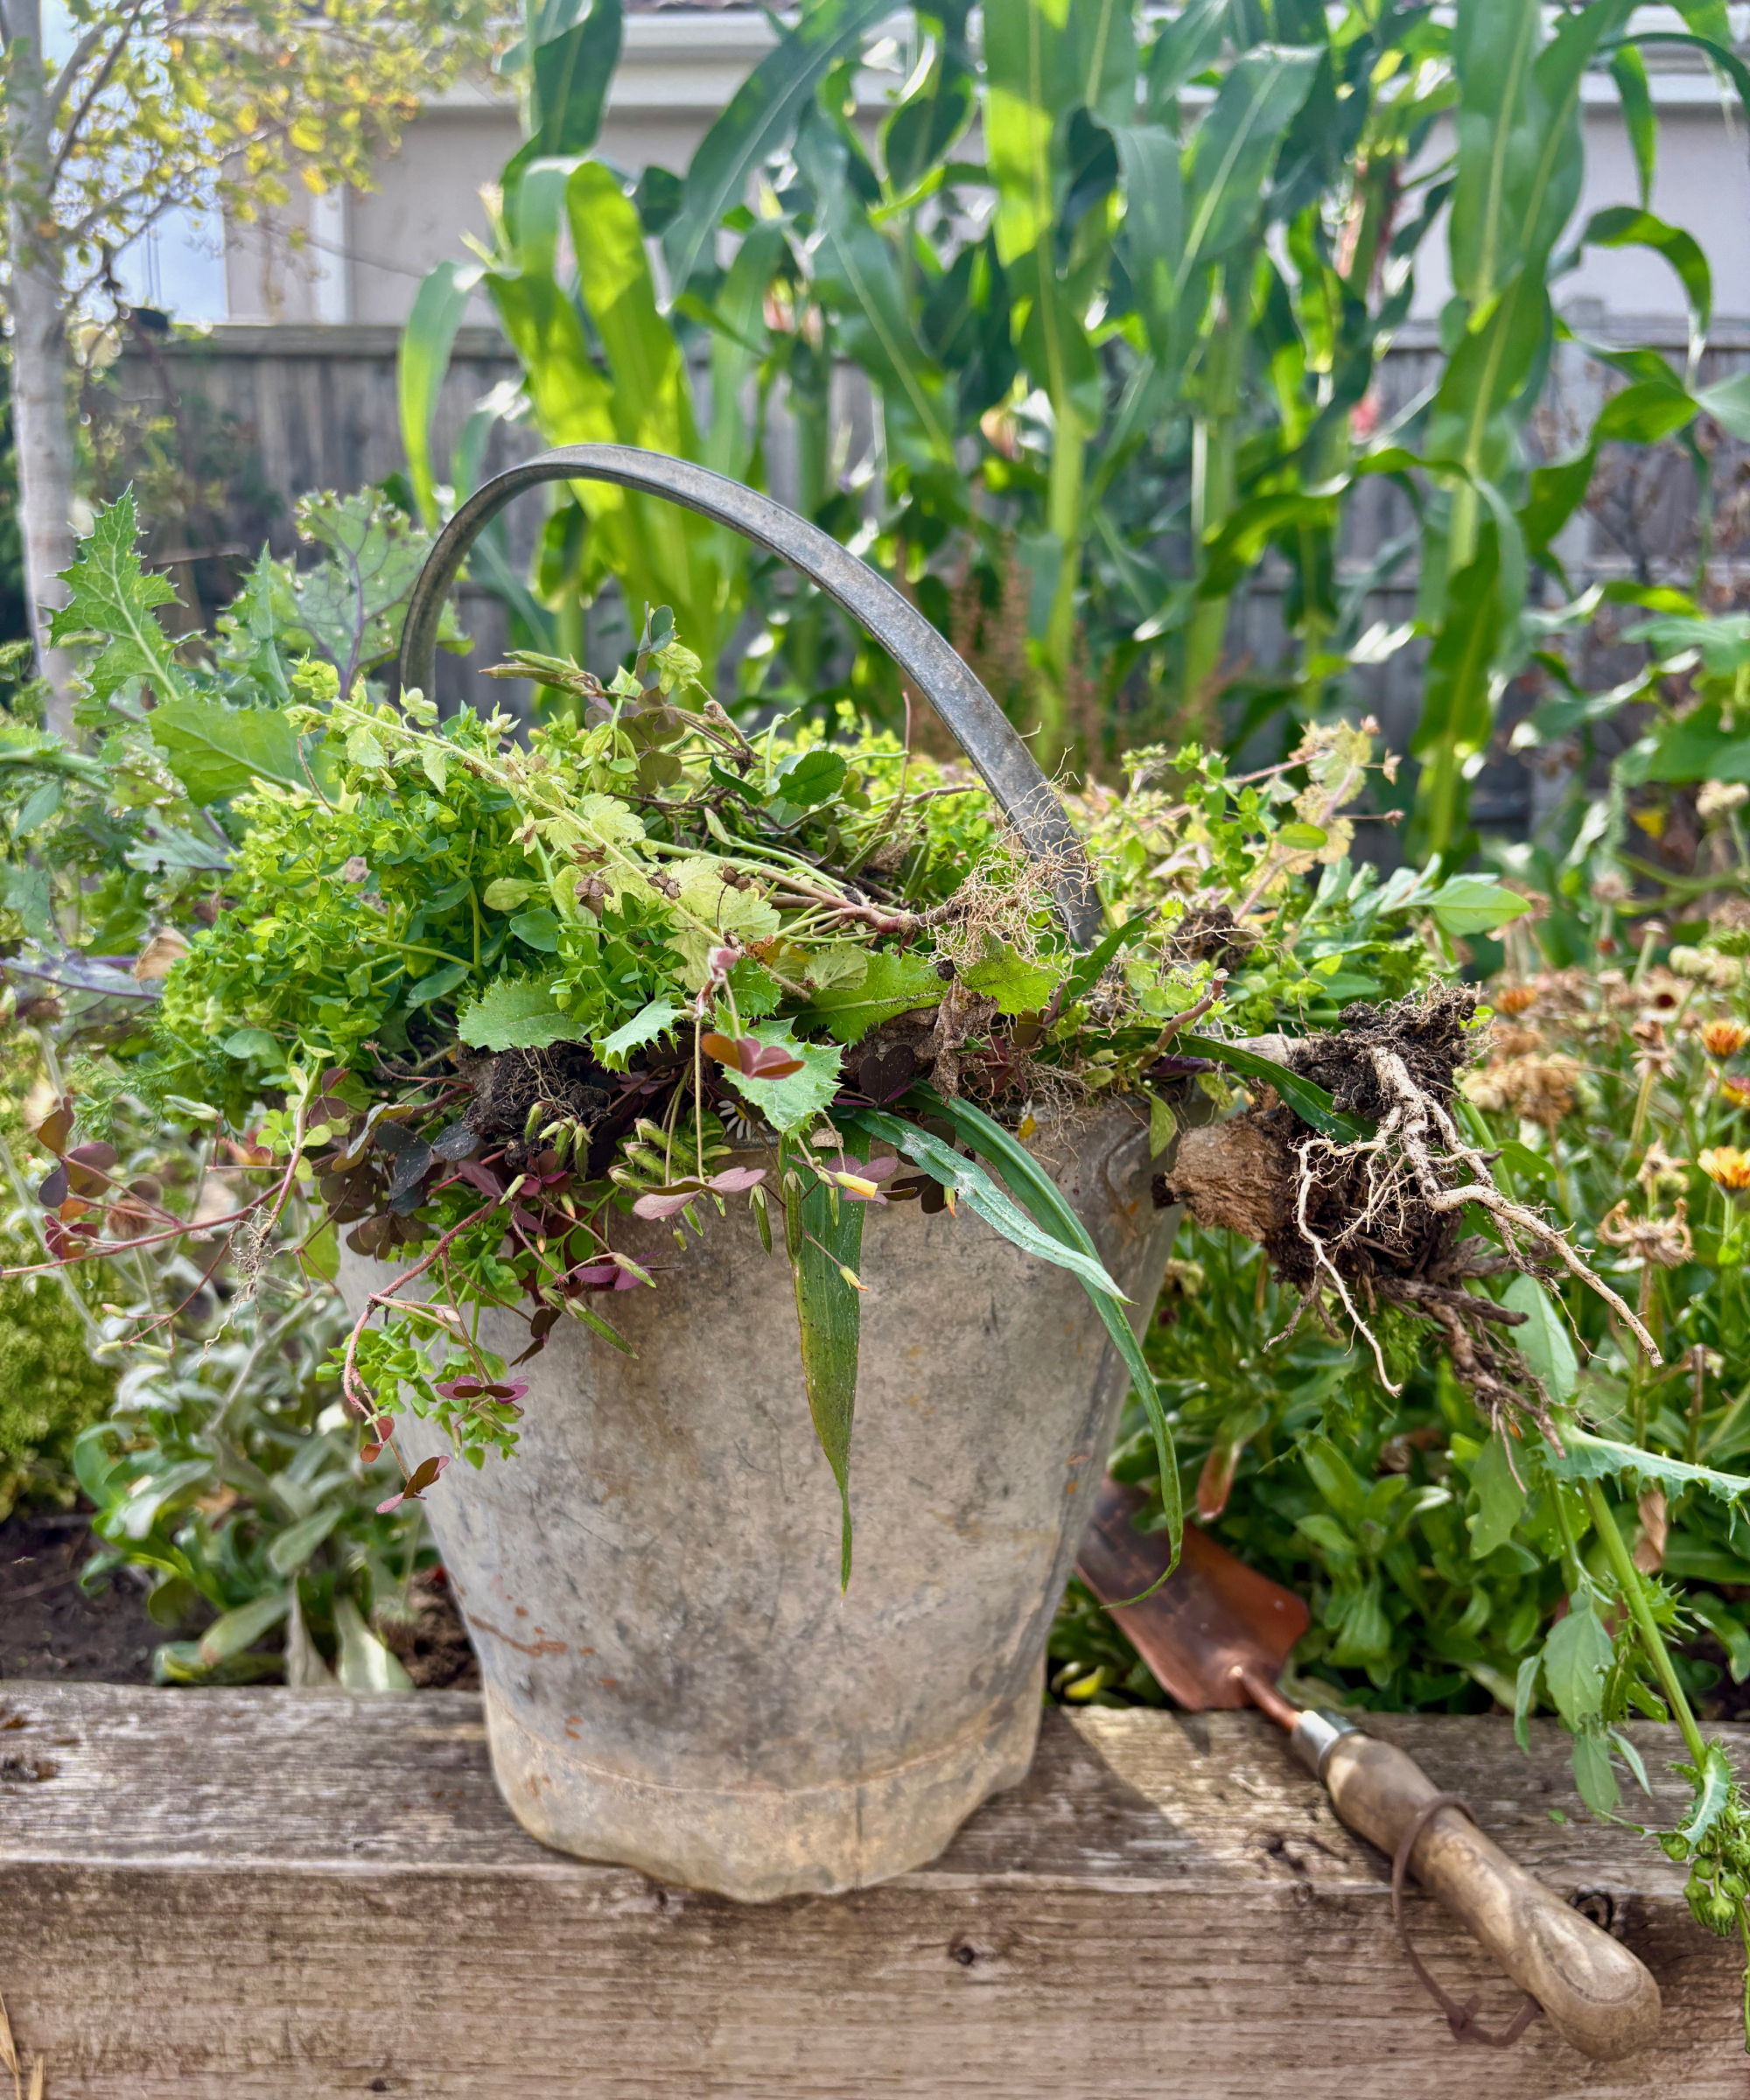
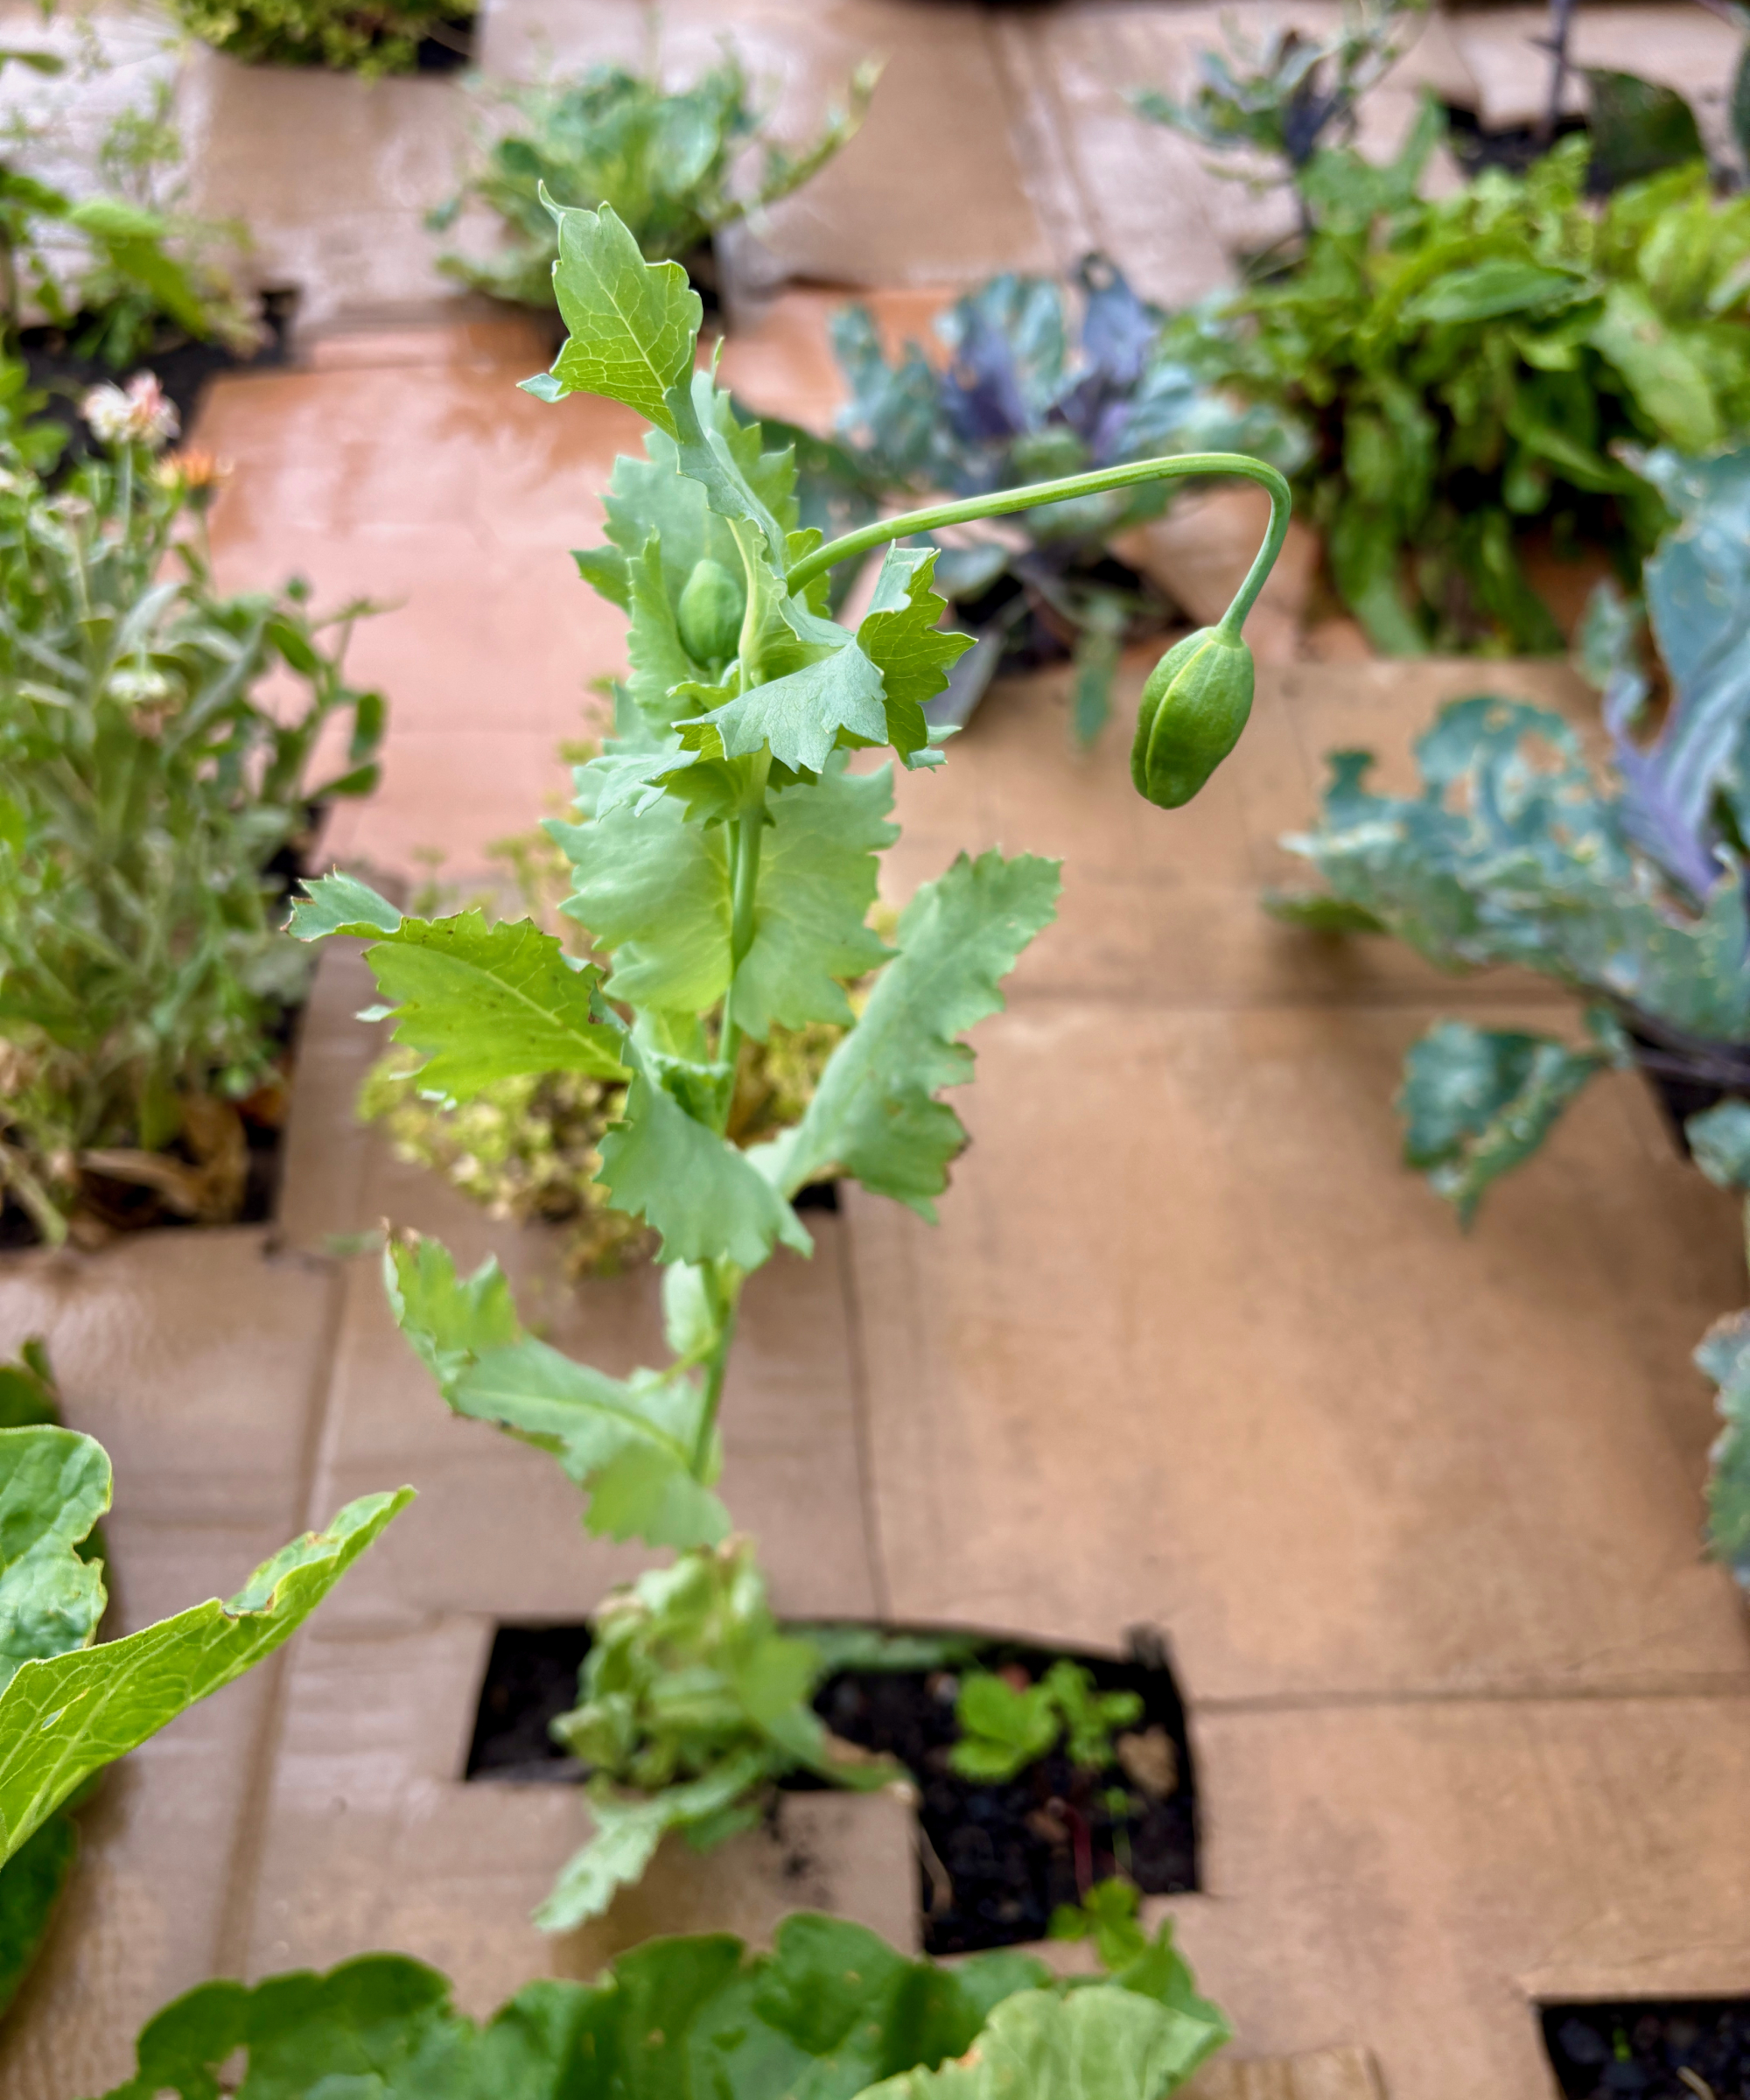
While the cardboard will quickly smother seedling weeds, I pulled all the perennial weeds such as thistles and nettles, as well as annual weeds that had grown big. Because my garden is next to a hay field, all sorts of seeds blow in, and my bucket was soon filled with an A–Z of weeds. I even discovered a self-seeded poppy.
2. Flatten and Prep Boxes
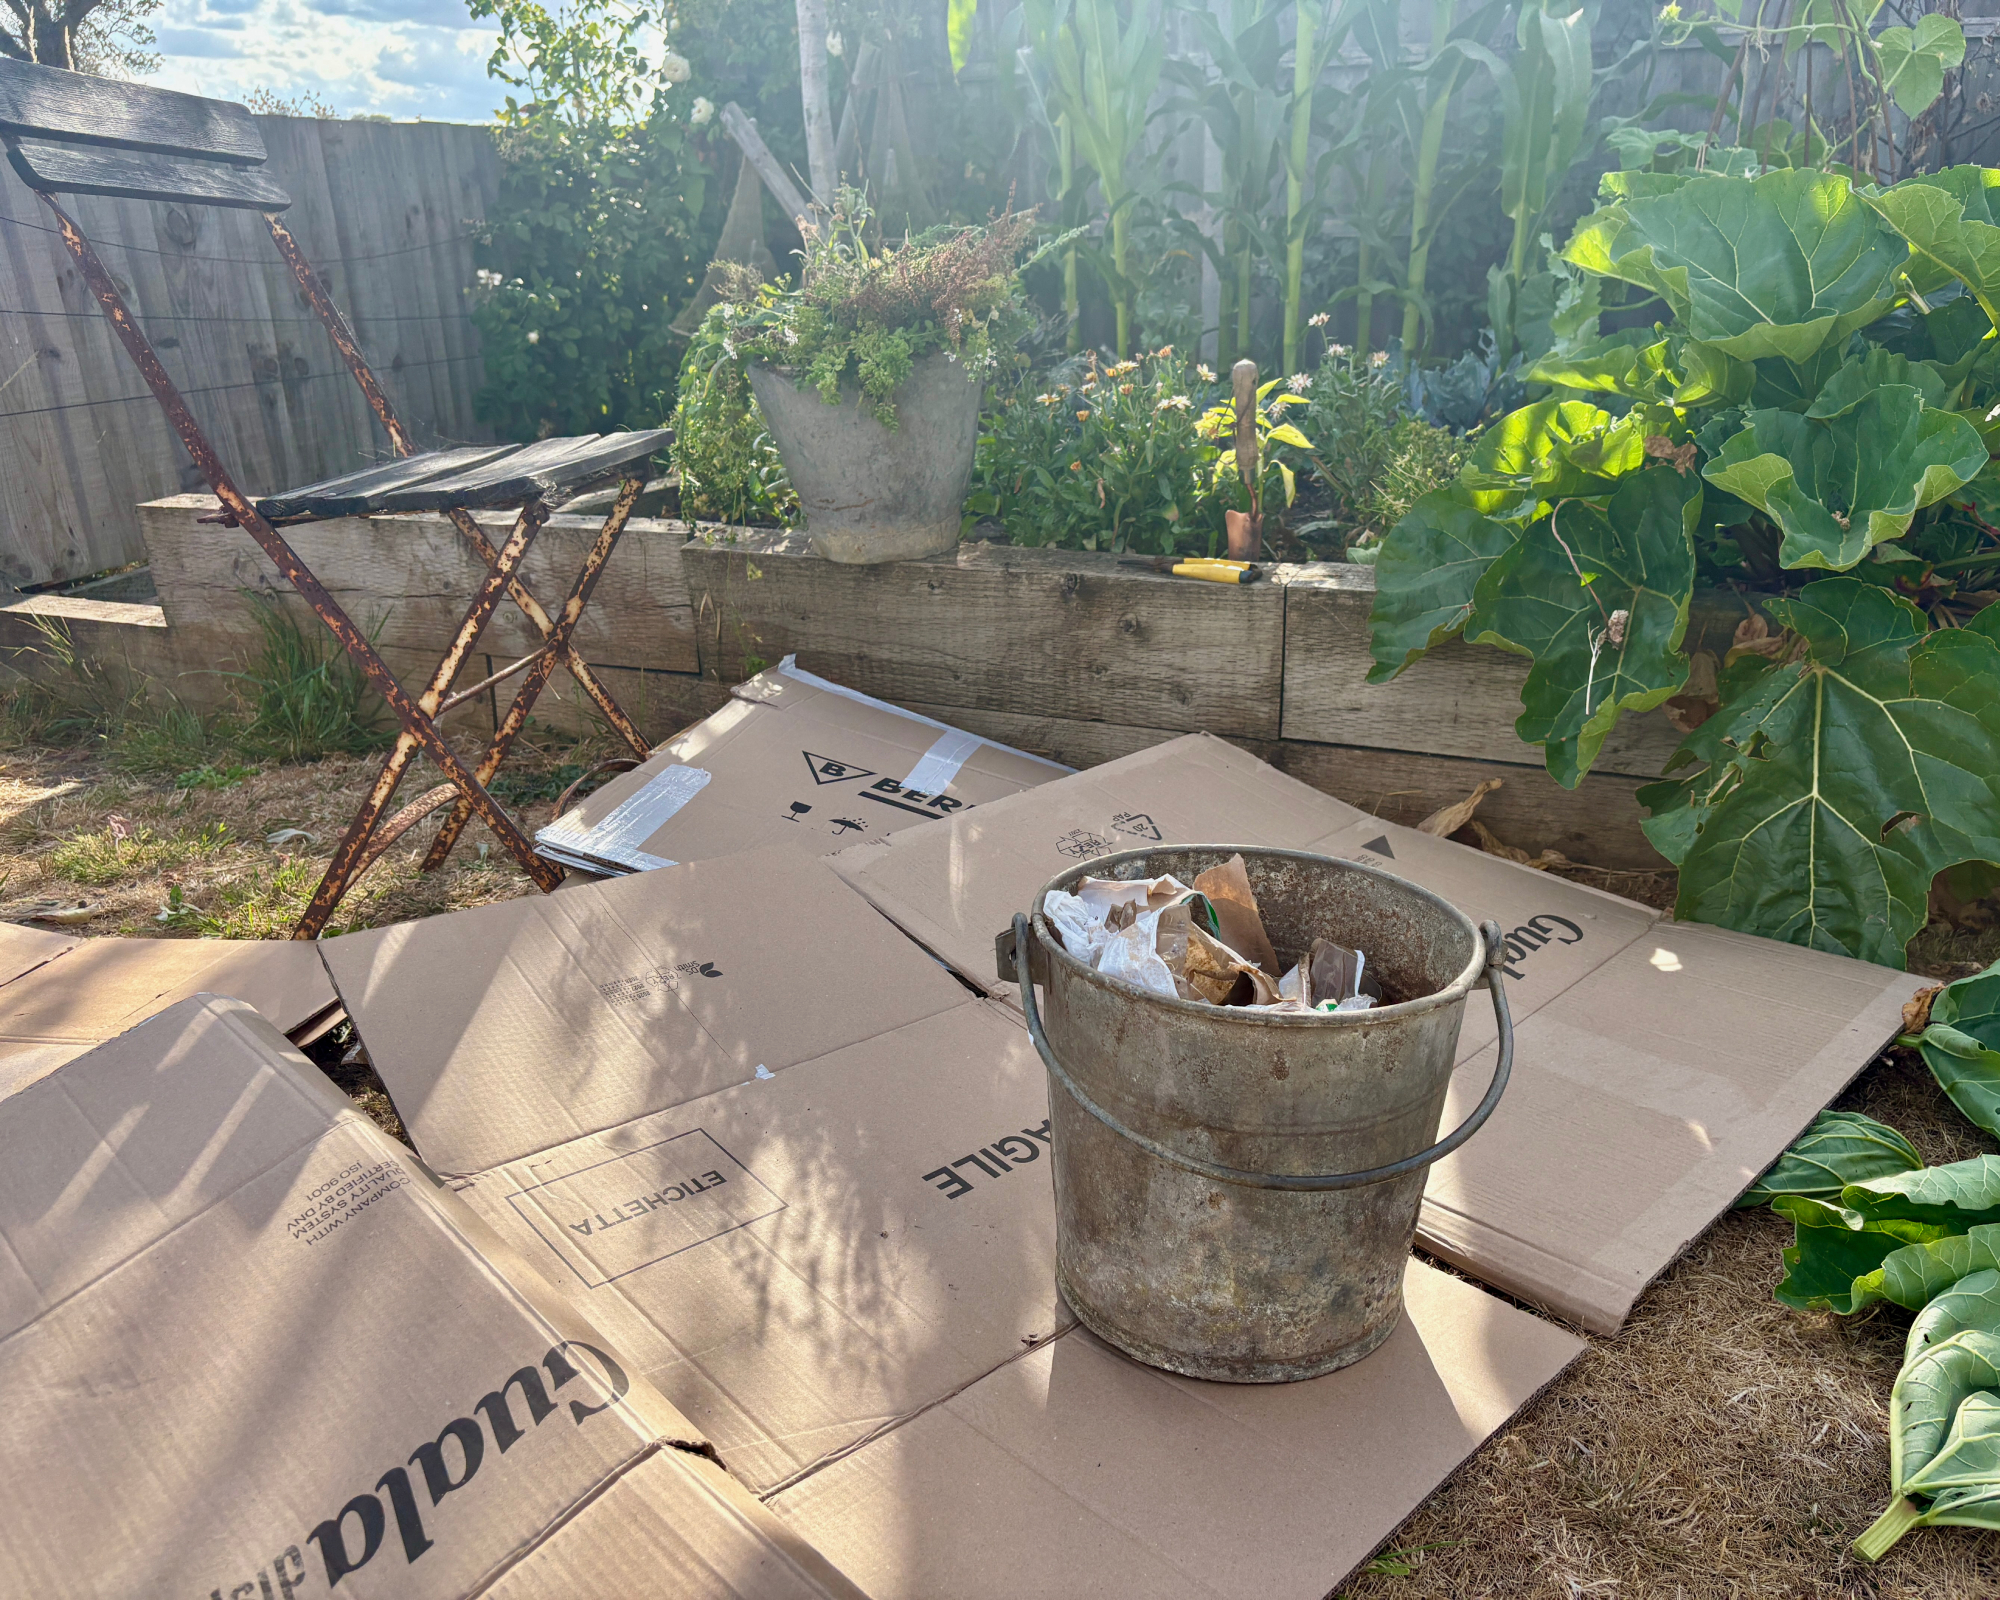
I flattened the boxes and removed all the packaging tape and address labels from the cardboard. I didn’t want chemicals from these leaching into the soil, or plastic that wouldn’t break down, and removing them also made the cardboard more porous.
3. Lay the Cardboard on the Soil
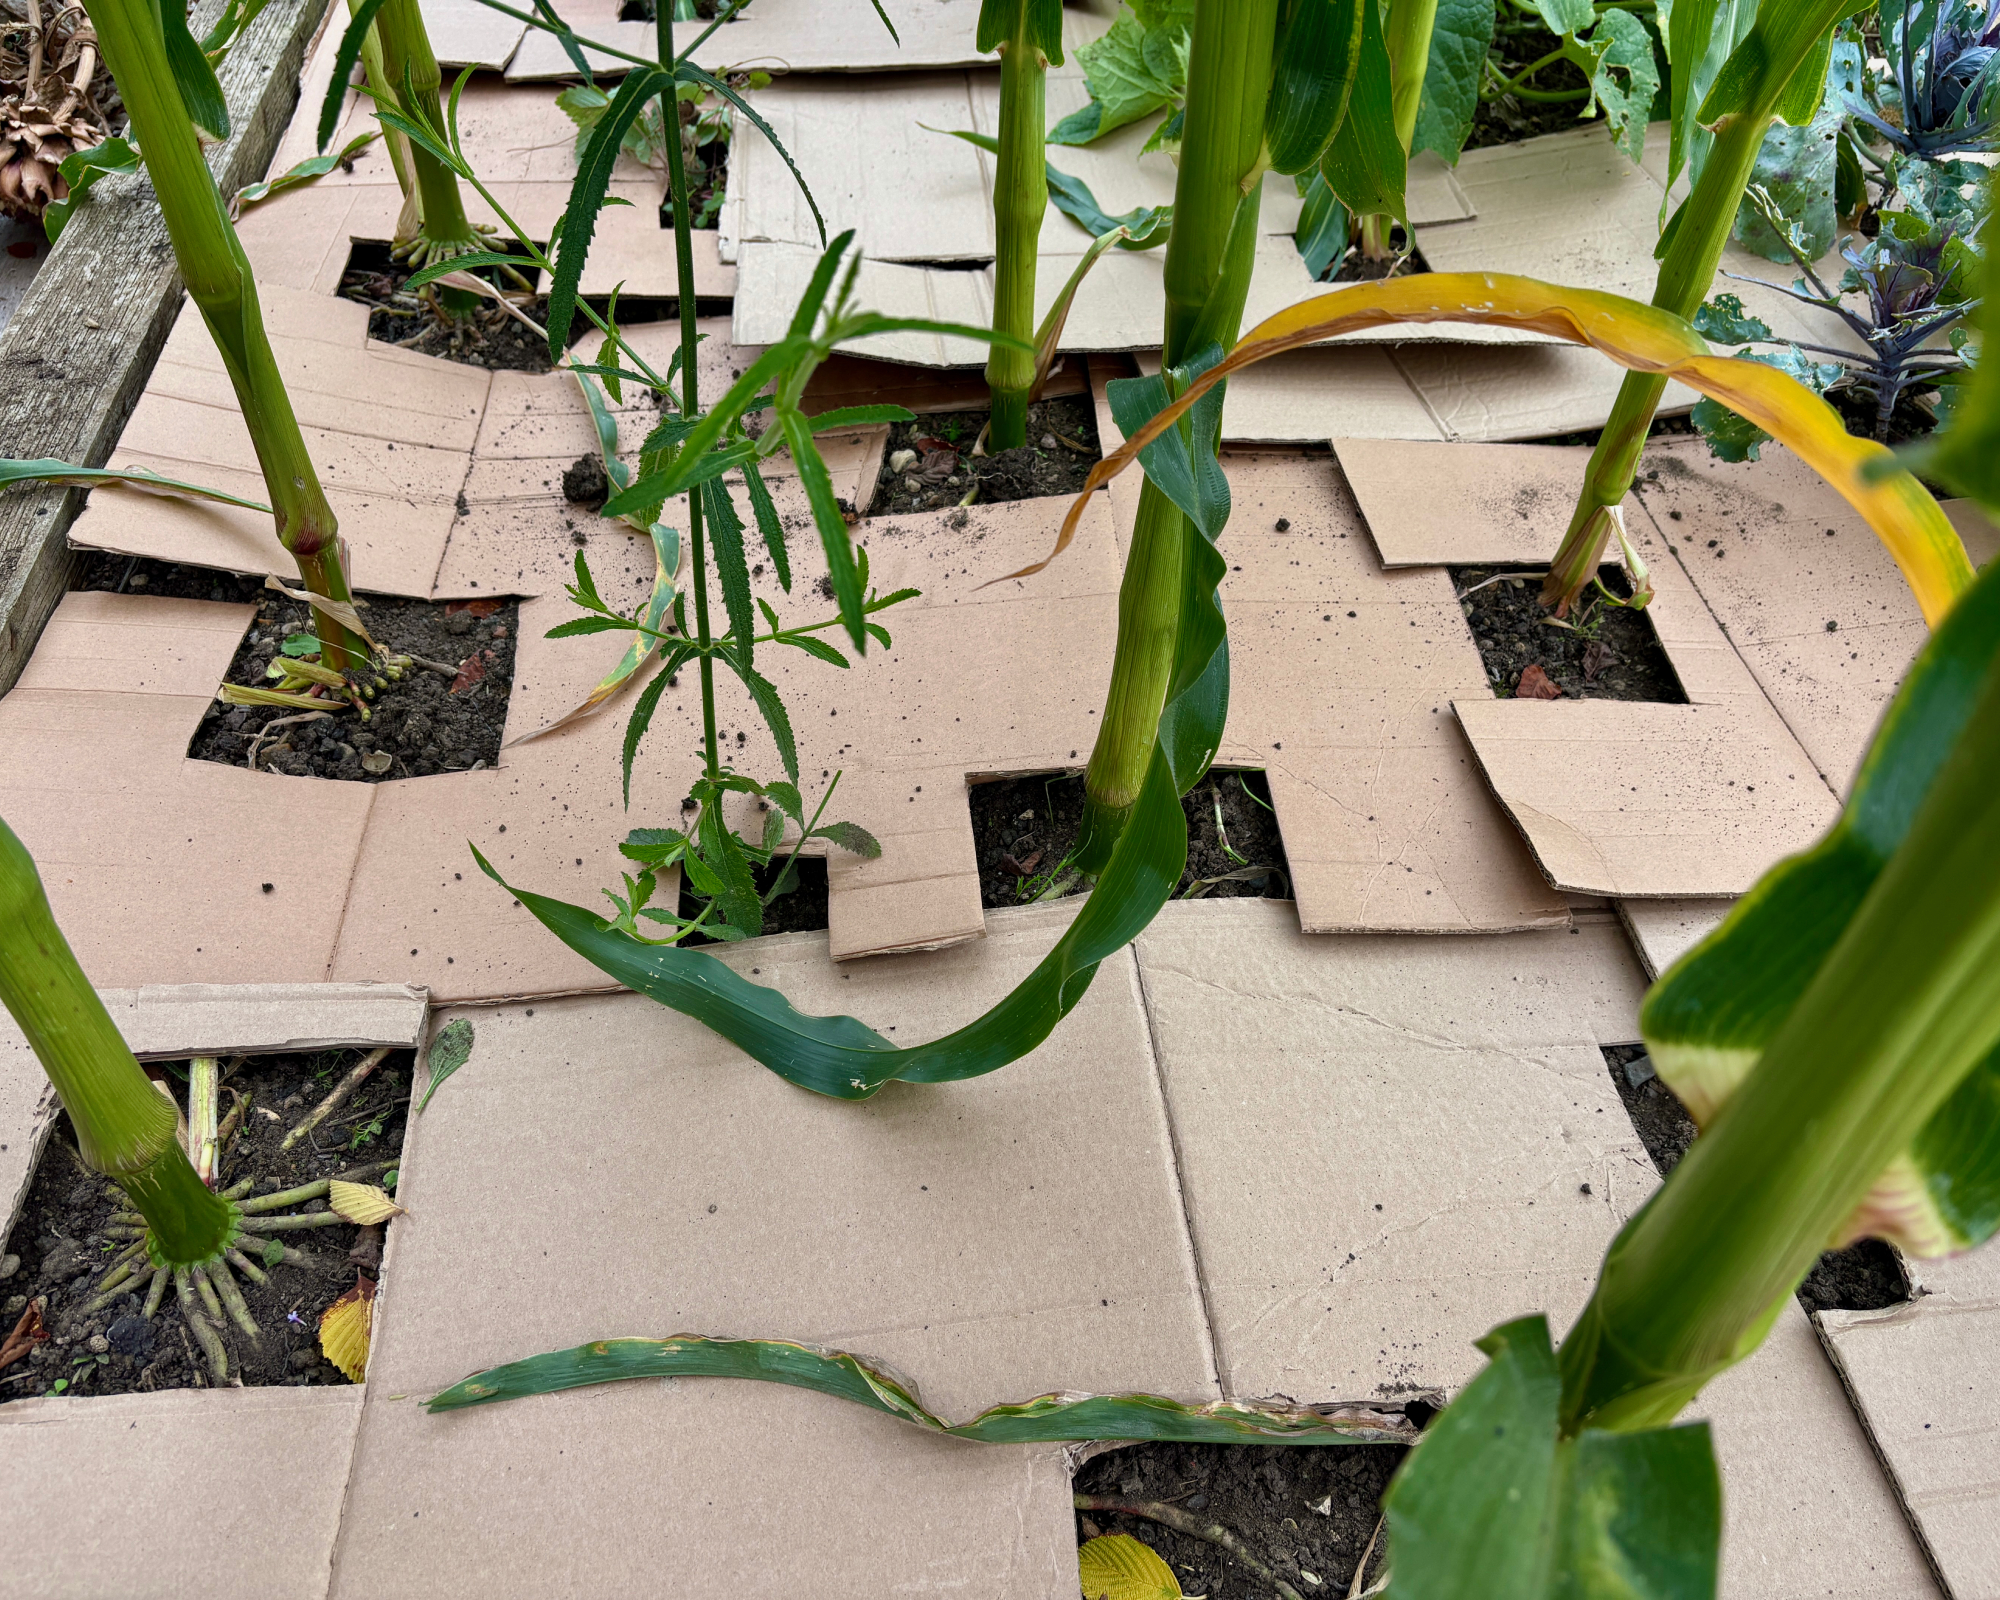
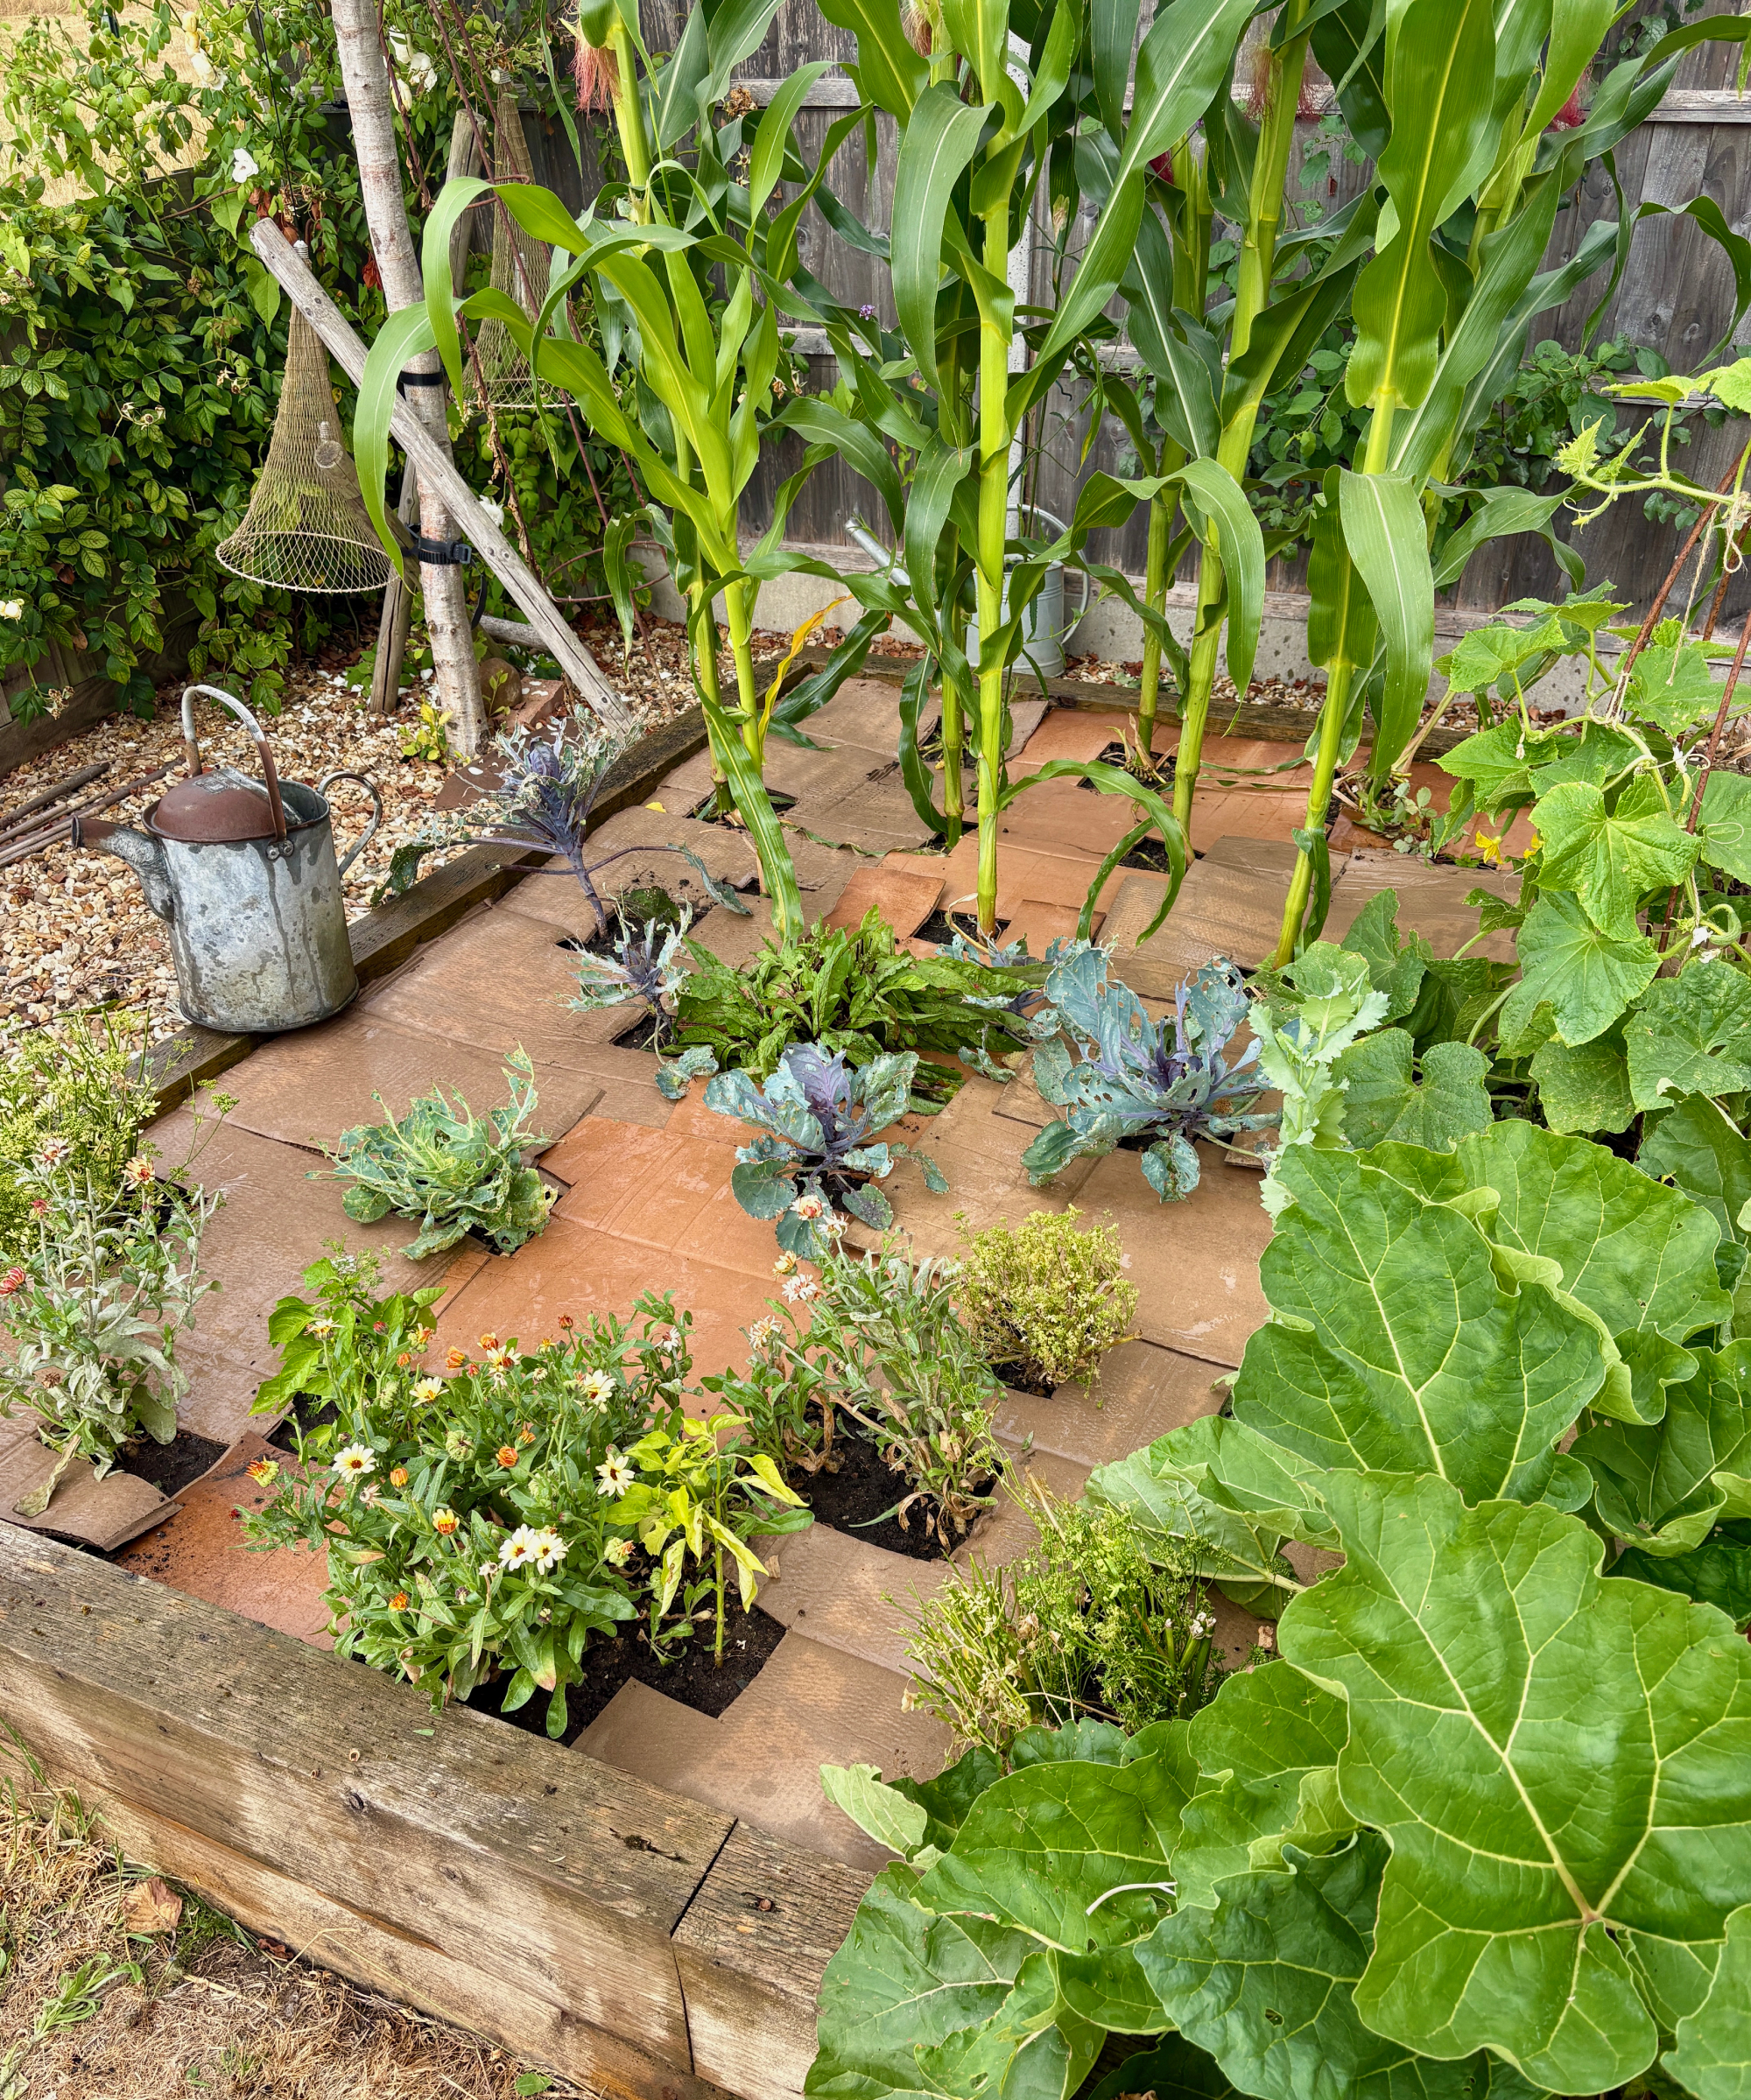
I laid sections of cardboard on the soil surface, cutting holes to fit around the plants and doing my best to overlap the edges by a couple of inches. Because this is a raised bed, the cardboard didn’t need weighing down to keep it in place; if my veg patch was a bed in the ground, I’d put a few stones along the edges of the cardboard stop the wind getting beneath it.
4. Water Thoroughly
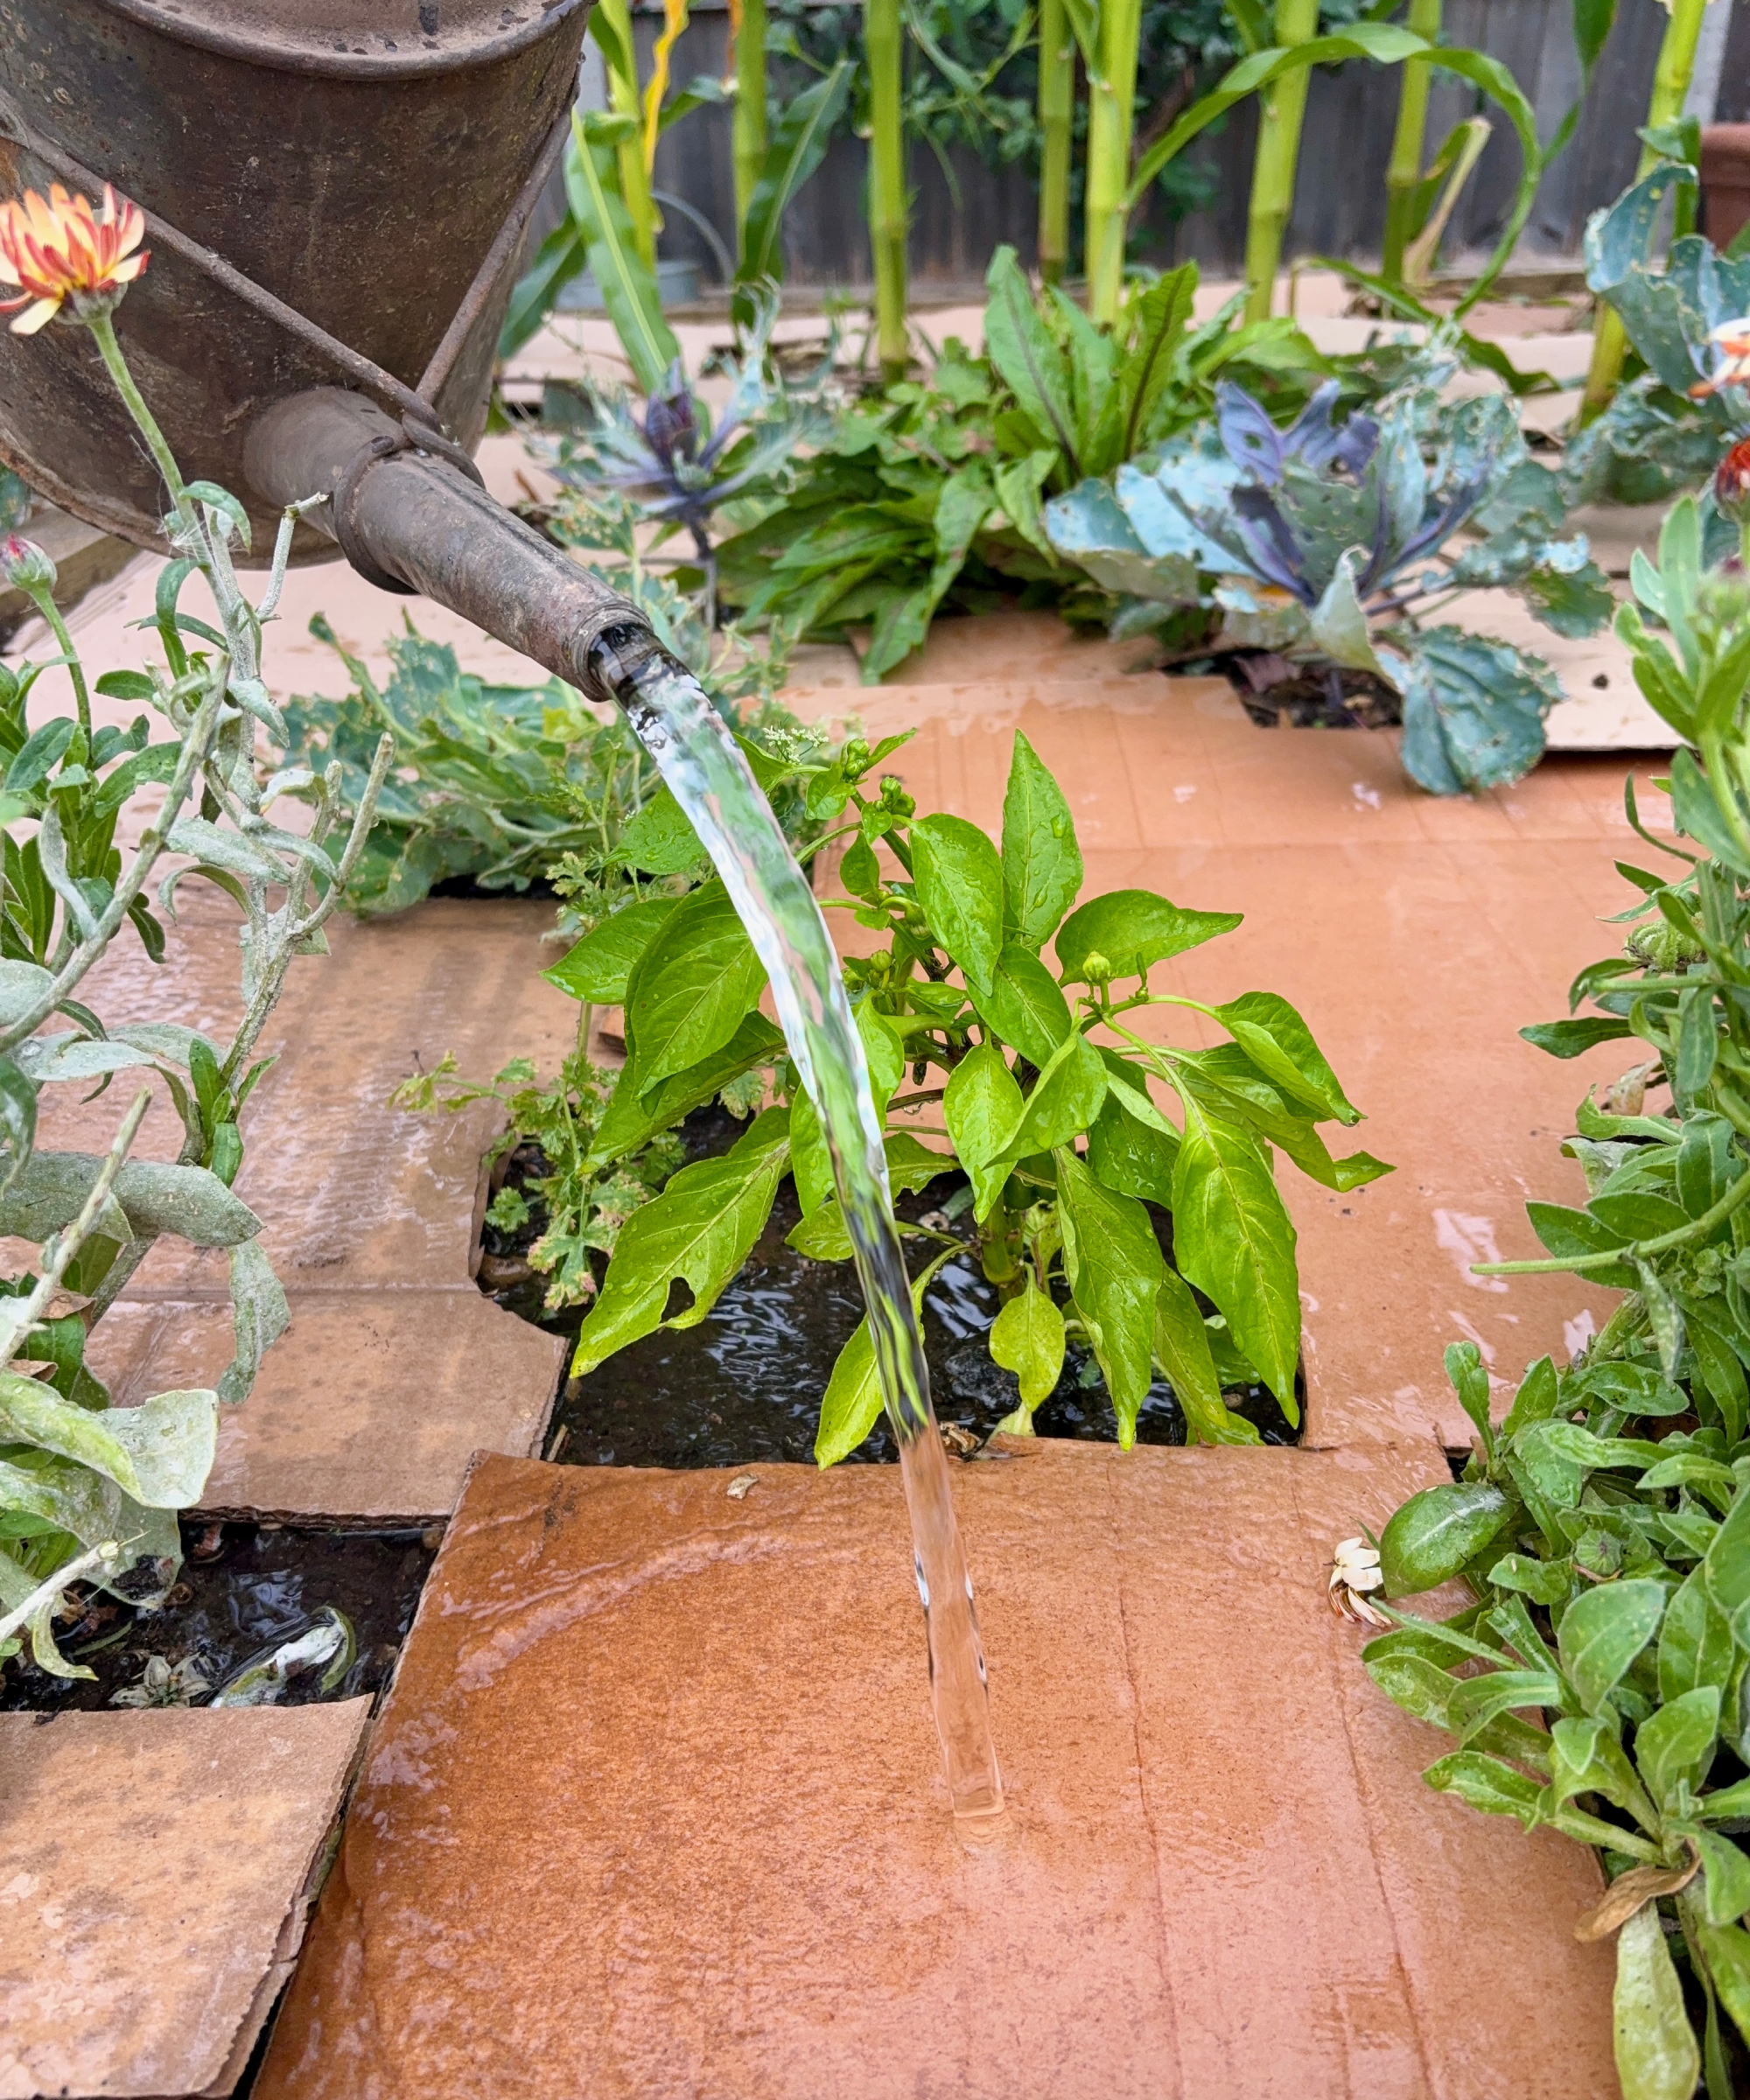
I threw a fair few gallons of water onto the cardboard, both to hydrate the bed but also to wet the cardboard so it softened, molded itself closer to the soil surface and all the sections stuck together where they overlapped.
Before and After
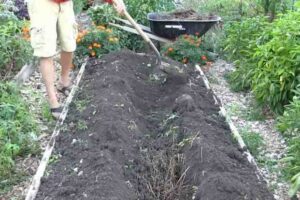
Here’s a photo I took before I started, with the weeds out-competing my poor veggies for moisture (the shame!):
Here’s a photo I took an hour later, once I’d finished.
Is the Cardboard Mulch Working?
Definitely. The good news is that since I mulched my vegetable patch with cardboard, the plants are doing better than ever, though I’m spending far less time watering. I haven’t seen a single cat poop, either, and I can’t tell you how happy I am about that.
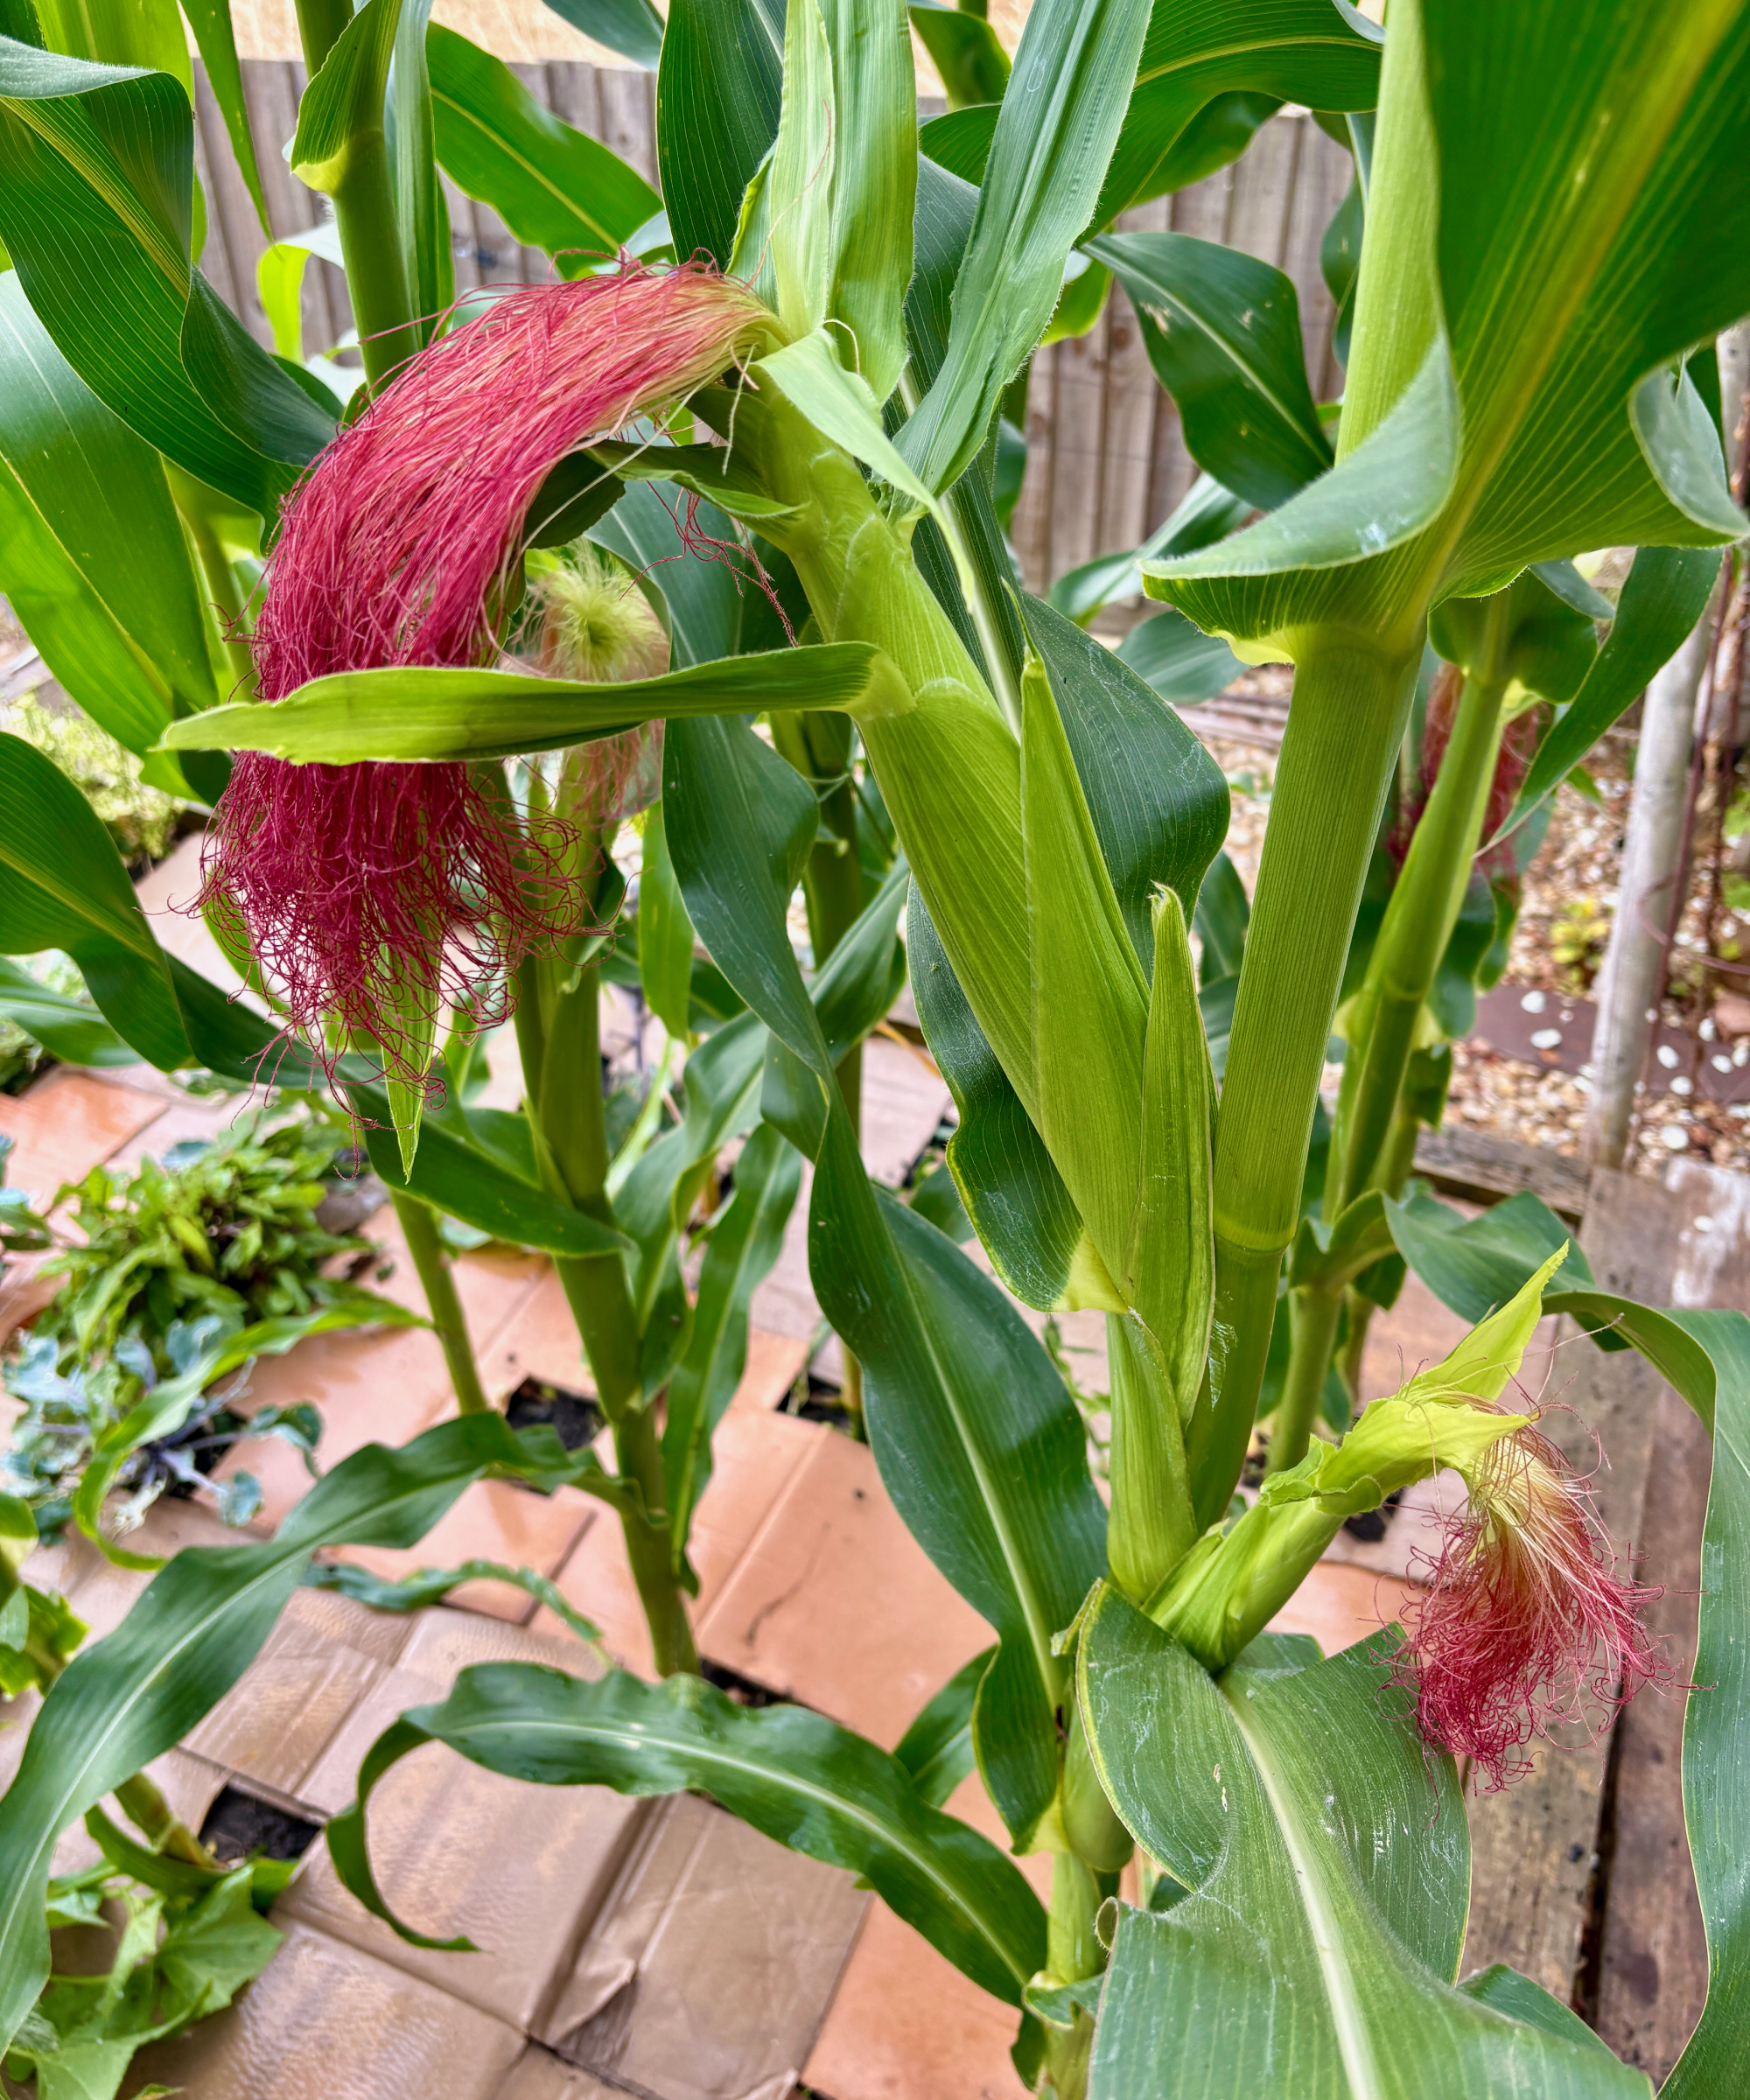
In the week since I laid the cardboard, the corn has started fruiting.
The cucumber has thrown out several new stems.
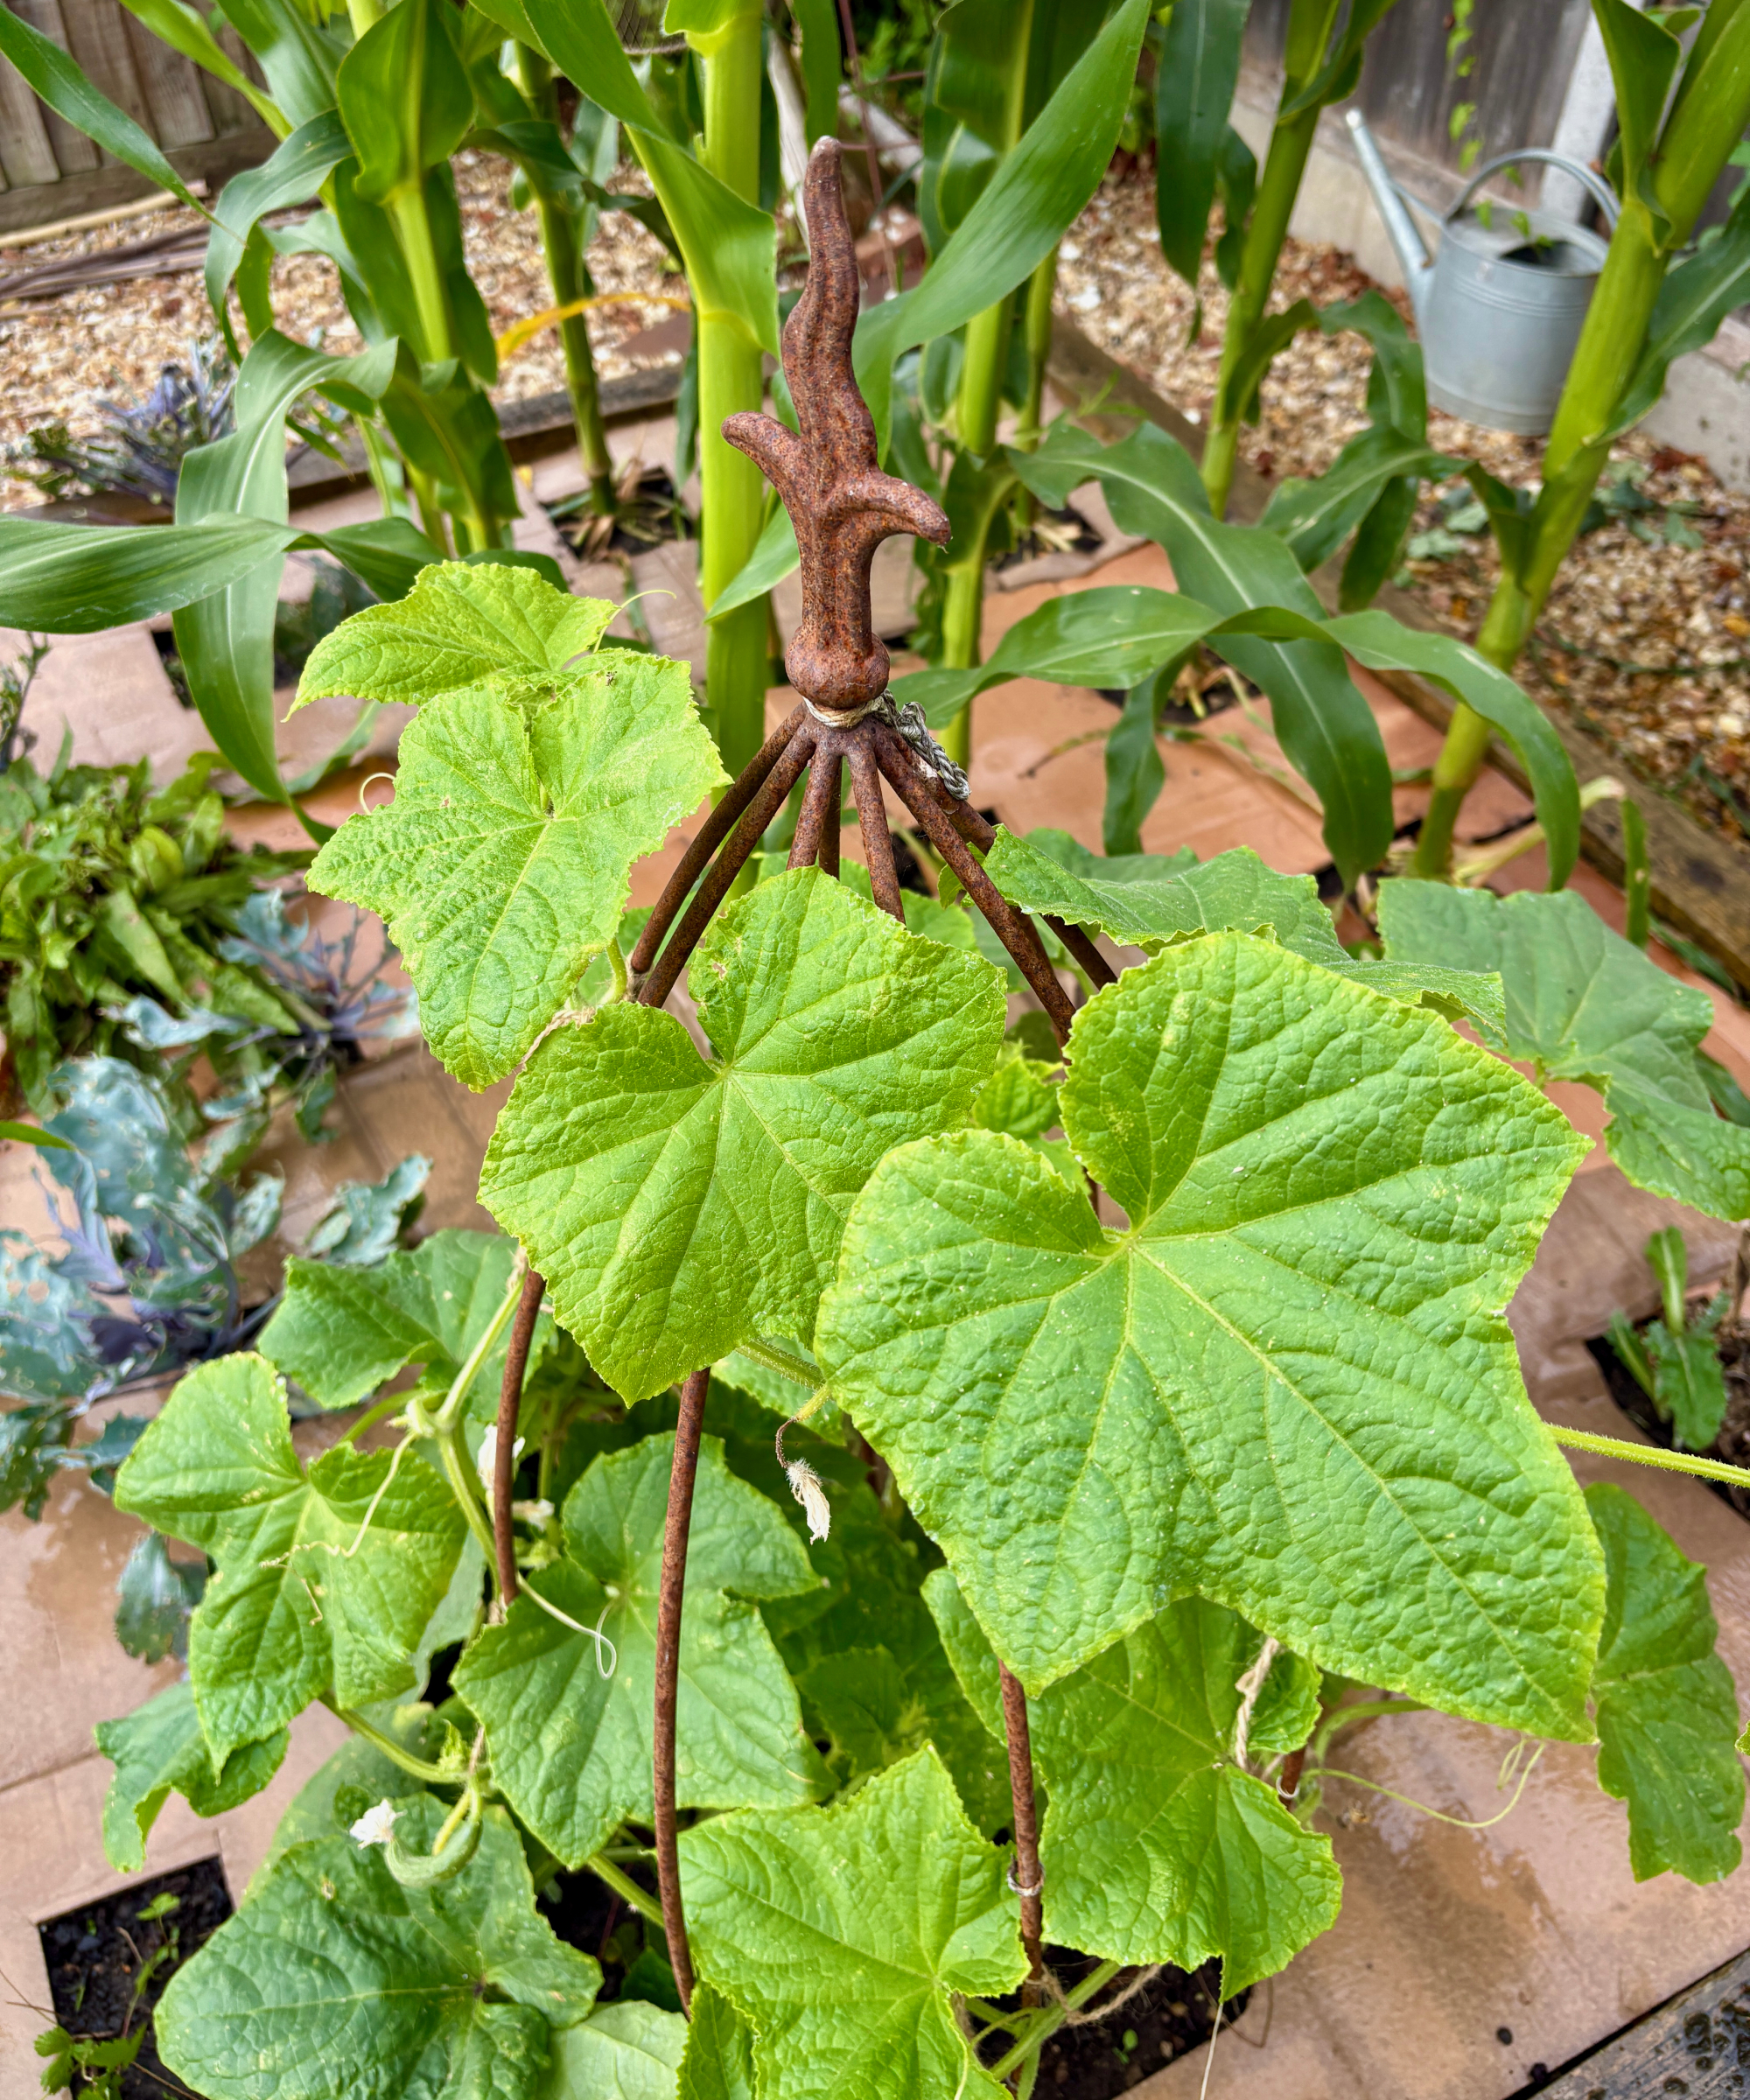
Even the artichokes – which I thought the heat had killed off – have started shooting from their bases.
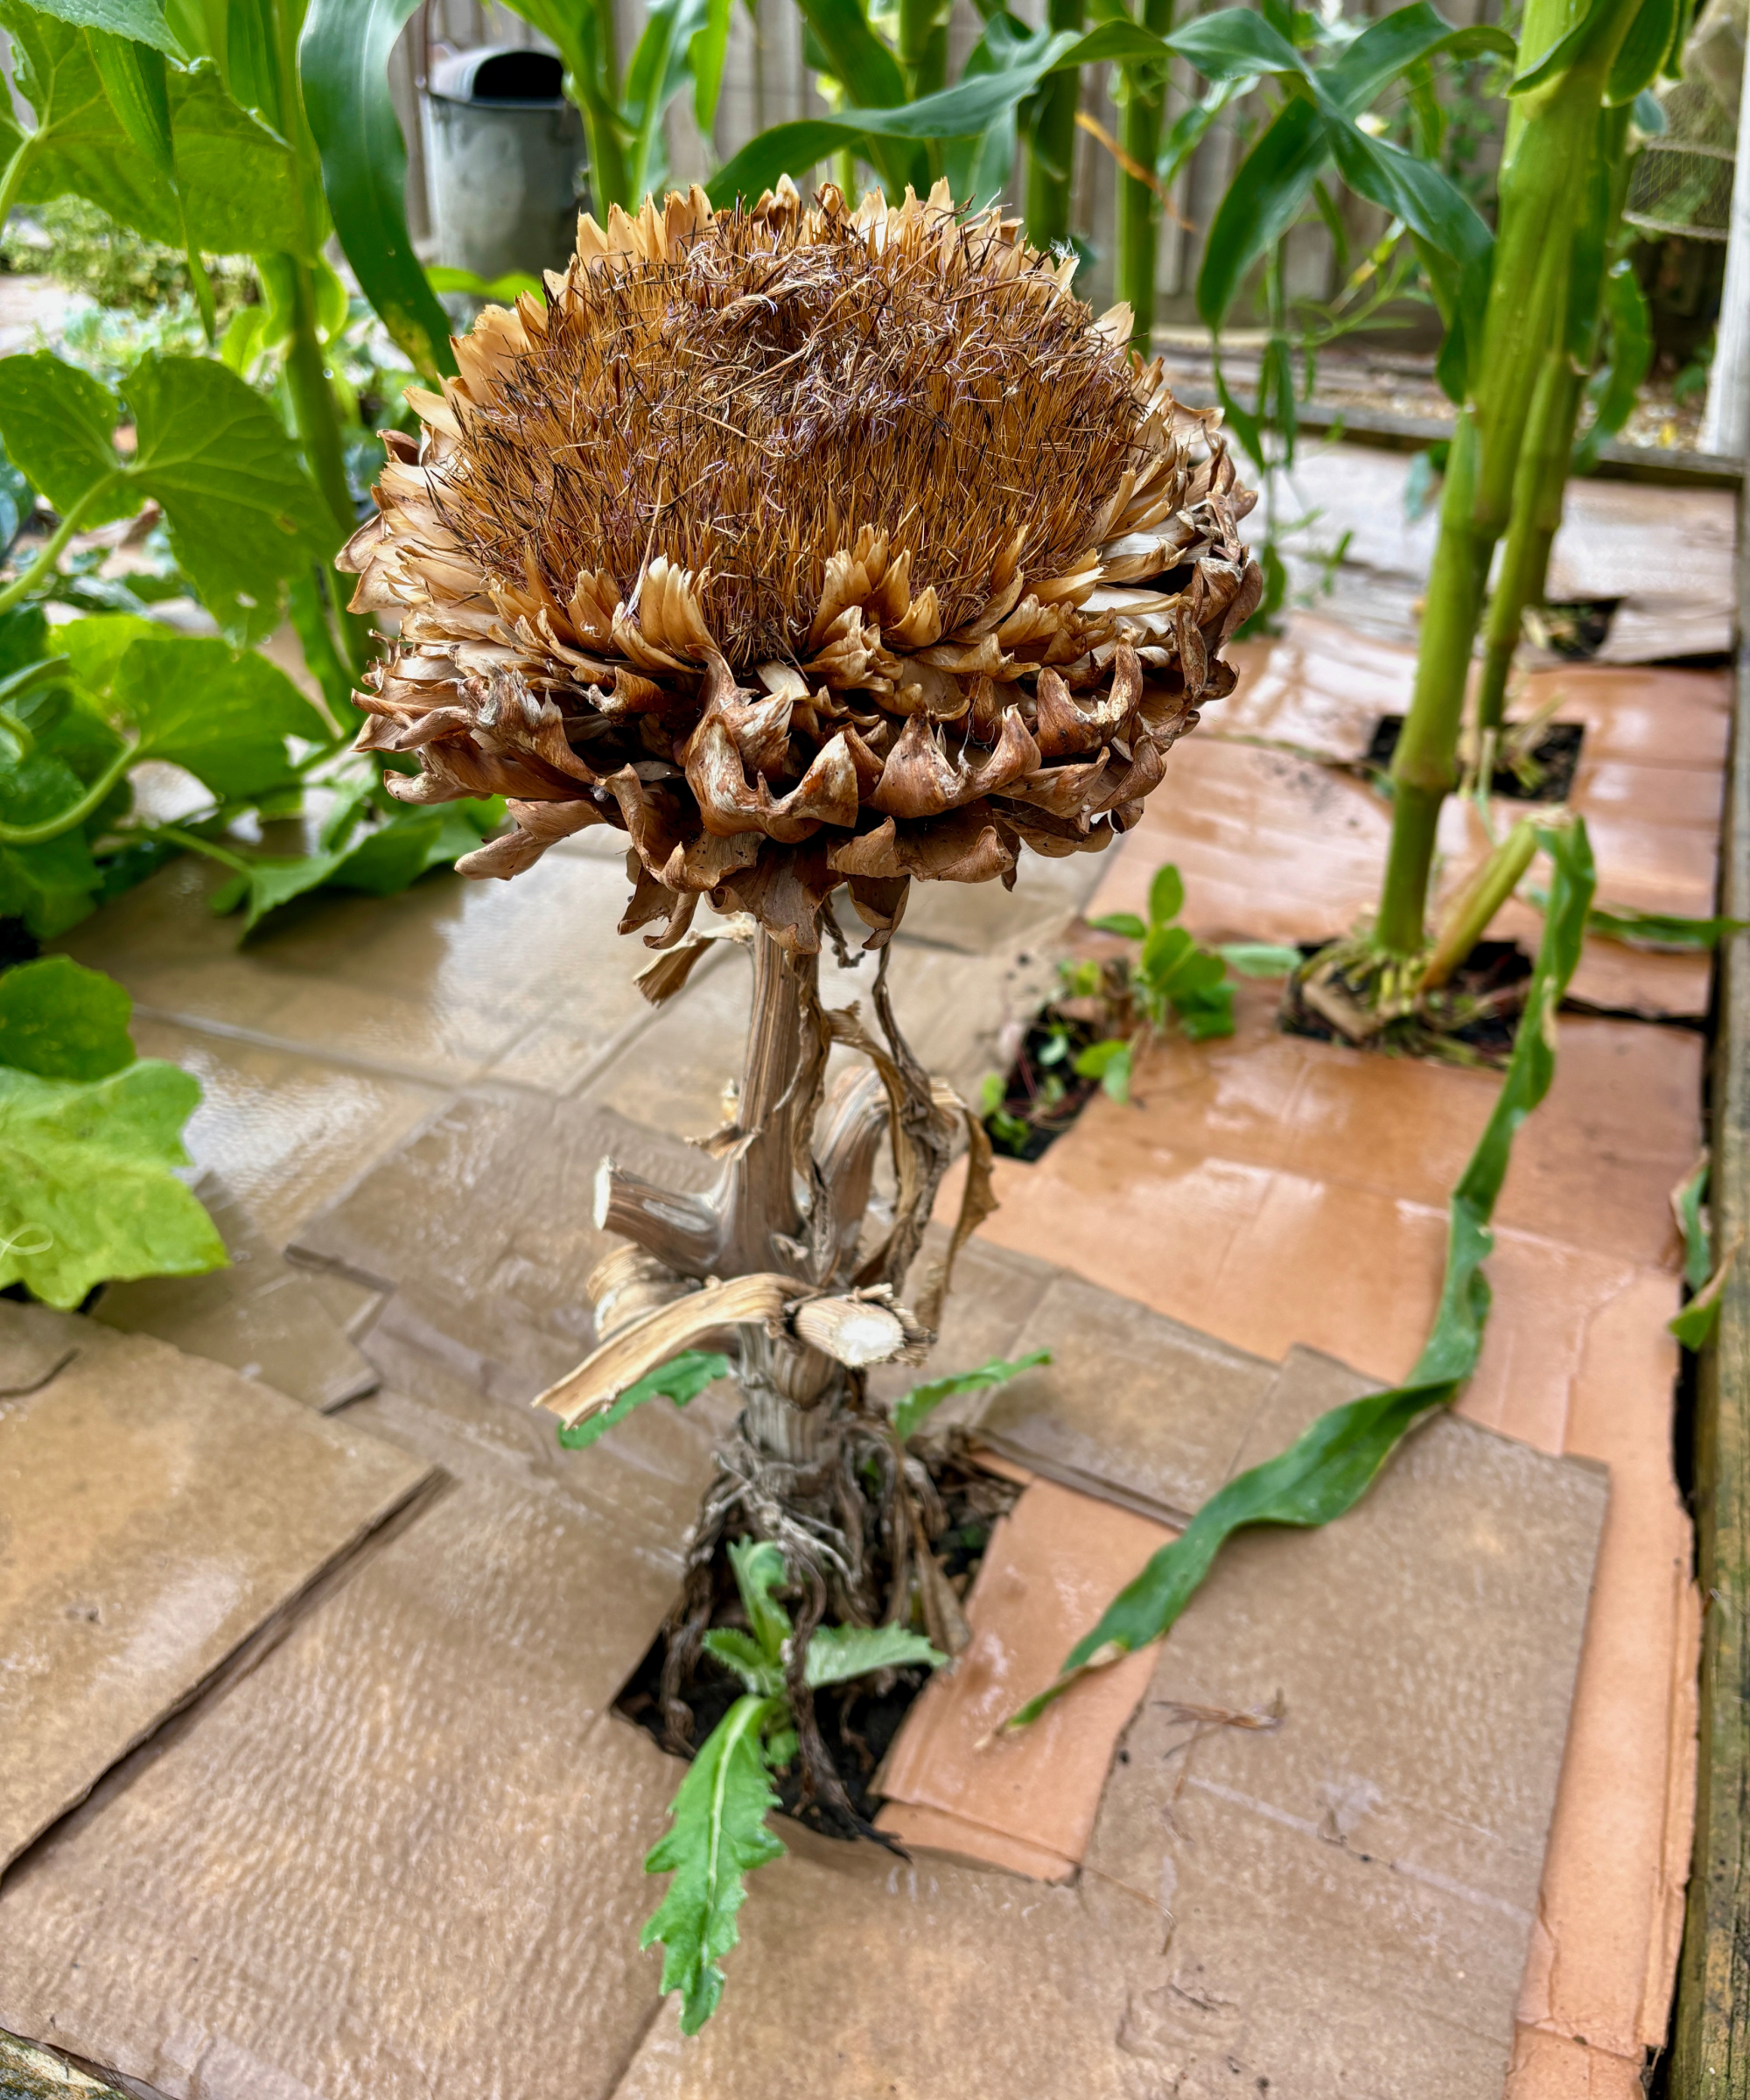
I’d really recommend using cardboard to mulch vegetable beds. In my garden, the cardboard mulch is doing a great job of suppressing weeds and it’s saving me so much time watering in this heatwave weather. Even when the top surface of the cardboard looks totally dry, when I lift a corner the soil below is still nice and moist. All the worms seem super-happy, too. The cardboard will slowly break down to improve the soil structure and next year, I won’t have to bother cutting around the plants either, as I’ll be cardboarding before I sow, leaving a criss-cross of gaps.
I already add shredded cardboard to my compost heap but using it as a mulch, too, works wonders. As I practise no-dig gardening in this bed, the cardboard doesn’t cause me any issues and, in spring, I’ll simply lay my usual layer of compost mulch over the top. I’ll be trying this mulching method on my shrub border, too, laying cardboard before I tip over a layer of compost, to beef up its weed suppressing and water conserving abilities. As gardening tips go, laying a cardboard mulch has been a real game-changer for me.
More Biodegradable Mulches
 Nutritious Top Layer
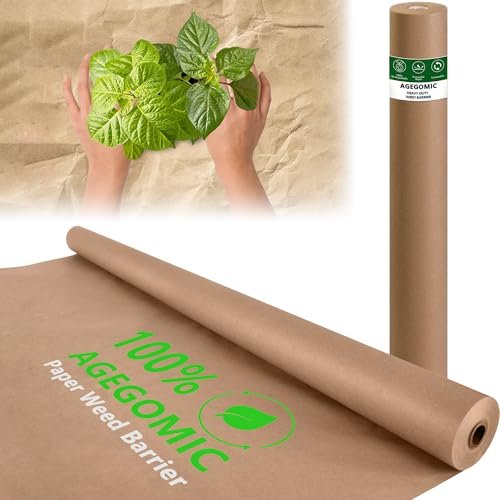 large-scale growing
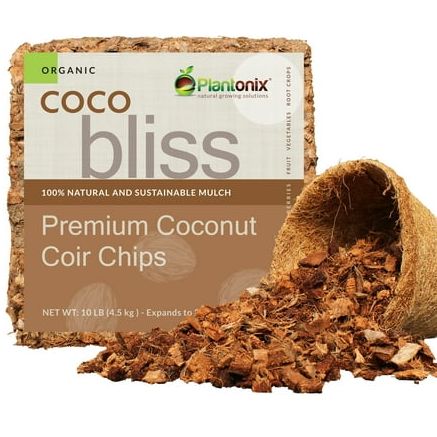 highly absorbent
Just in case you’re wondering, the self-seeded poppy survived the cardboarding process!