Canned beans, tomatoes, and soup move through plenty of kitchens at a steady clip, and the empties usually get a quick rinse before they go out with the recycling. At that point, old tin cans still have plenty of life left. They’re stiff, hold soil and water without leaking, and cost nothing after being discarded.
Cans make for one of the easiest garden recycling projects, and the basic projects need nothing fancier than a hammer, a nail, and a can opener. One can might hold a pepper seedling in March, then lose its bottom at transplant time and slip right back over that same plant as a cutworm collar. That’s a lot of mileage out of something headed for the curb.
I start my stash in fall. Soup and chili season brings in a steady supply, and a box of clean cans in the shed will be ready when seed starting rolls around in late winter. Some can go to work right away, too – as lanterns on chilly evenings or as a winter home for hollow stems cut back during fall cleanup.
Prep Every Can Before It Goes Outside
Clean cans first. Hot, soapy water and a bottle brush get the food out, and a soak loosens the label and glue. The edges are the real hazard. If you’ve got a smooth-edge can opener, like this Oxo Good Grips one on Amazon, use it, since it cuts through the side seam and leaves a dull lip. Regular openers leave a sharp ring. Pinch any jagged bits flat with pliers or take a file to them, and wear gloves for this part.
Won’t they rust? They will, eventually. On most cans, the “tin” is only a thin coating over steel, and rain and wet soil wear through it over time. That takes a while, and a can with a few orange spots still holds soil and water just fine for seasonal jobs. I paint the outside of any can that’ll sit out for a long stretch, and punch drainage holes so water doesn’t sit in the bottom. A can too far gone can usually still go in with the metal recycling.
Without further ado, in this latest installment of our Dirt Cheap Gardening series, here are my eight favorite ways to upcycle tin cans.
1. Start Seeds Without Buying Pots
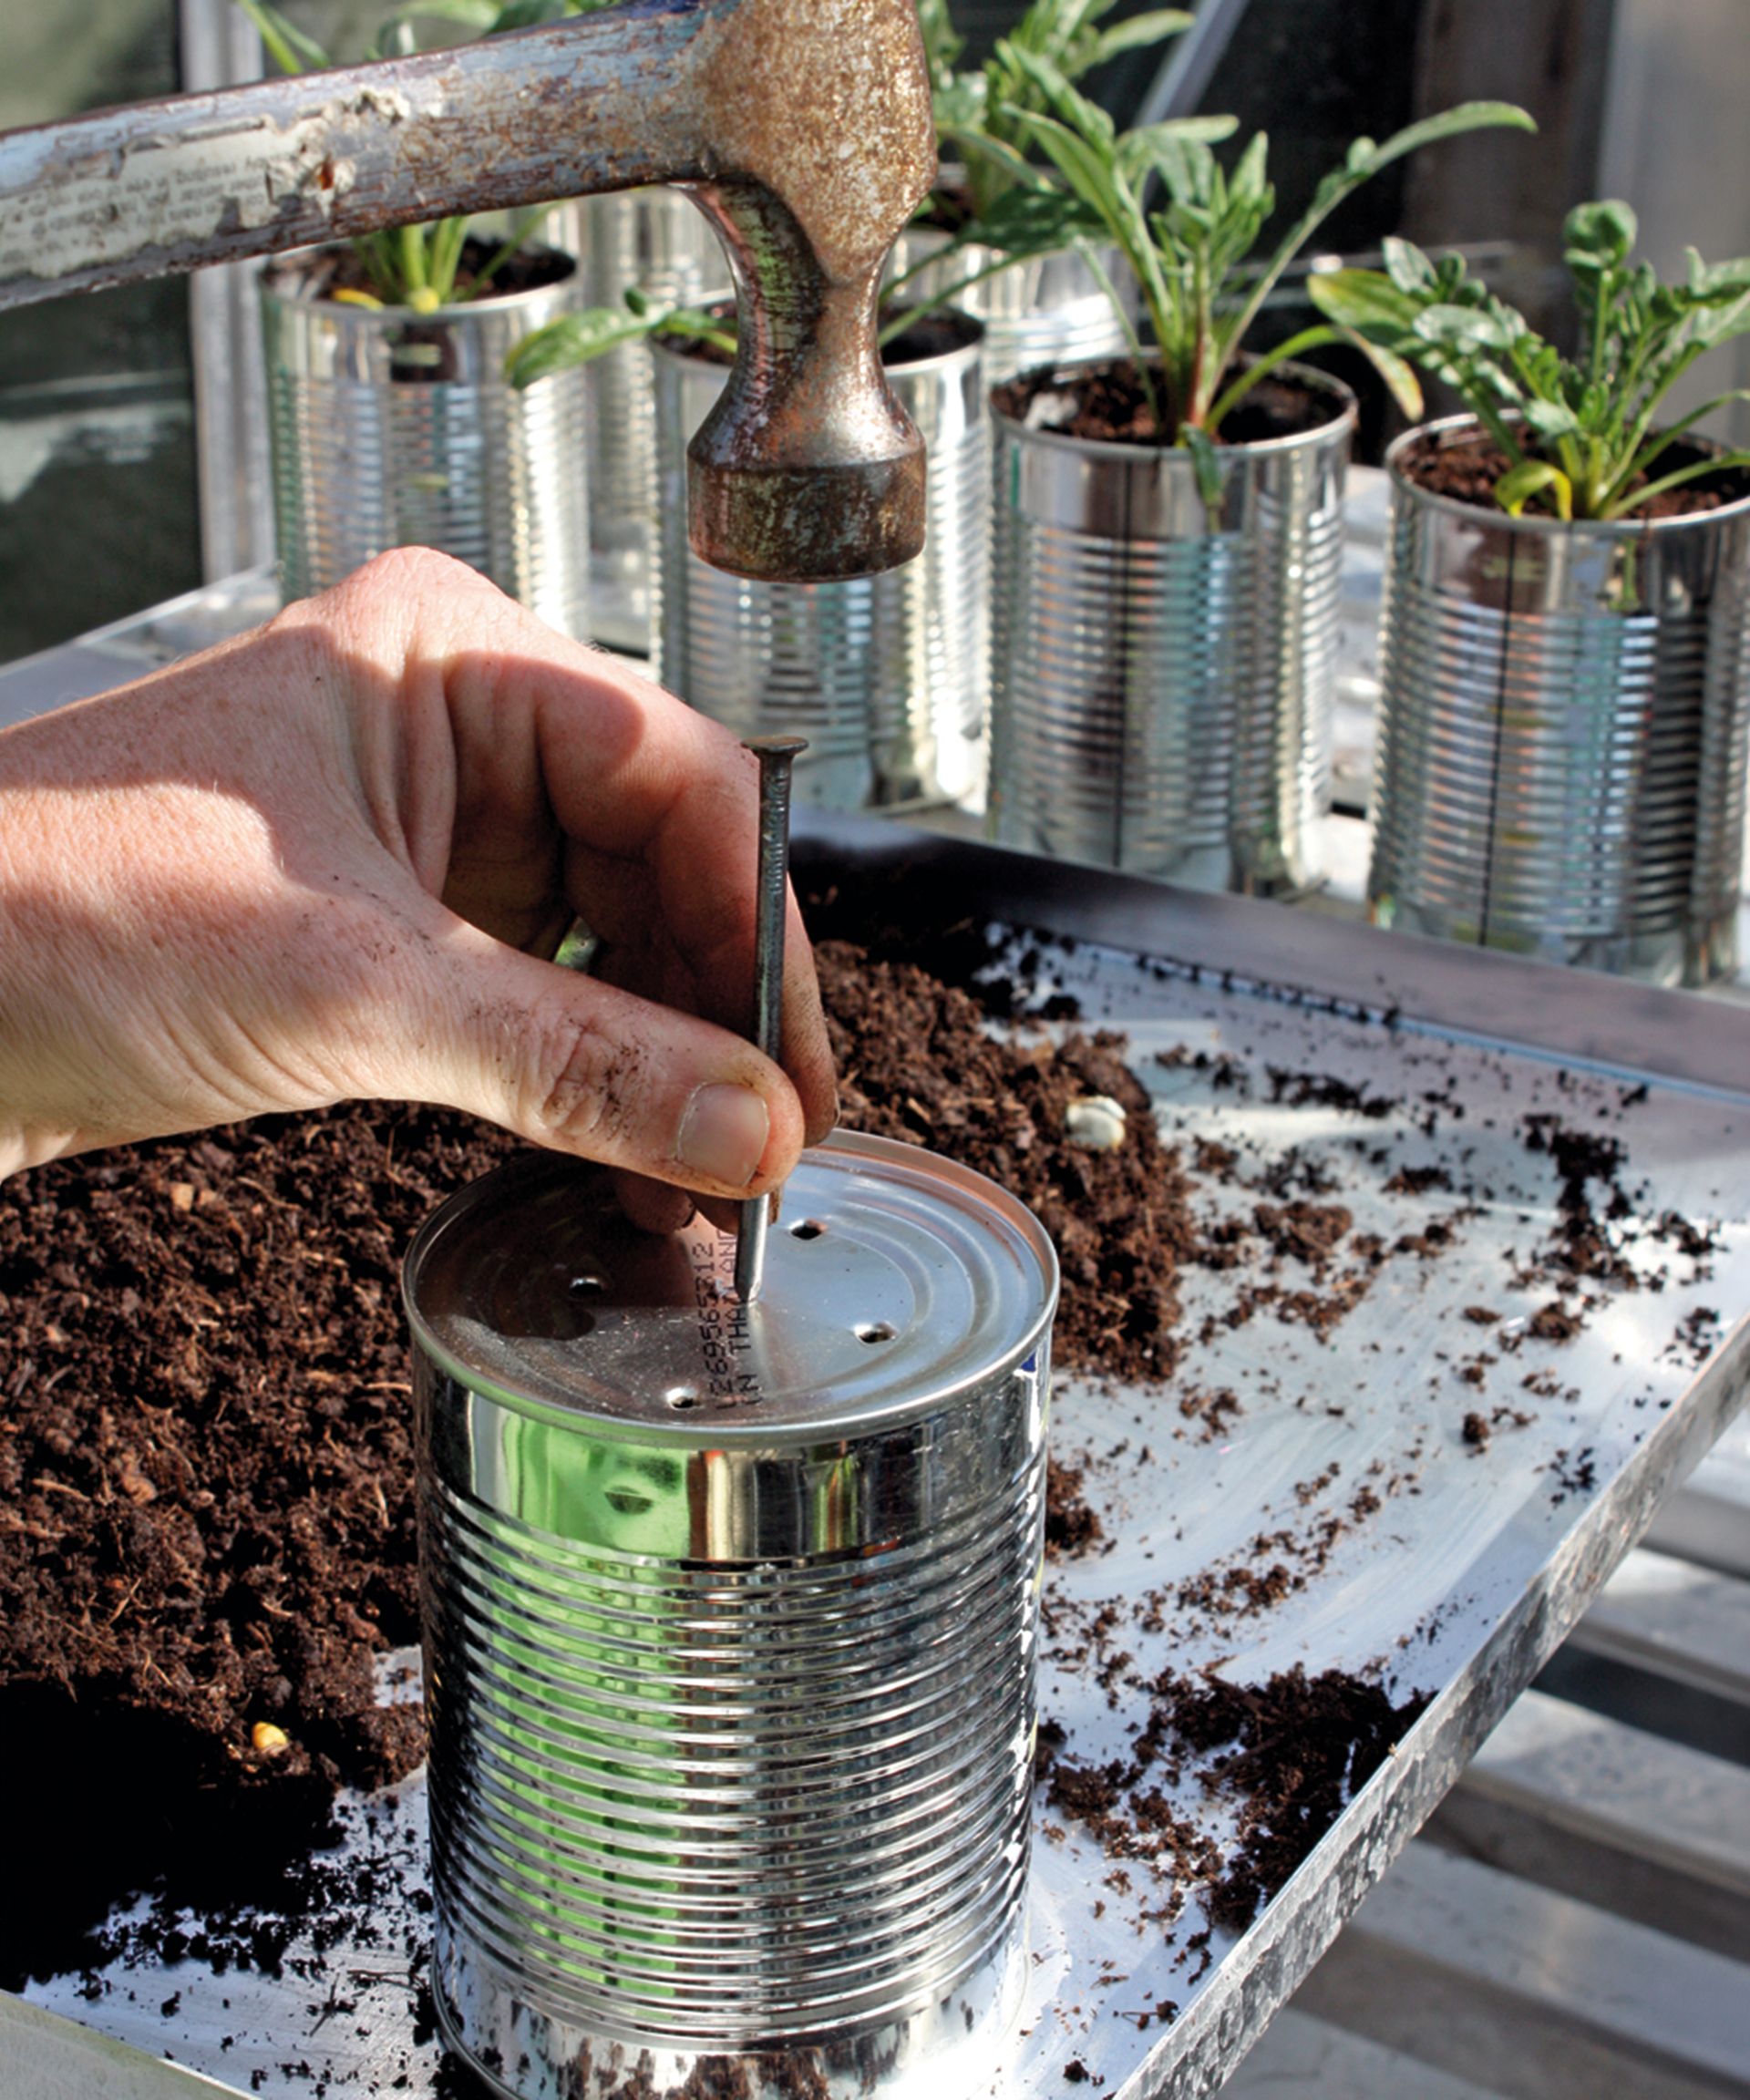
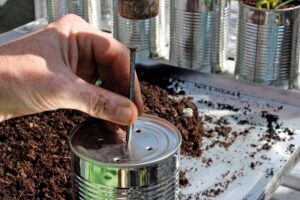
Thin plastic cell packs can split or tip over, but a tin can is heavier and less likely to get knocked around. You can use cans to start seeds or root cuttings. Turn one upside down on a scrap board and tap a nail through the bottom in several spots to make drainage holes – a basic 16-ounce claw hammer, like this Irwin one from Amazon, is plenty for the job.
Fill your tin can pots with a light, sterile seed-starting mix, such as Espoma Organic Seed Starter from Walmart, instead of garden soil. Metal doesn’t breathe like terracotta, so feel the mix before you water. When it’s time to transplant, cut the bottom out with the can opener and push the root ball up and out.
2. Use Tin Cans as Pest Deterrents
A tin can can help protect seedlings from a few garden pests, although it won’t keep them all away. Burying a can around a young plant may make it harder for slugs to reach, but they may still climb over it, so don’t rely on it as a dependable barrier.
Where a can collar is more useful is against cutworms. These caterpillars hide in the soil by day and chew through young stems at ground level after dark. Cut a can open at both ends, slip it over the seedling, and press it 1–2 inches (2.5–5 cm) into the soil, leaving a couple of inches above ground. Put it in place when you plant, while the seedling is most vulnerable.
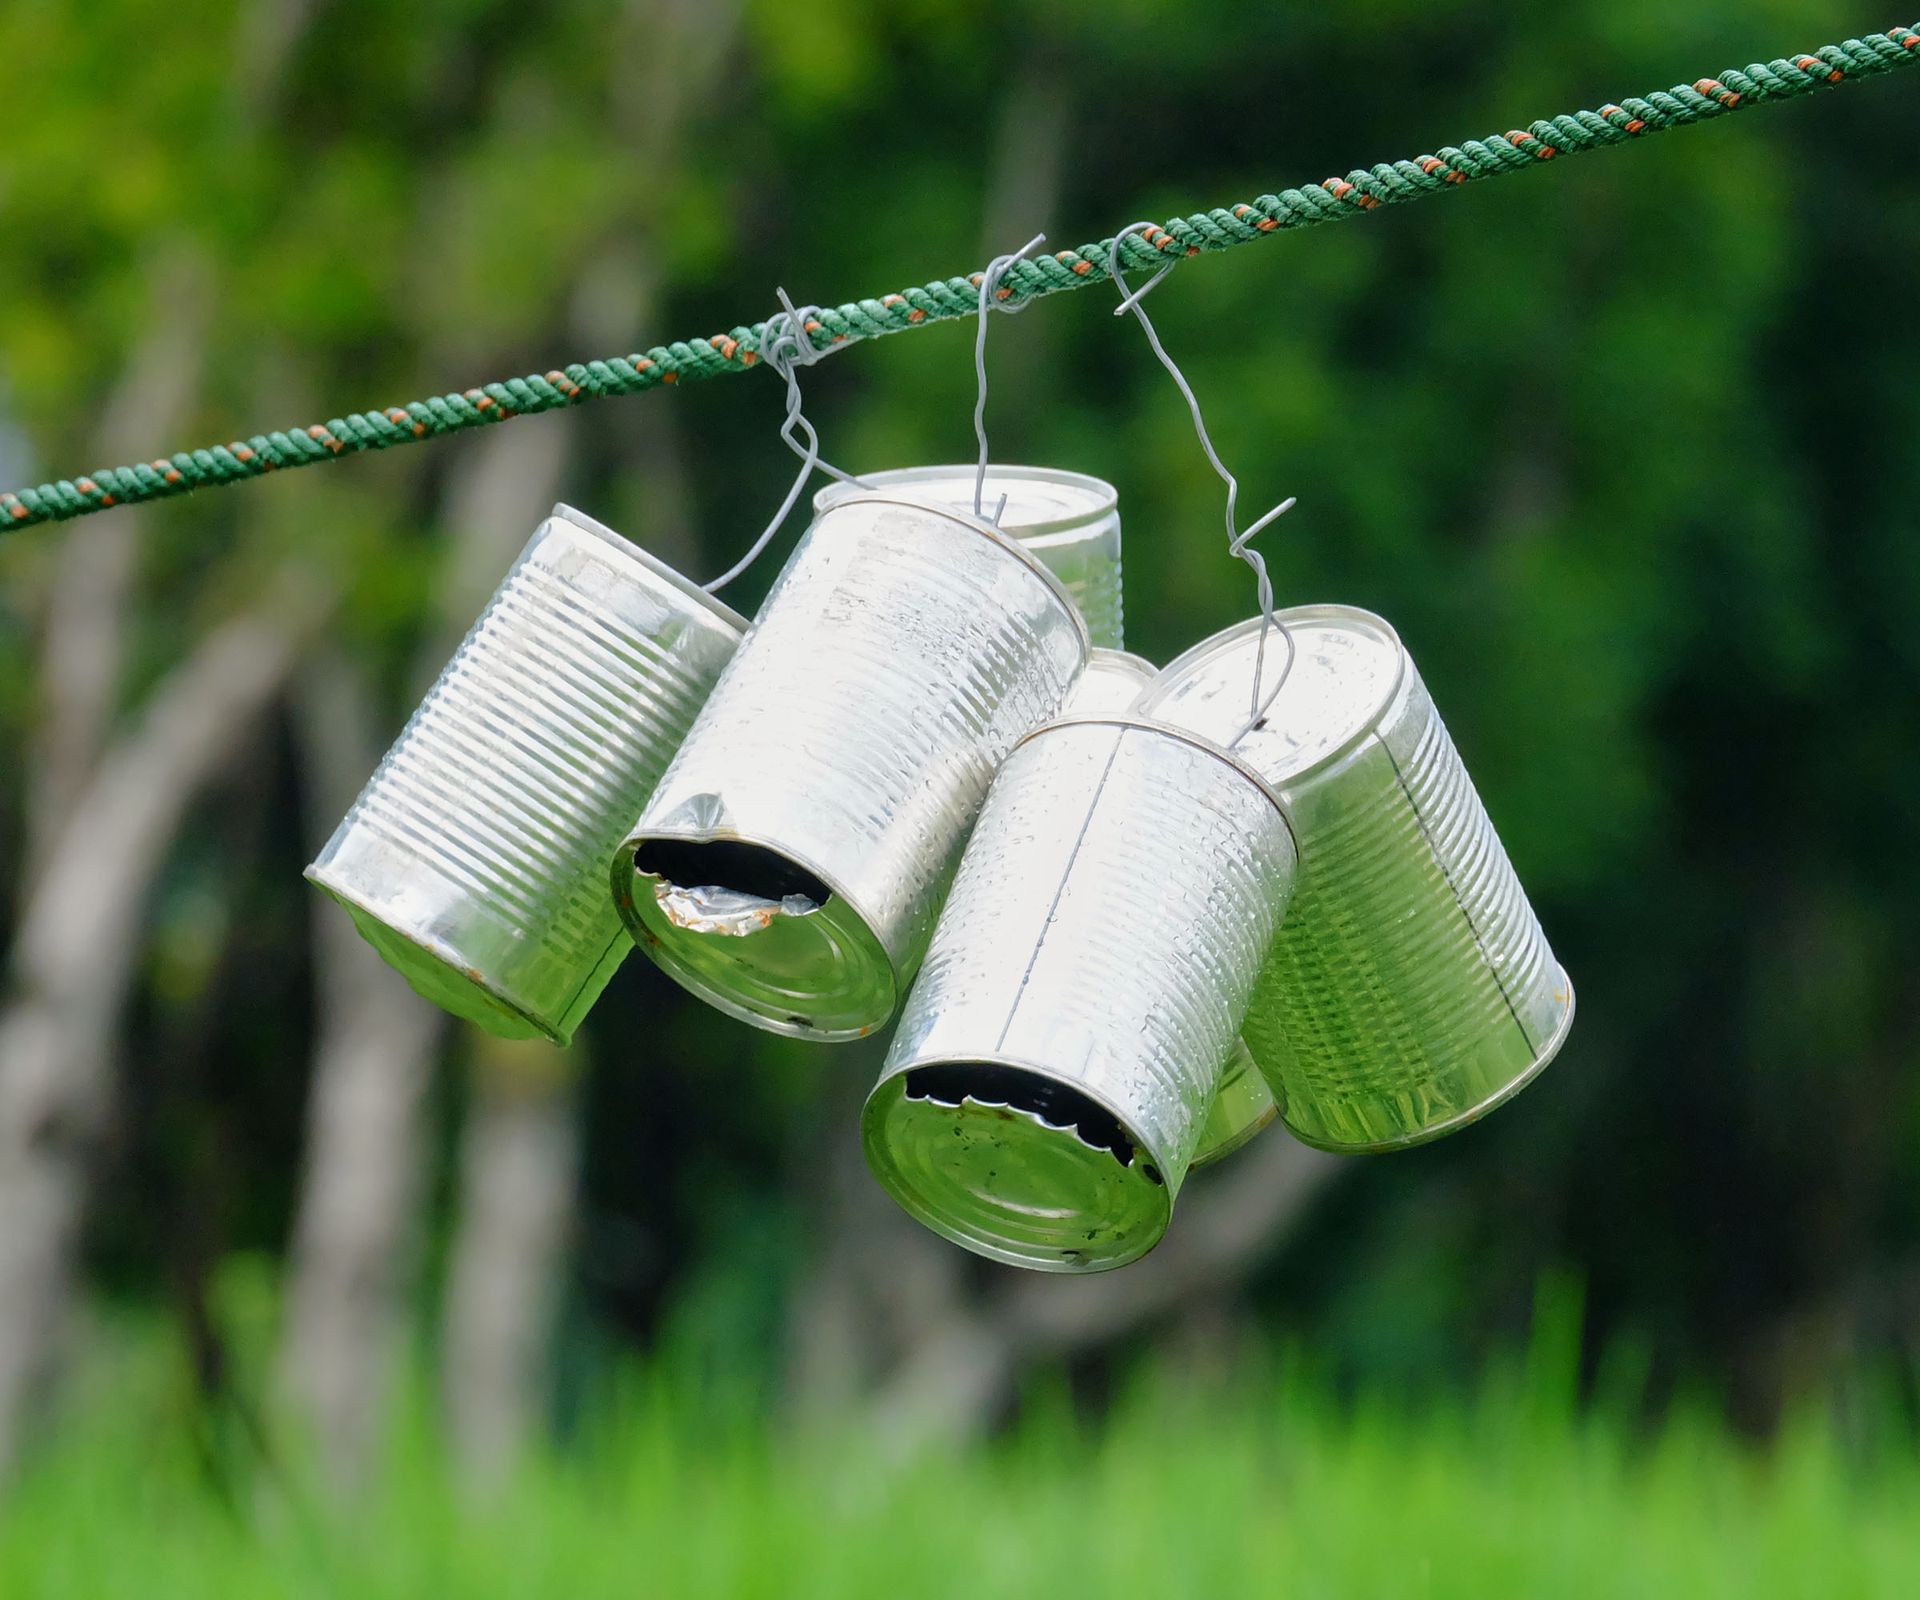
You can also hang cans near vulnerable plants as a makeshift bird scare. Moving, clattering cans may startle birds, but the effect can wear off as they get used to them, so treat it as a short-term deterrent. Perhaps try alternating tin cans with a predator decoy, like the Dalen Lifelike Great Horned Owl Decoy Bird Repellent on Amazon.
3. Keep Things Organized
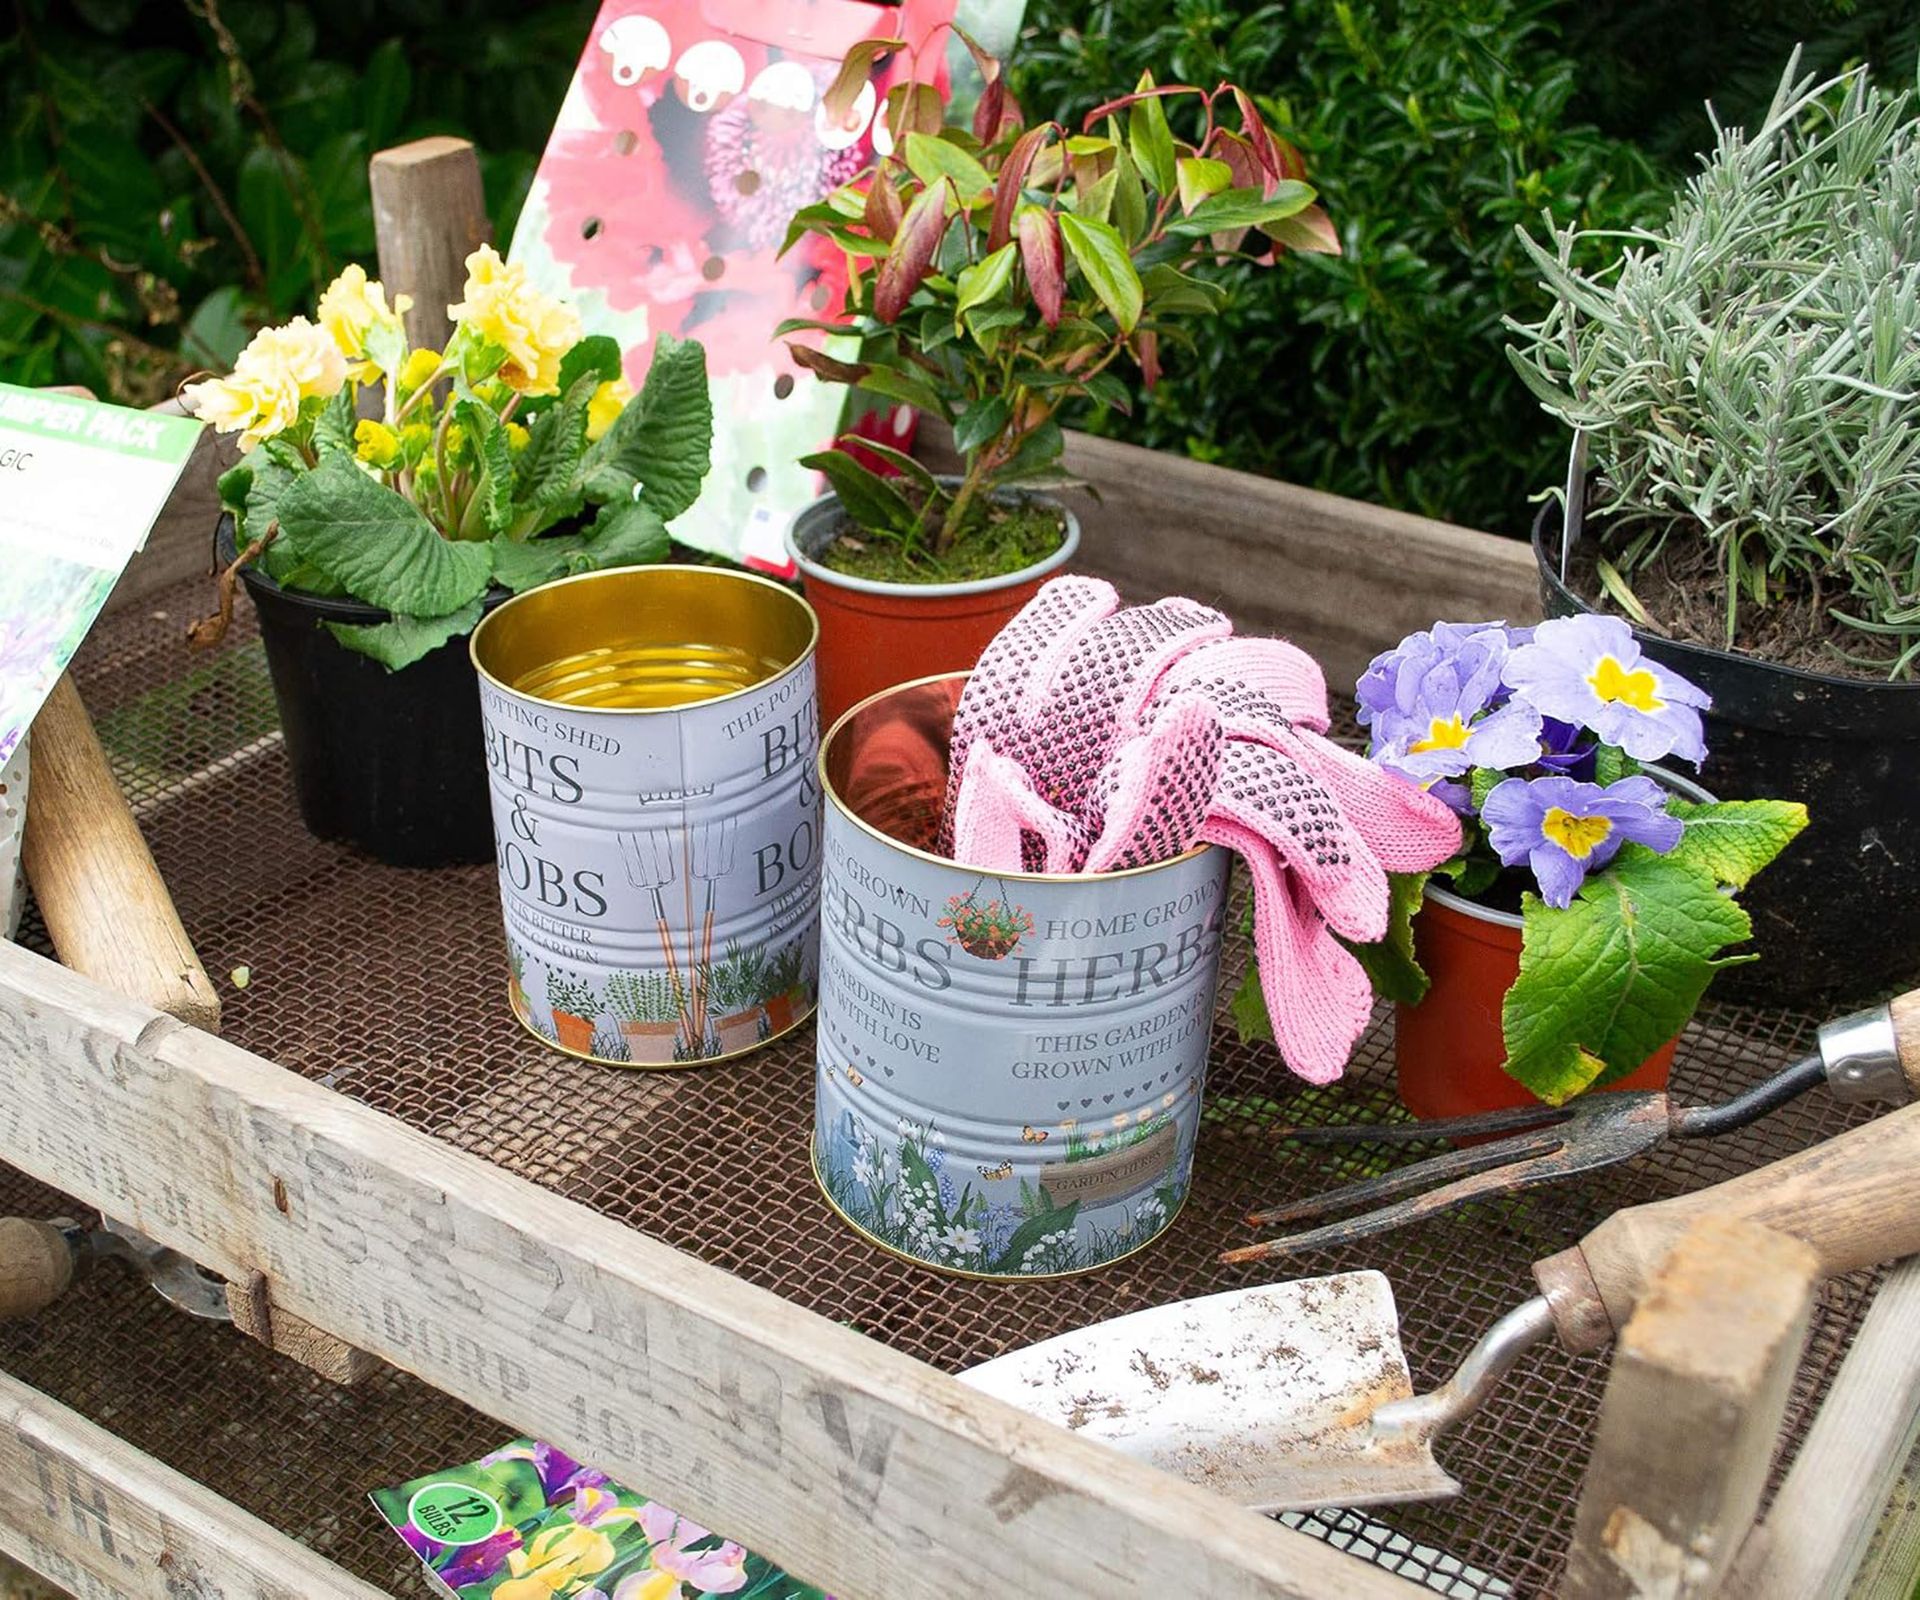
My potting benches end up buried under twine, plant labels, and hand tools. A few cans fix that for free. Drop a ball of garden twine (like this PerkHomy green jute twine from Amazon) into one can, and it won’t roll off the bench anymore. Put labels and pencils in the next can, and pruners and a trowel in the one after that. Mark each one with a weatherproof Garden Marker pen (on Amazon) so you don’t have to guess later. Nail them to the shed wall through the back.
4. Use it as a Compost or Fertilizer Scoop
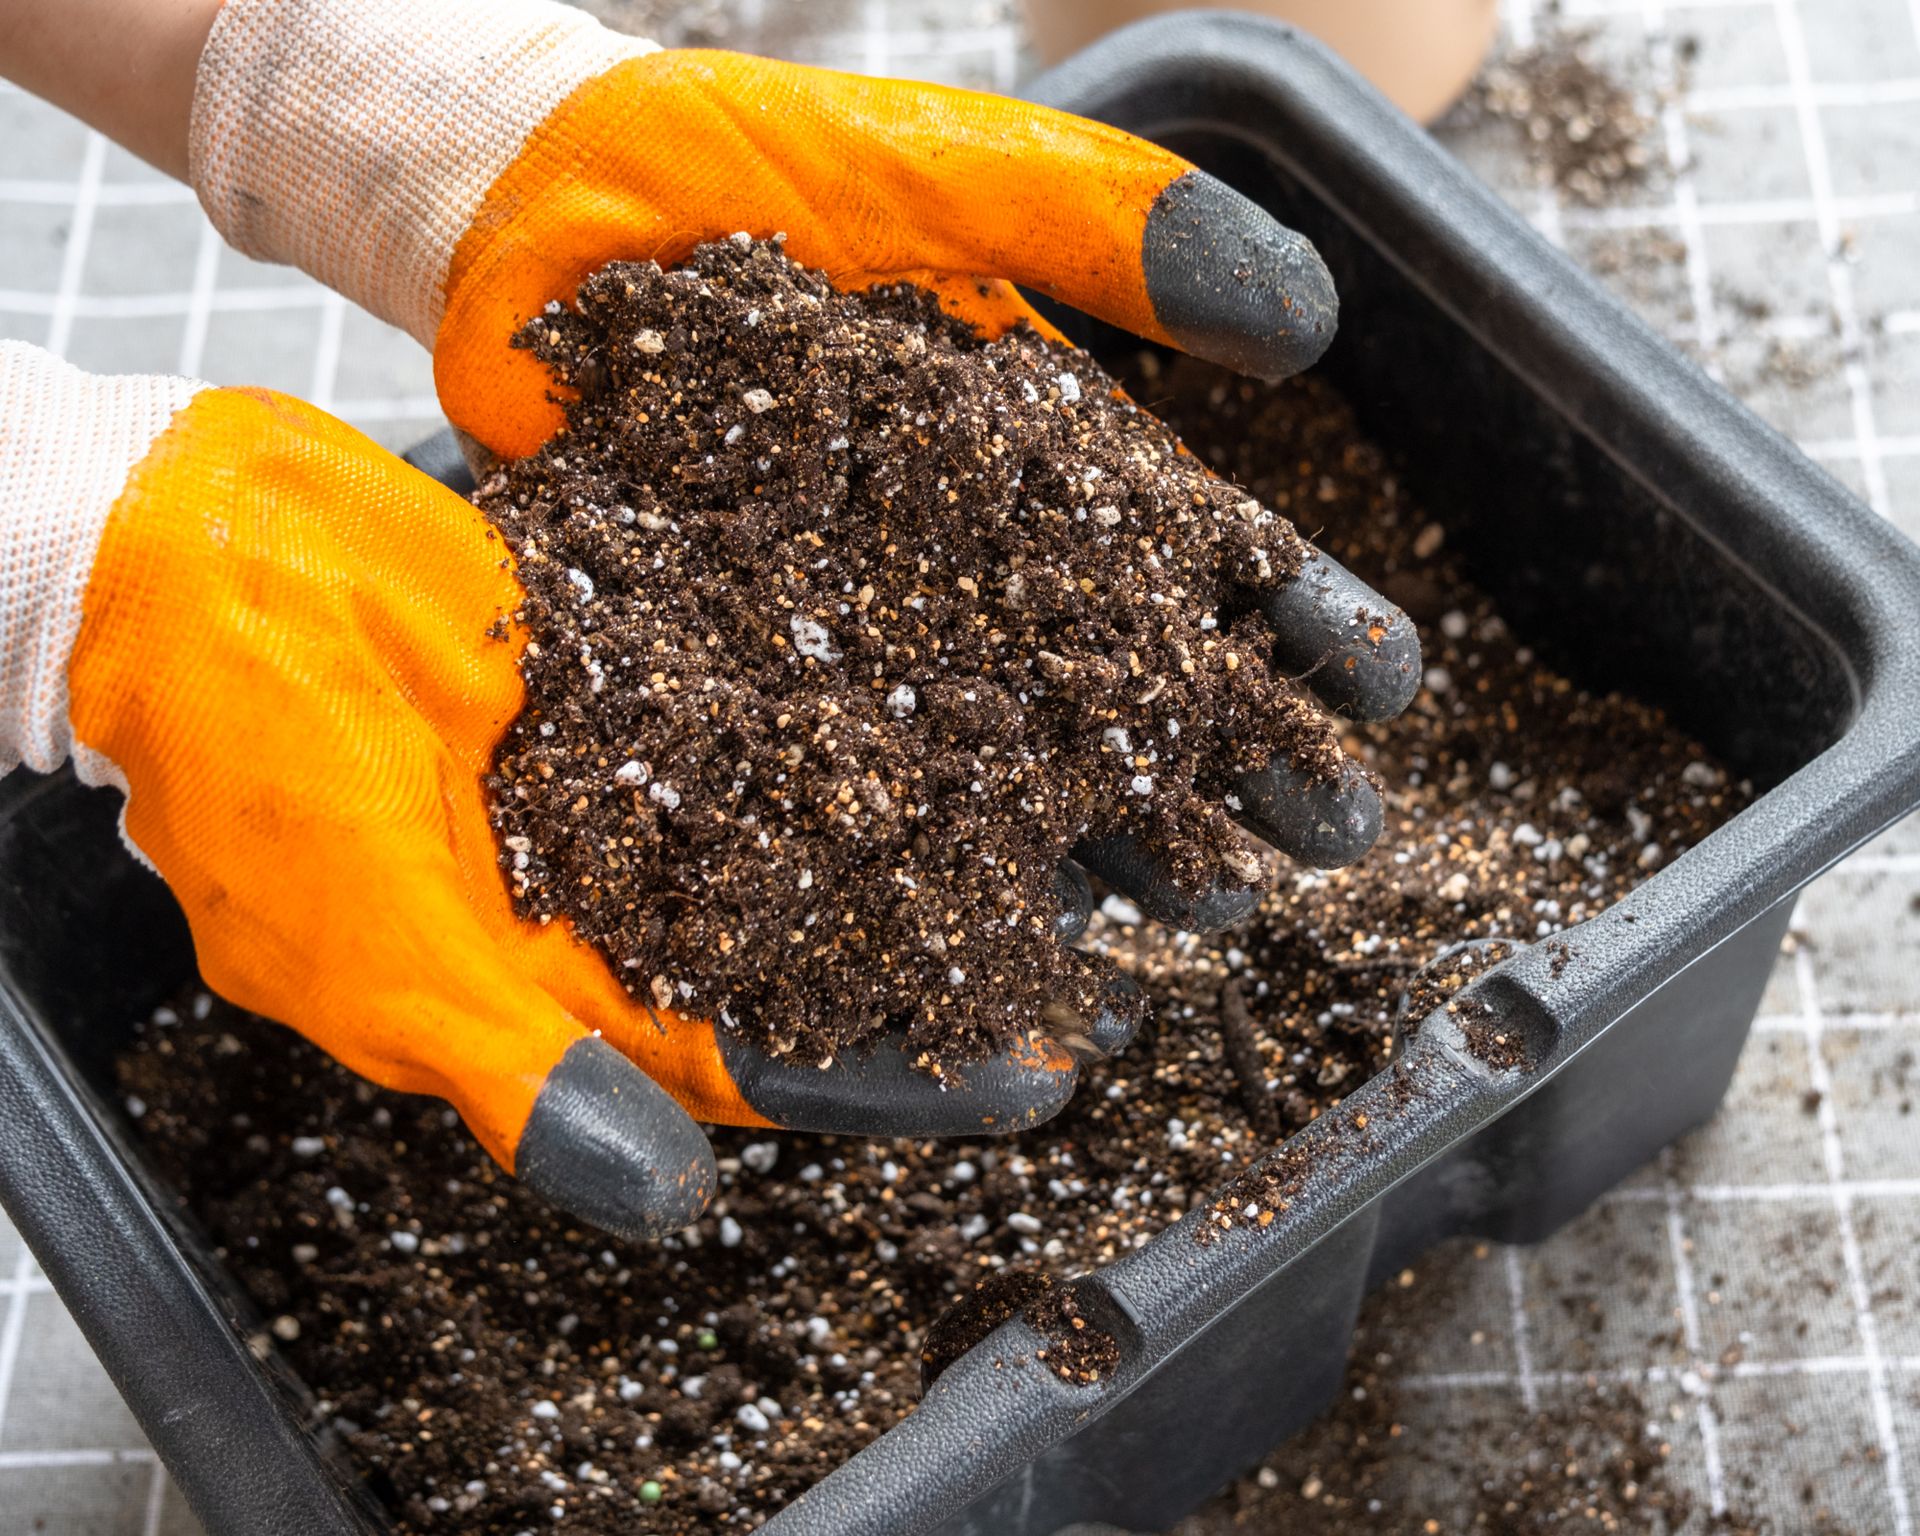
Bare hands make a mess of granular fertilizer, bone meal, and compost, and a clean can scoops them out without bending or cracking the way a plastic cup might. Make it do double duty. Pour a measured cup of water in, scratch a line at the waterline with a nail, and you’ve got a rough measuring cup for any rates listed in cups. Keep a second can just for compost.
Fertilizer residue can speed up rust, so knock the scoop clean after each use, store it dry, and never bring it back into the kitchen.
5. Create a Mini Herb Planter
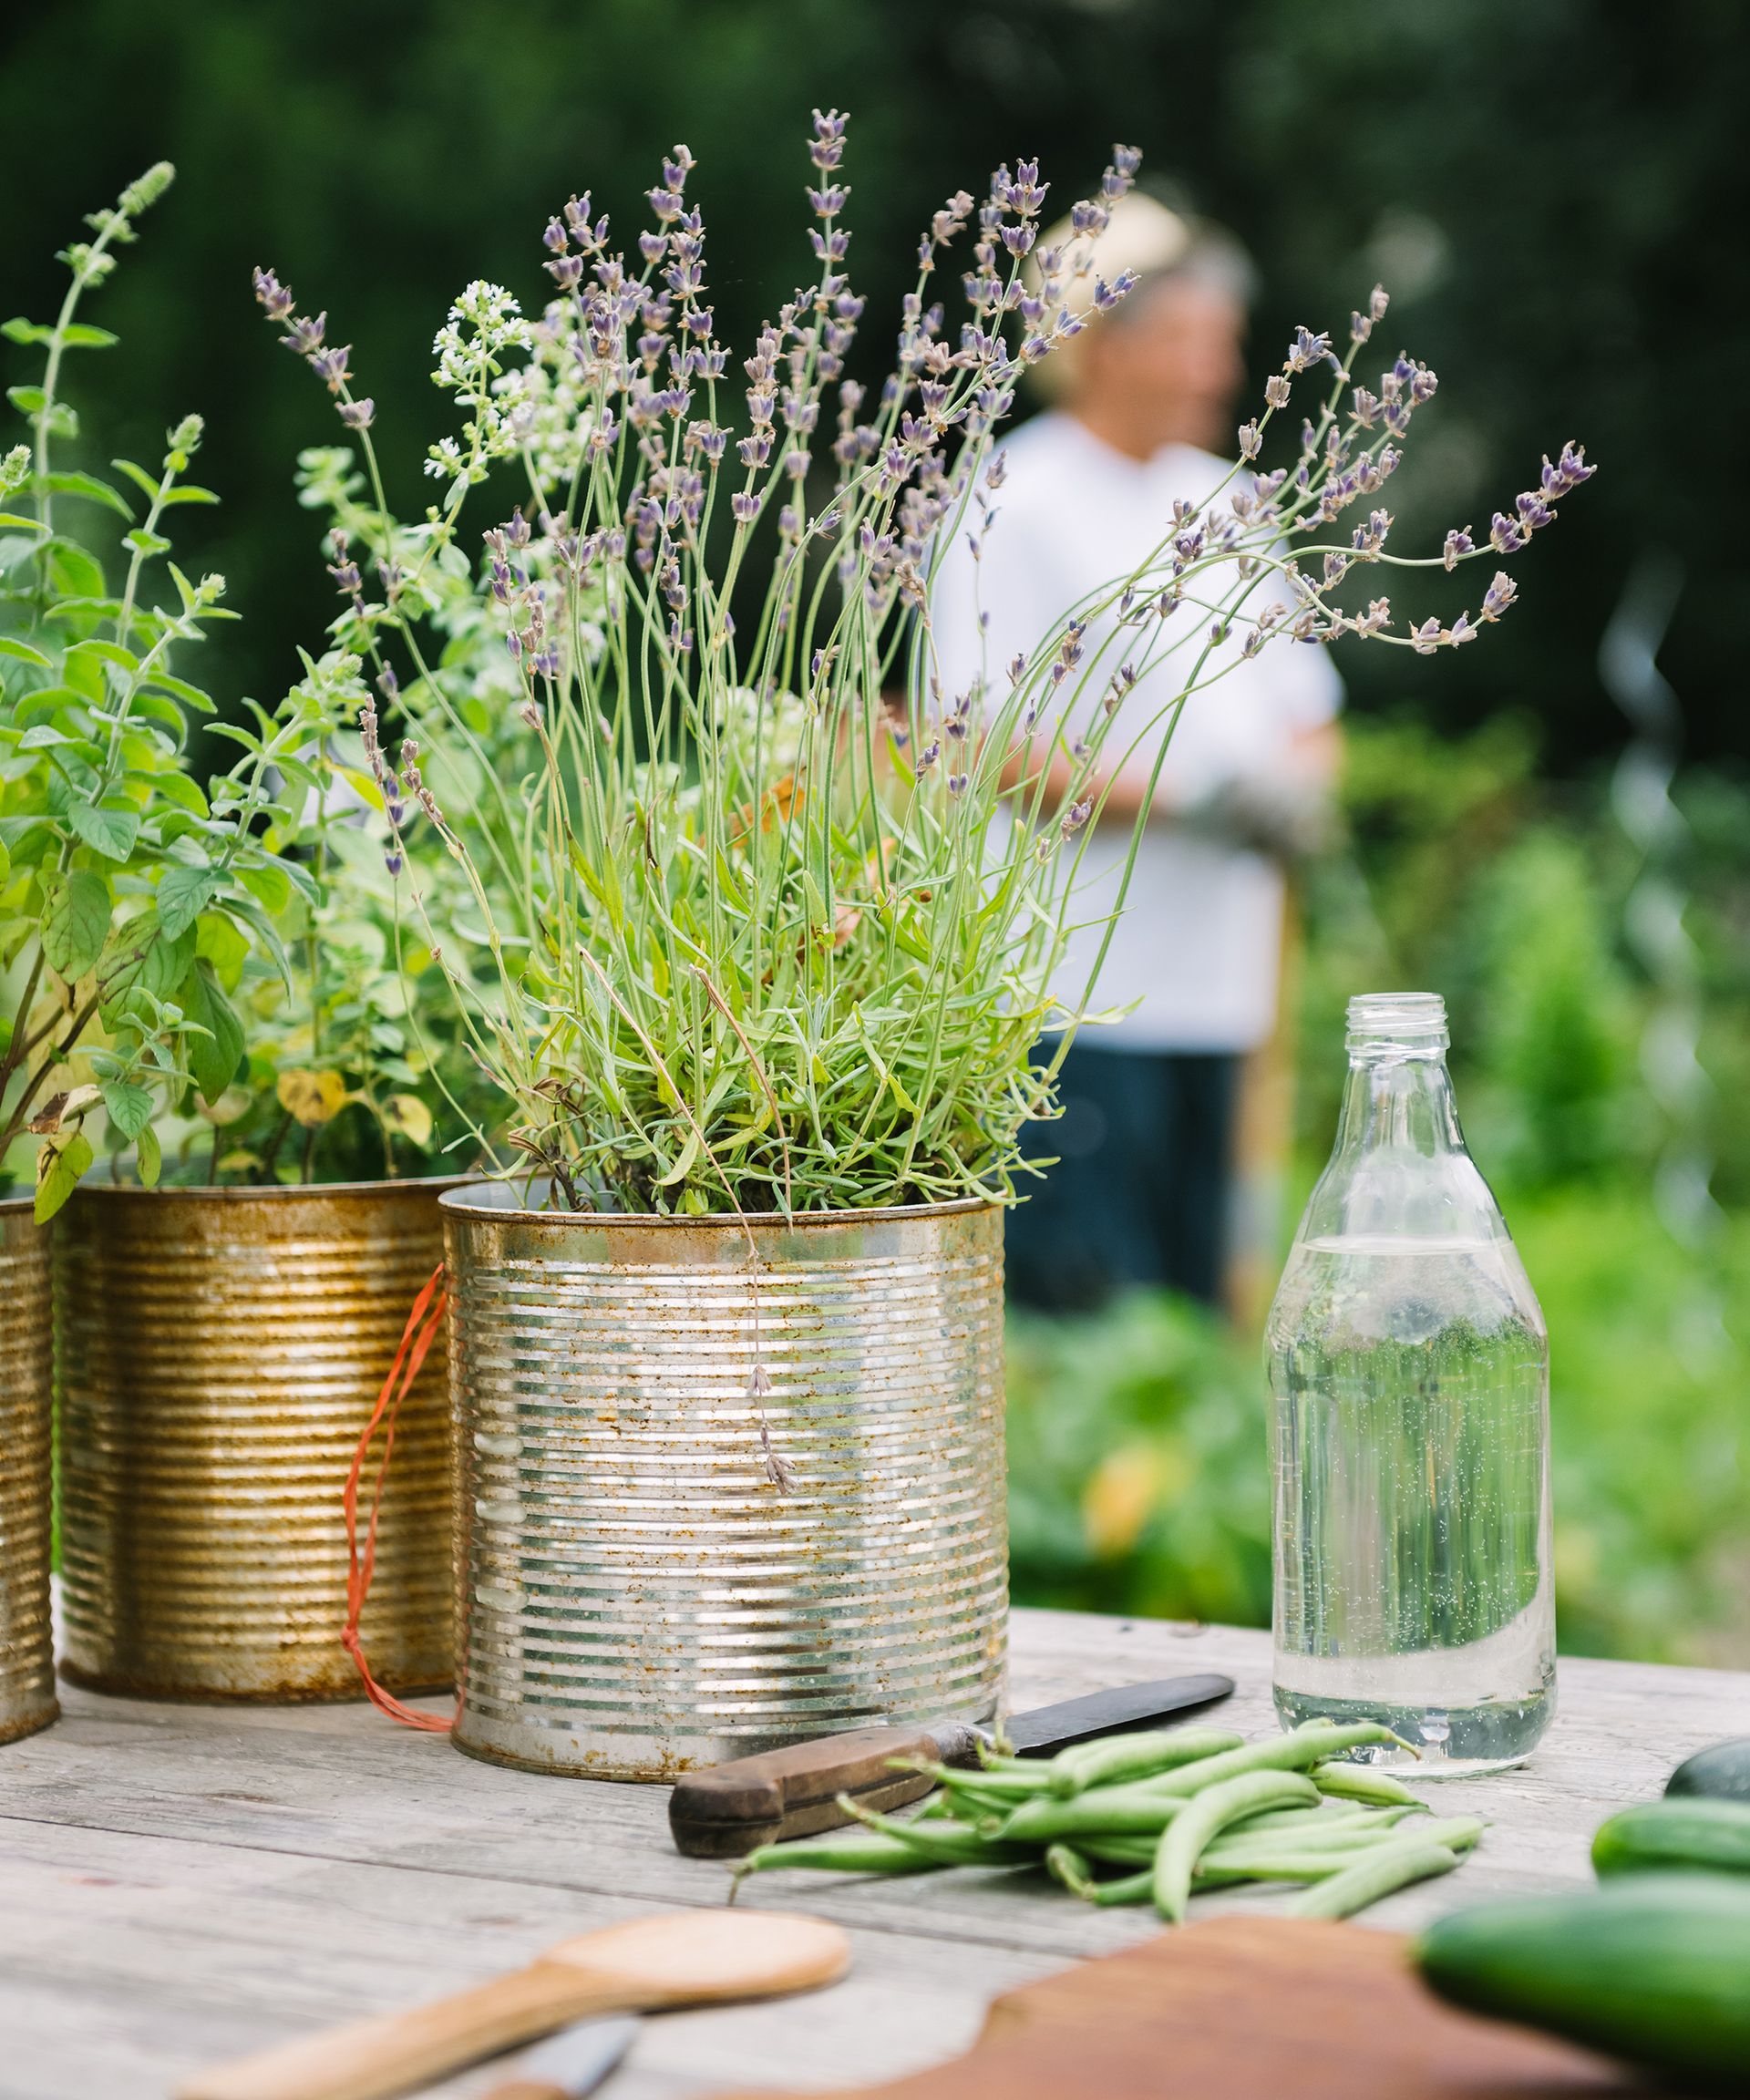
Thyme, chives, and oregano stay compact enough to grow in a can on a sunny windowsill or balcony rail. Get the drainage holes in first, then paint the outside. Home Depot stocks Rust-Oleum Stops Rust spray paint in gloss white, and white is the better pick for a patio since dark cans heat up fast in full sun.
Skip painting the inside, and let the paint cure before you plant. This time of year, aim for a south- or west-facing window. In summer, a can on a hot patio can dry out quickly.
6. Make DIY Lanterns for Fall Evenings
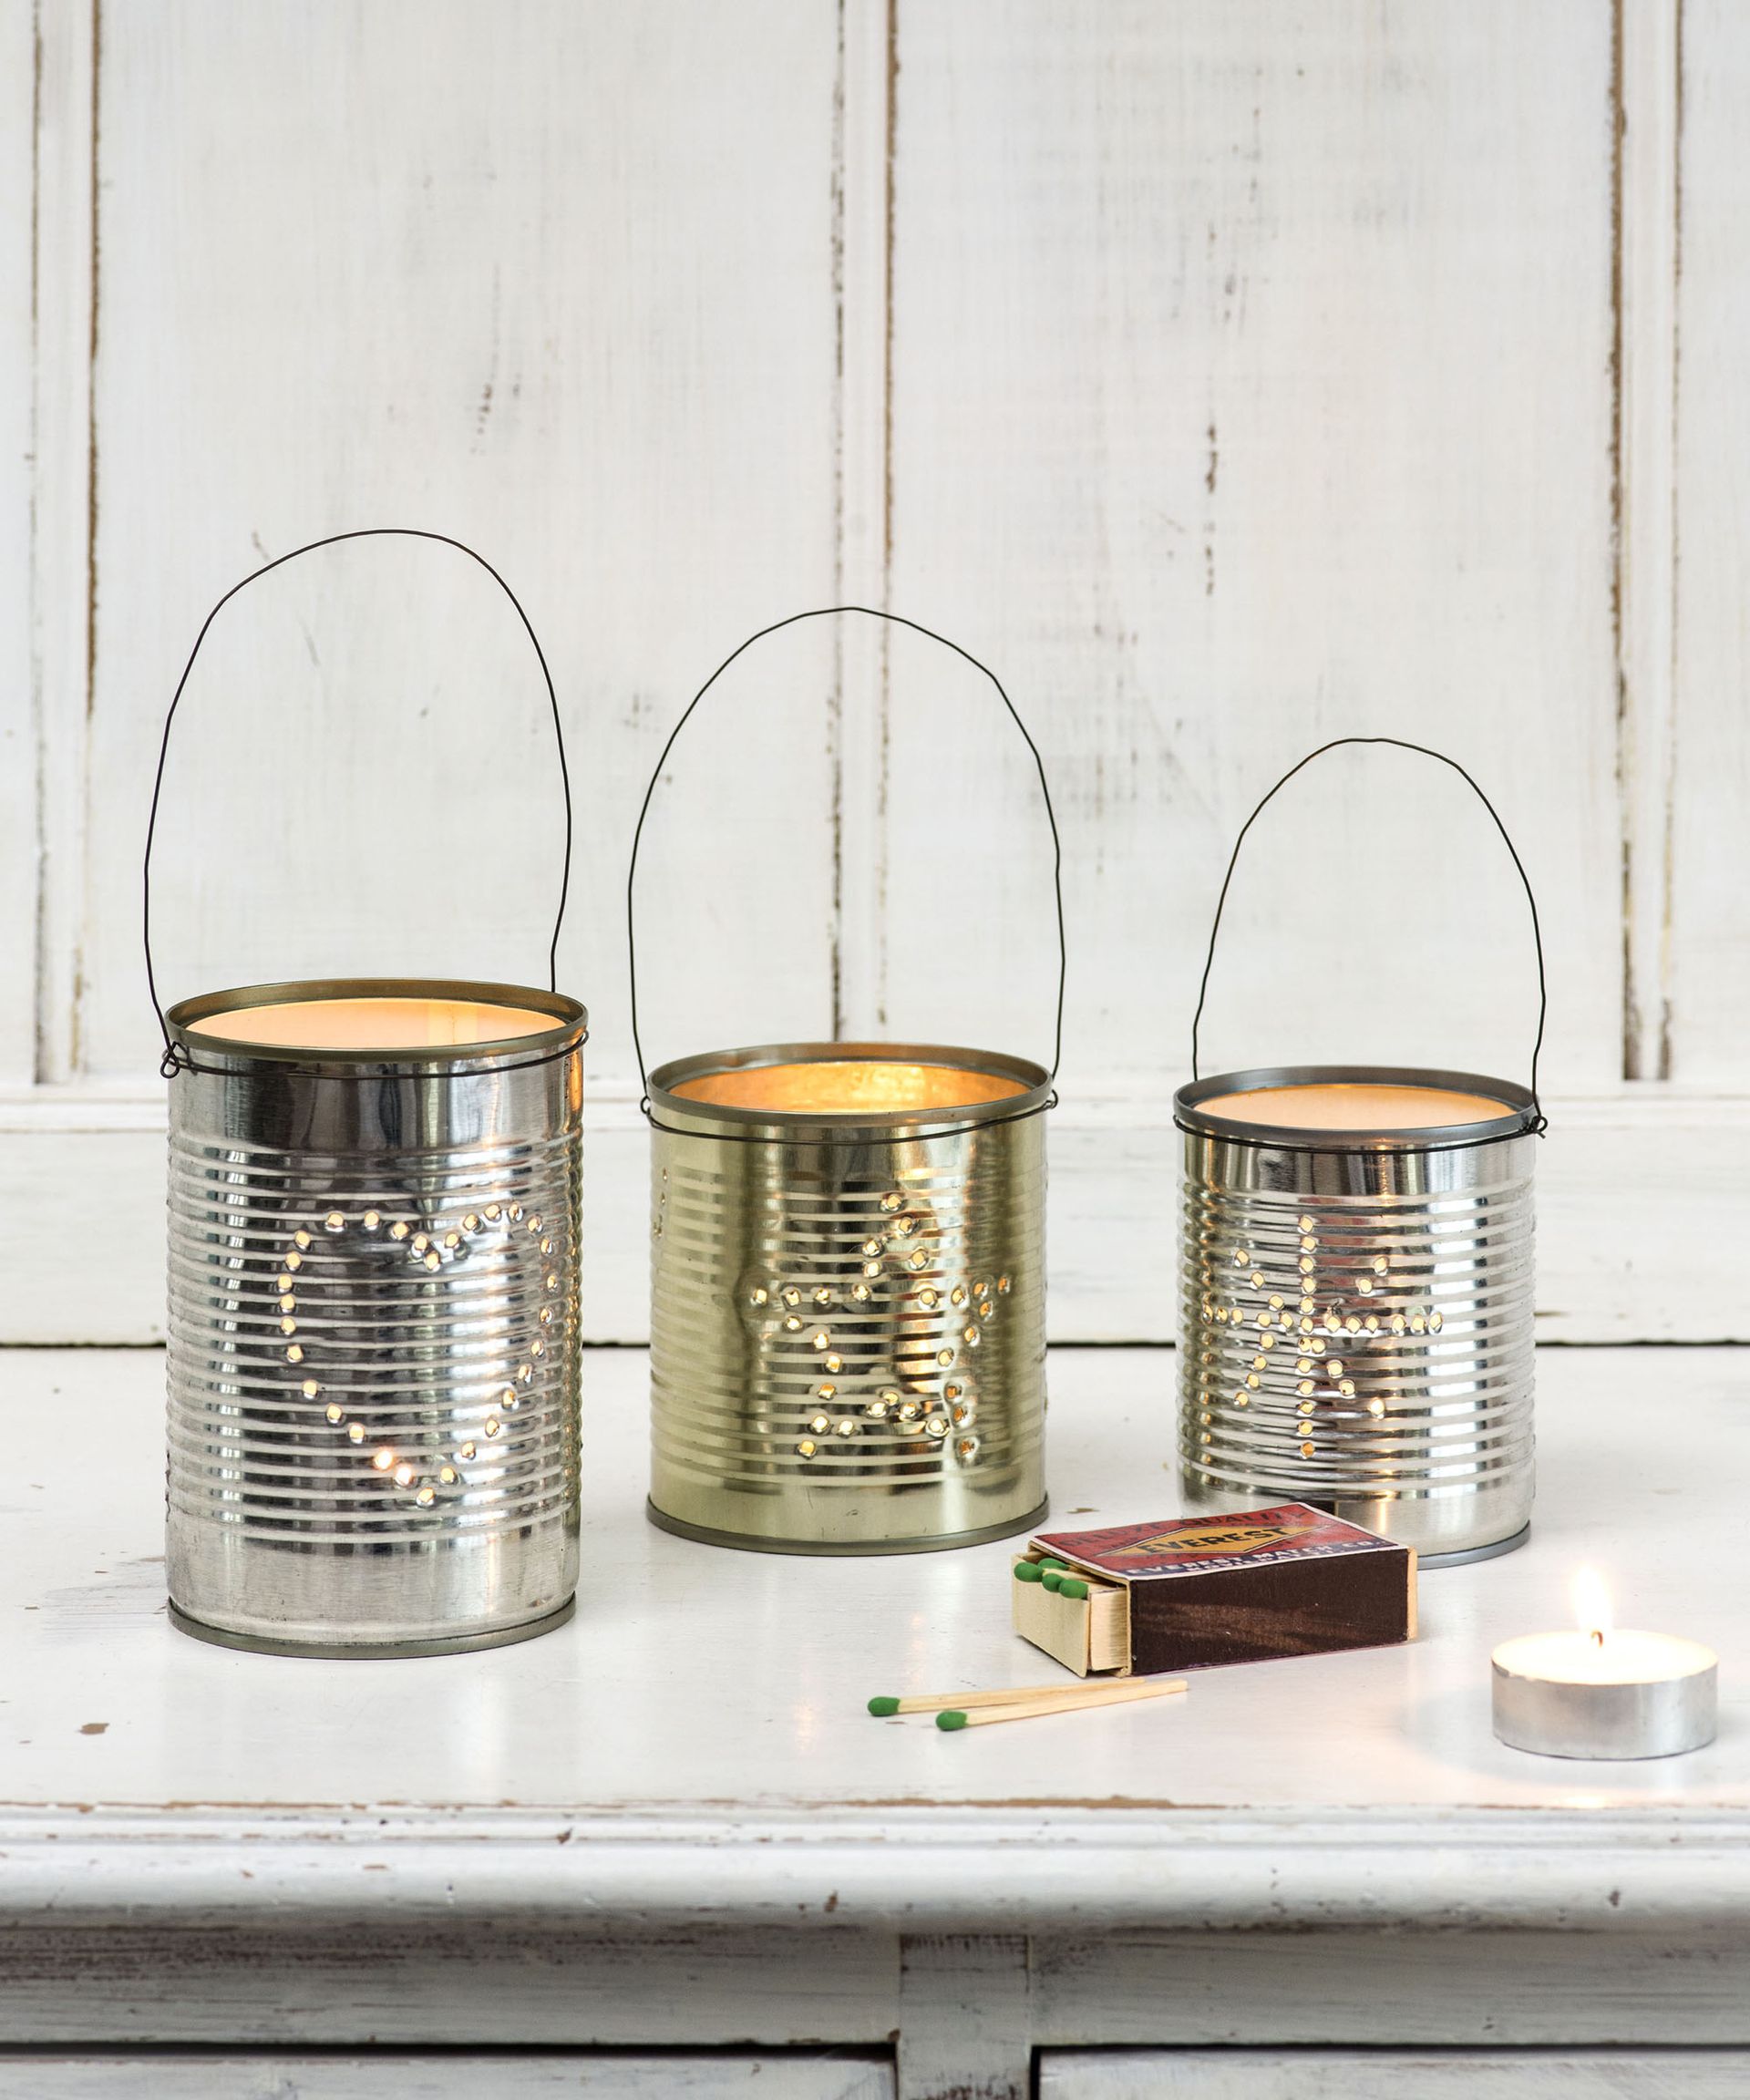
Punched-tin lanterns throw speckled light across a patio table, and they’re a nice touch now that it gets dark earlier. Freeze a can full of water first. The ice keeps the walls from denting while you tap a nail through them in dots, swirls or stars. Once it thaws, dry it and paint it if you like, then drop in a battery-operated LED tea light, which you can get from Walmart in a pack of 12. An LED carries far less fire risk than a candle if wind tips a lantern into dry leaves. Thread wire through two holes near the rim to hang it.
7. Build a Bug Hotel for Solitary Bees
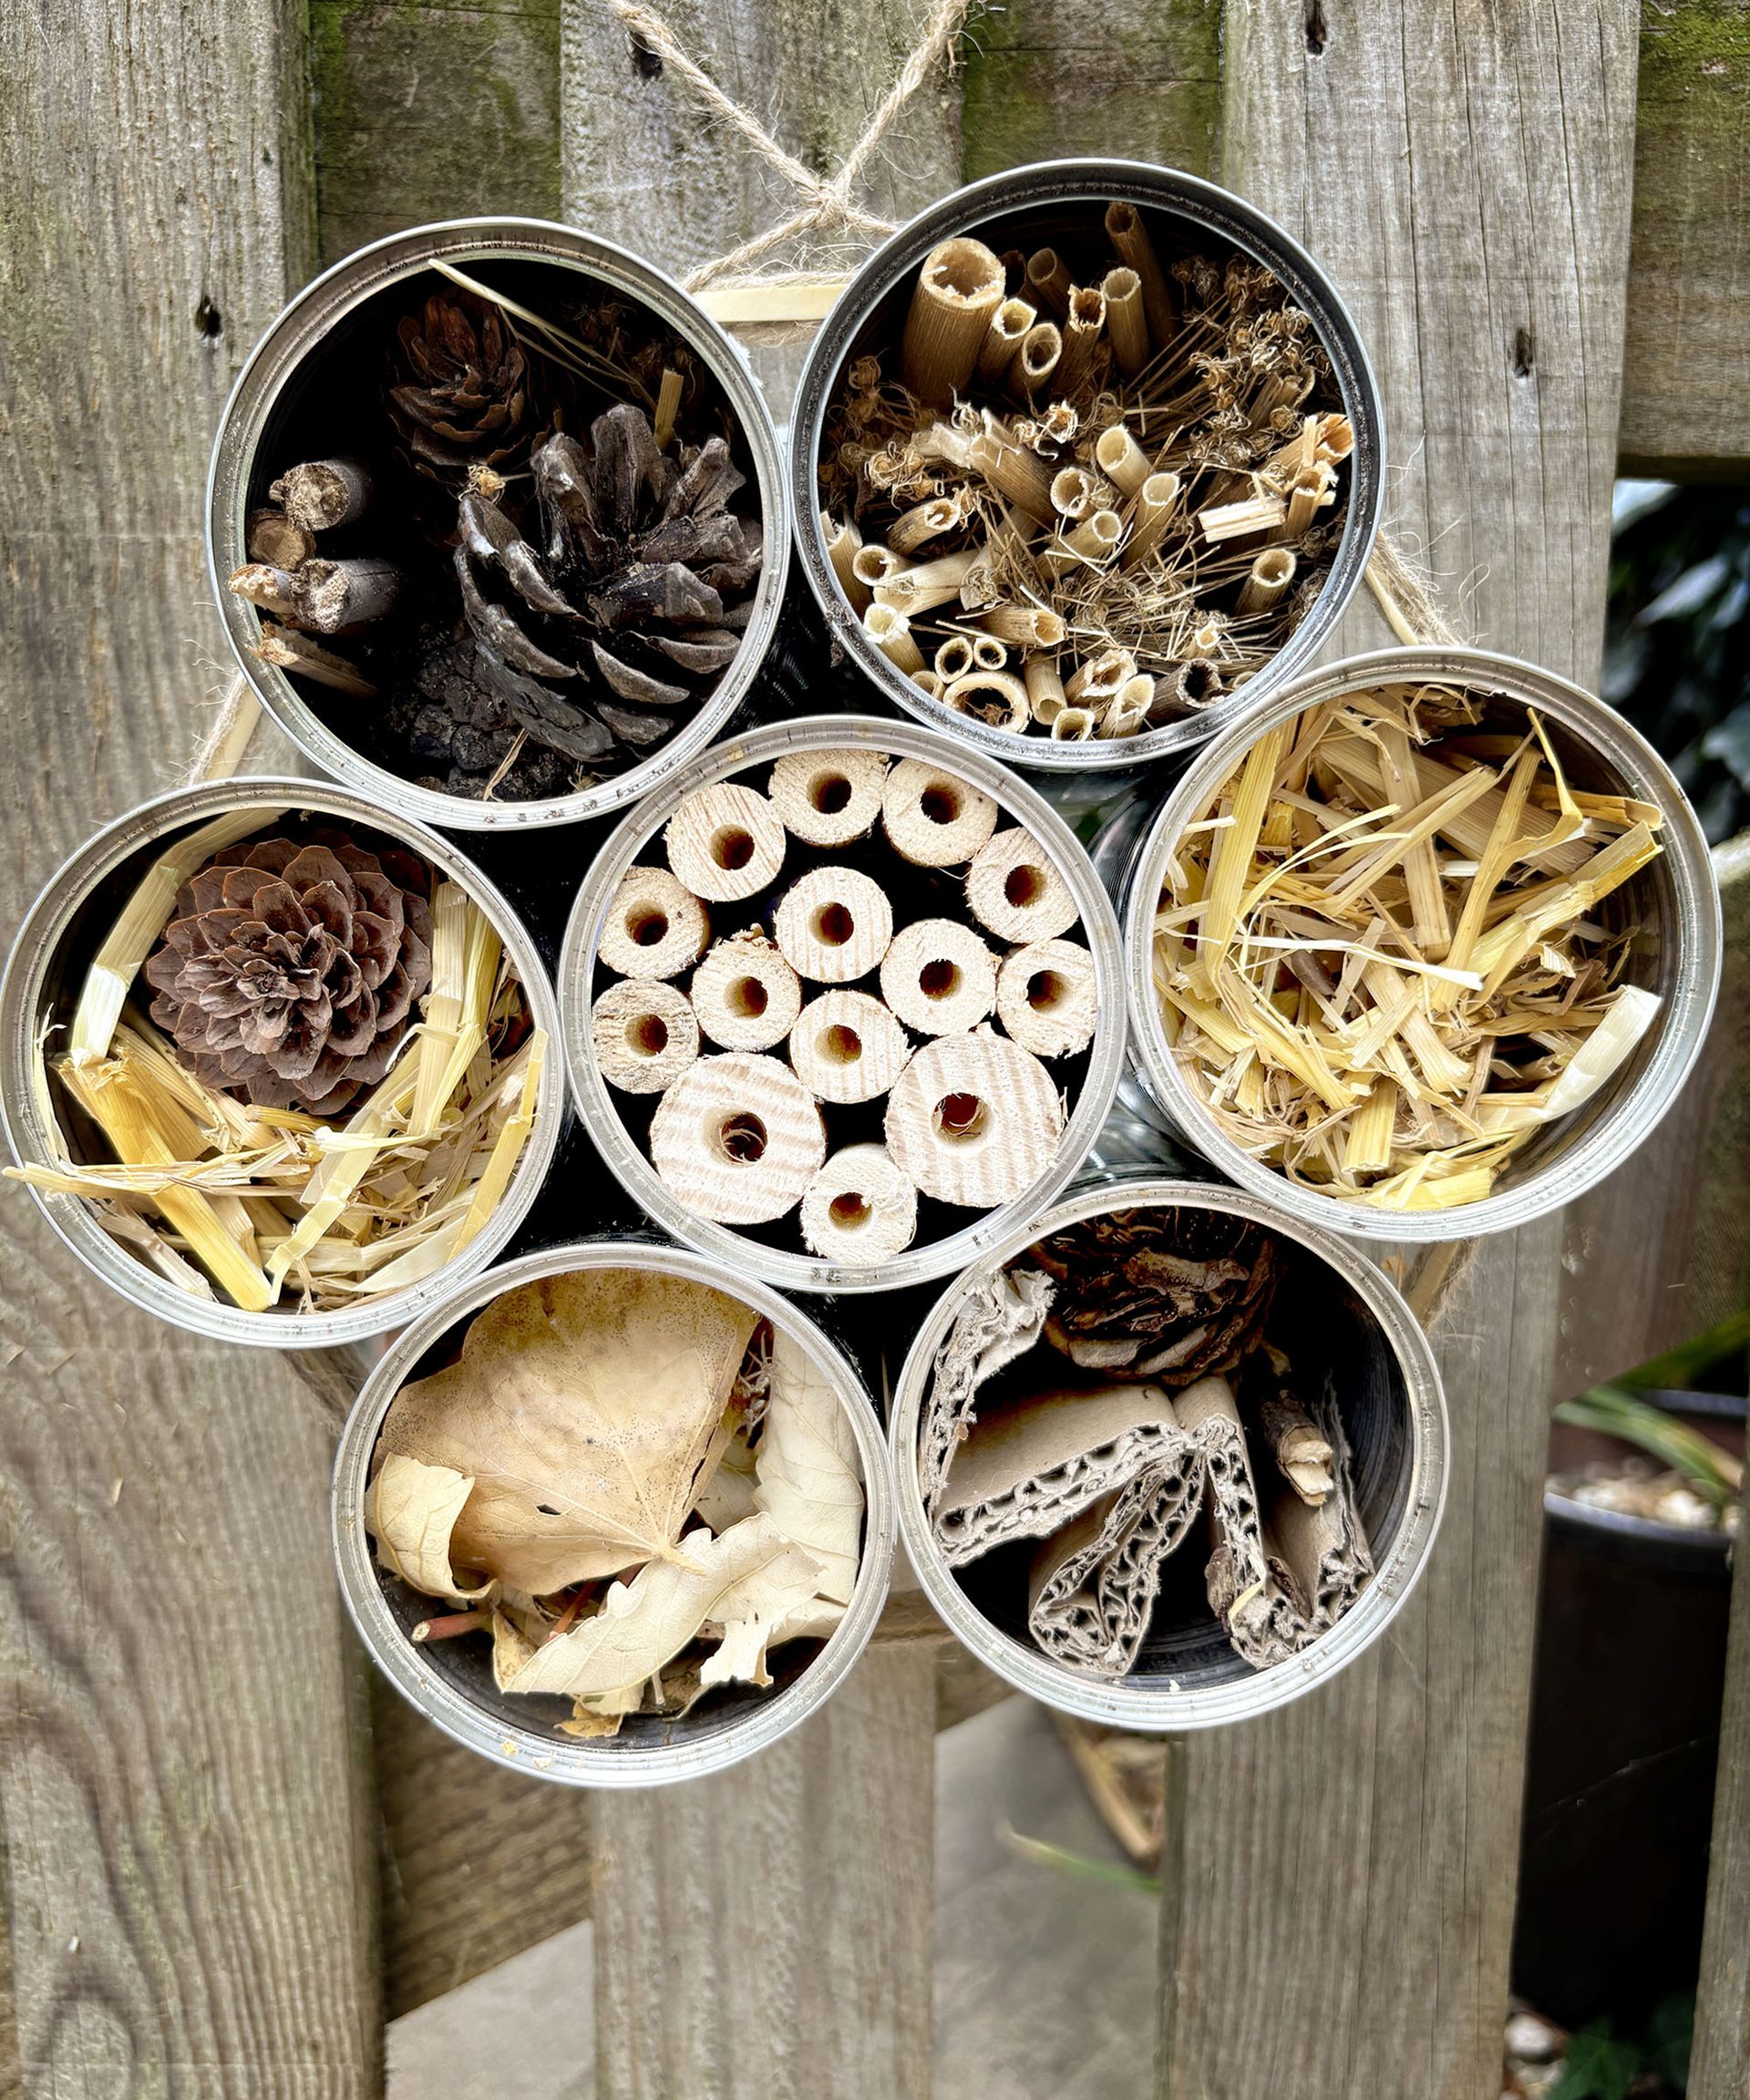
Many native bees are solitary and nest alone in narrow tunnels rather than hives. A tall can filled with hollow stems gives them just that. Fall cleanup supplies the material. Bamboo, reeds, and the hollow or pithy stems of sunflowers, sumac, or raspberries all work in mixed widths. Cut them a little shorter than the can so the rim shelters the openings, keep a closed node at the back when possible, and pack them in tight. Keep the bundle dry over winter.
Around the last spring frost, mount the can on its side about 5 feet (1.5 m) up, facing southeast. Replace the stems every one to three years to keep mites and fungal disease from building up.
8. Make Plant Labels
The other ideas on this list use the cans, but this one makes use of the lids by turning them into plant labels. Flatten each lid carefully, then write the plant name on it with a permanent marker. You can attach it to a wooden stick or tie it to a plant support with garden twine. The metal stands up to rain better than paper labels, and you’re giving a useful second life to something that might otherwise go in the recycling. Be careful handling the edges, which can be sharp.
Clean cans don’t take up much room on a shed shelf, and they keep a lot of little purchases off the shopping list. Start a stack this fall, and by seed-starting season there’ll be one ready for nearly every job!